Earth Day Whoopie Pies

Whoopie Pies

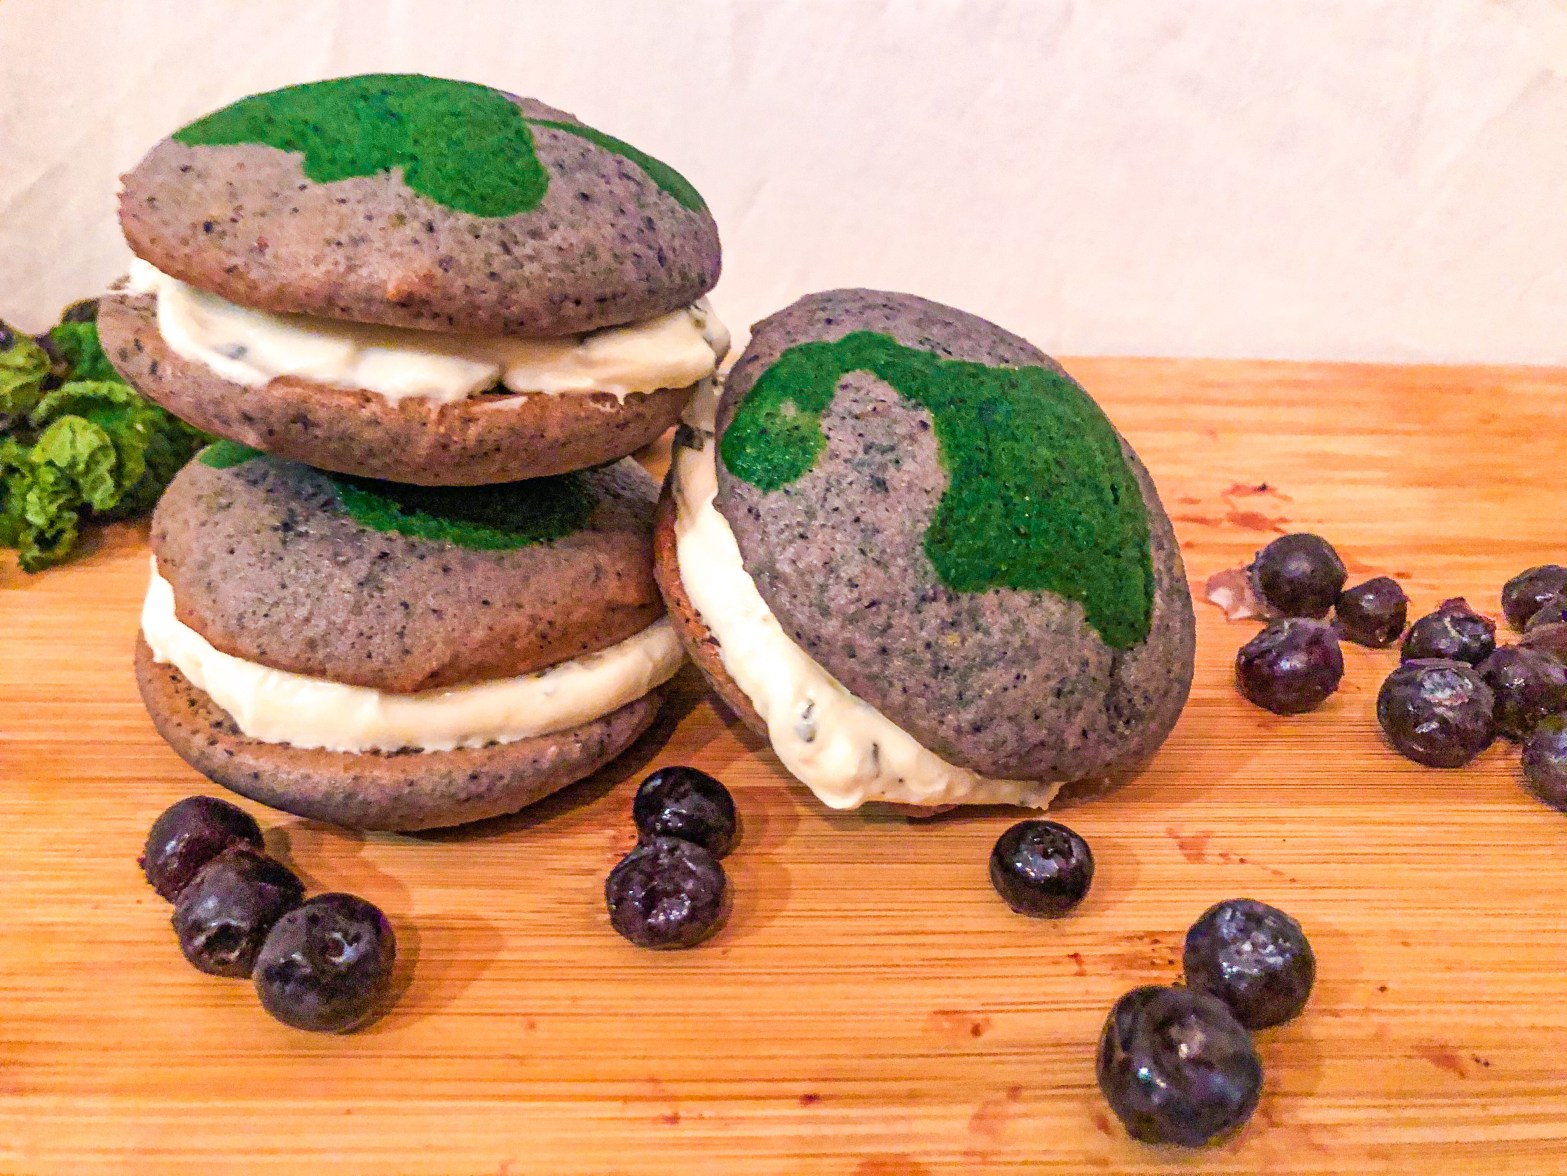
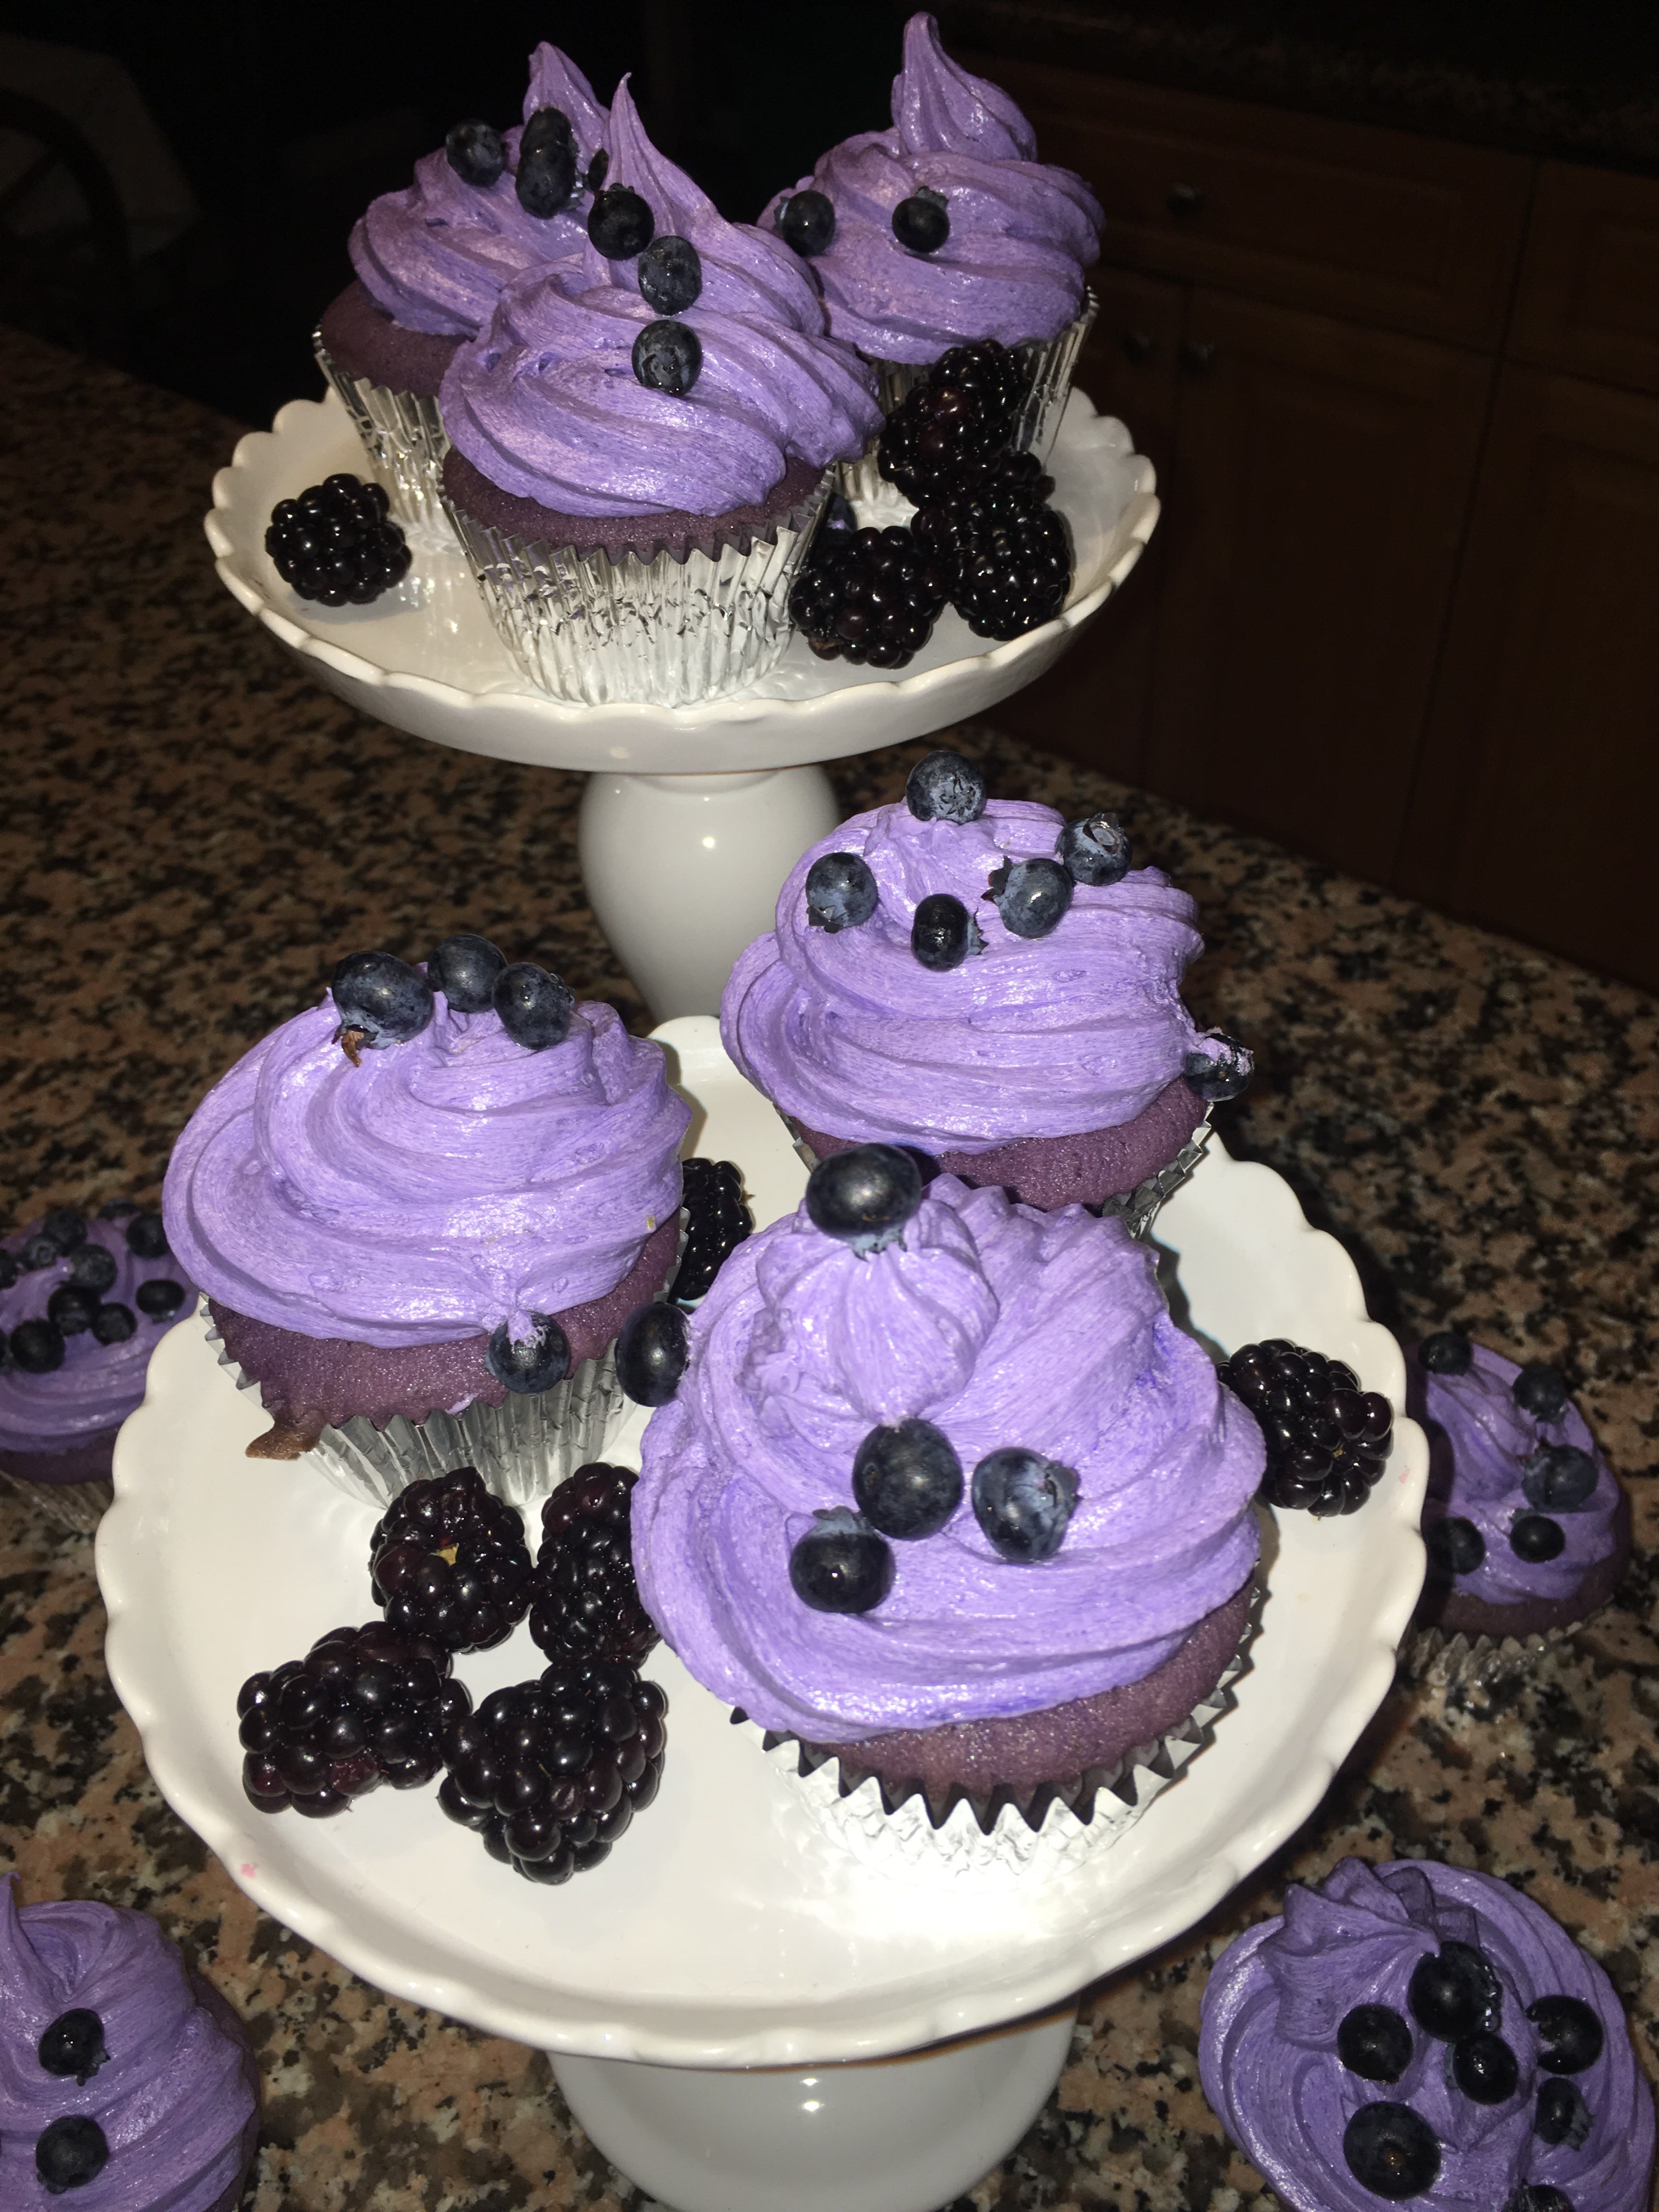
Whoopie Pies (adaptive from Wild Whoopie Blueberry Pies- Sinful Nutrition)

Sandwich Cookies

  • 1 ½ cups all purpose flour
  • ½ teaspoon baking powder
  • ½ teaspoon salt
  • ¼ teaspoon baking soda
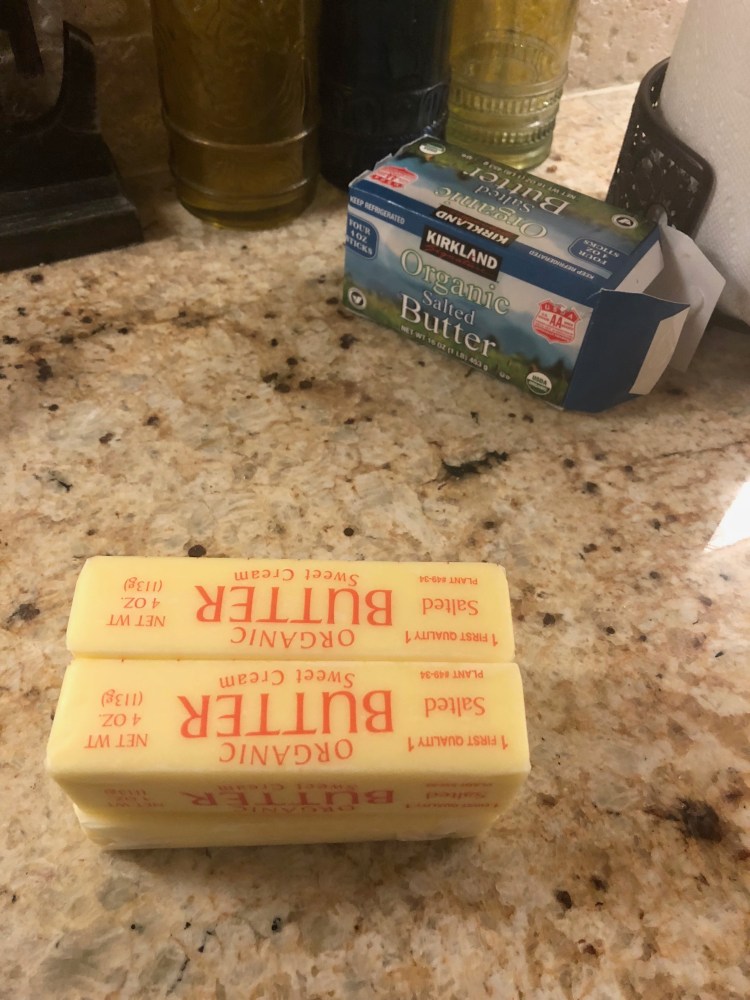
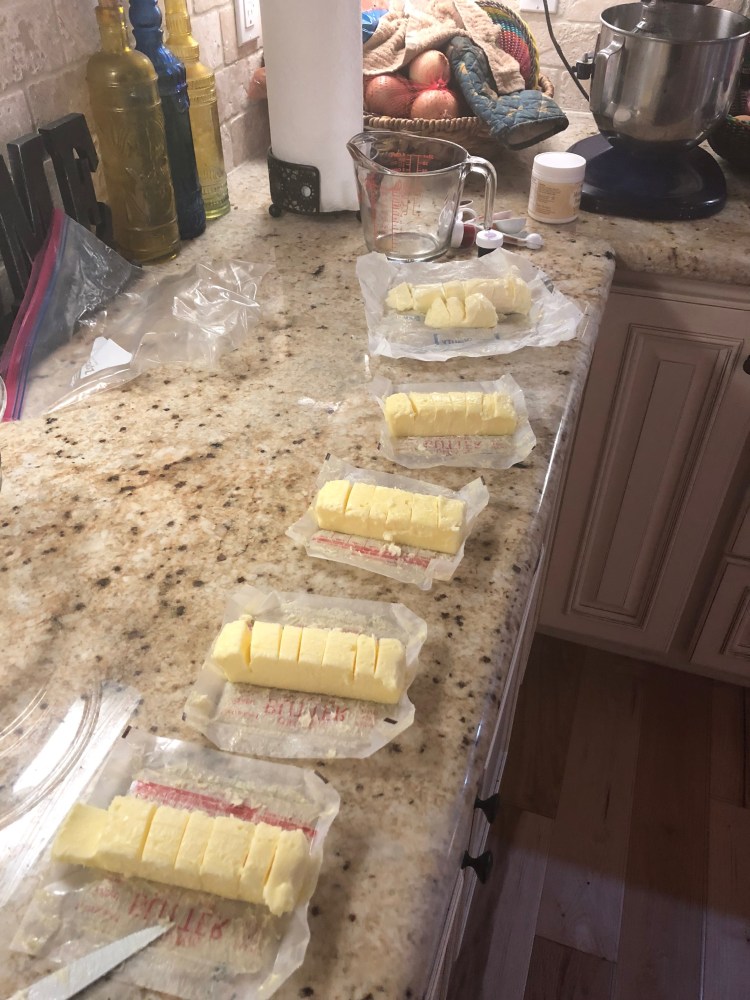
  • 2 tablespoons unsalted butter, softened
  • 2 tablespoons canola oil
  • ⅔ cup sugar
  • 1 teaspoon vanilla
  • 1 large egg
  • ¼ cup unsweetened almond milk
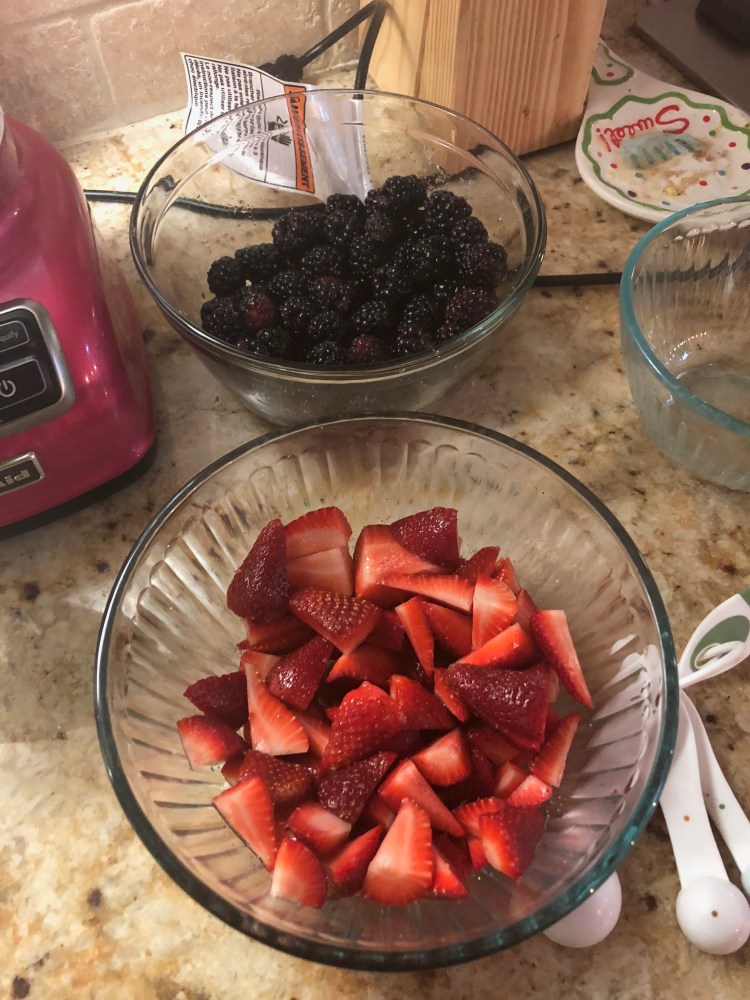
  • 1 cup frozen wild blueberries, thawed
  • Zest and Juice of one lemon
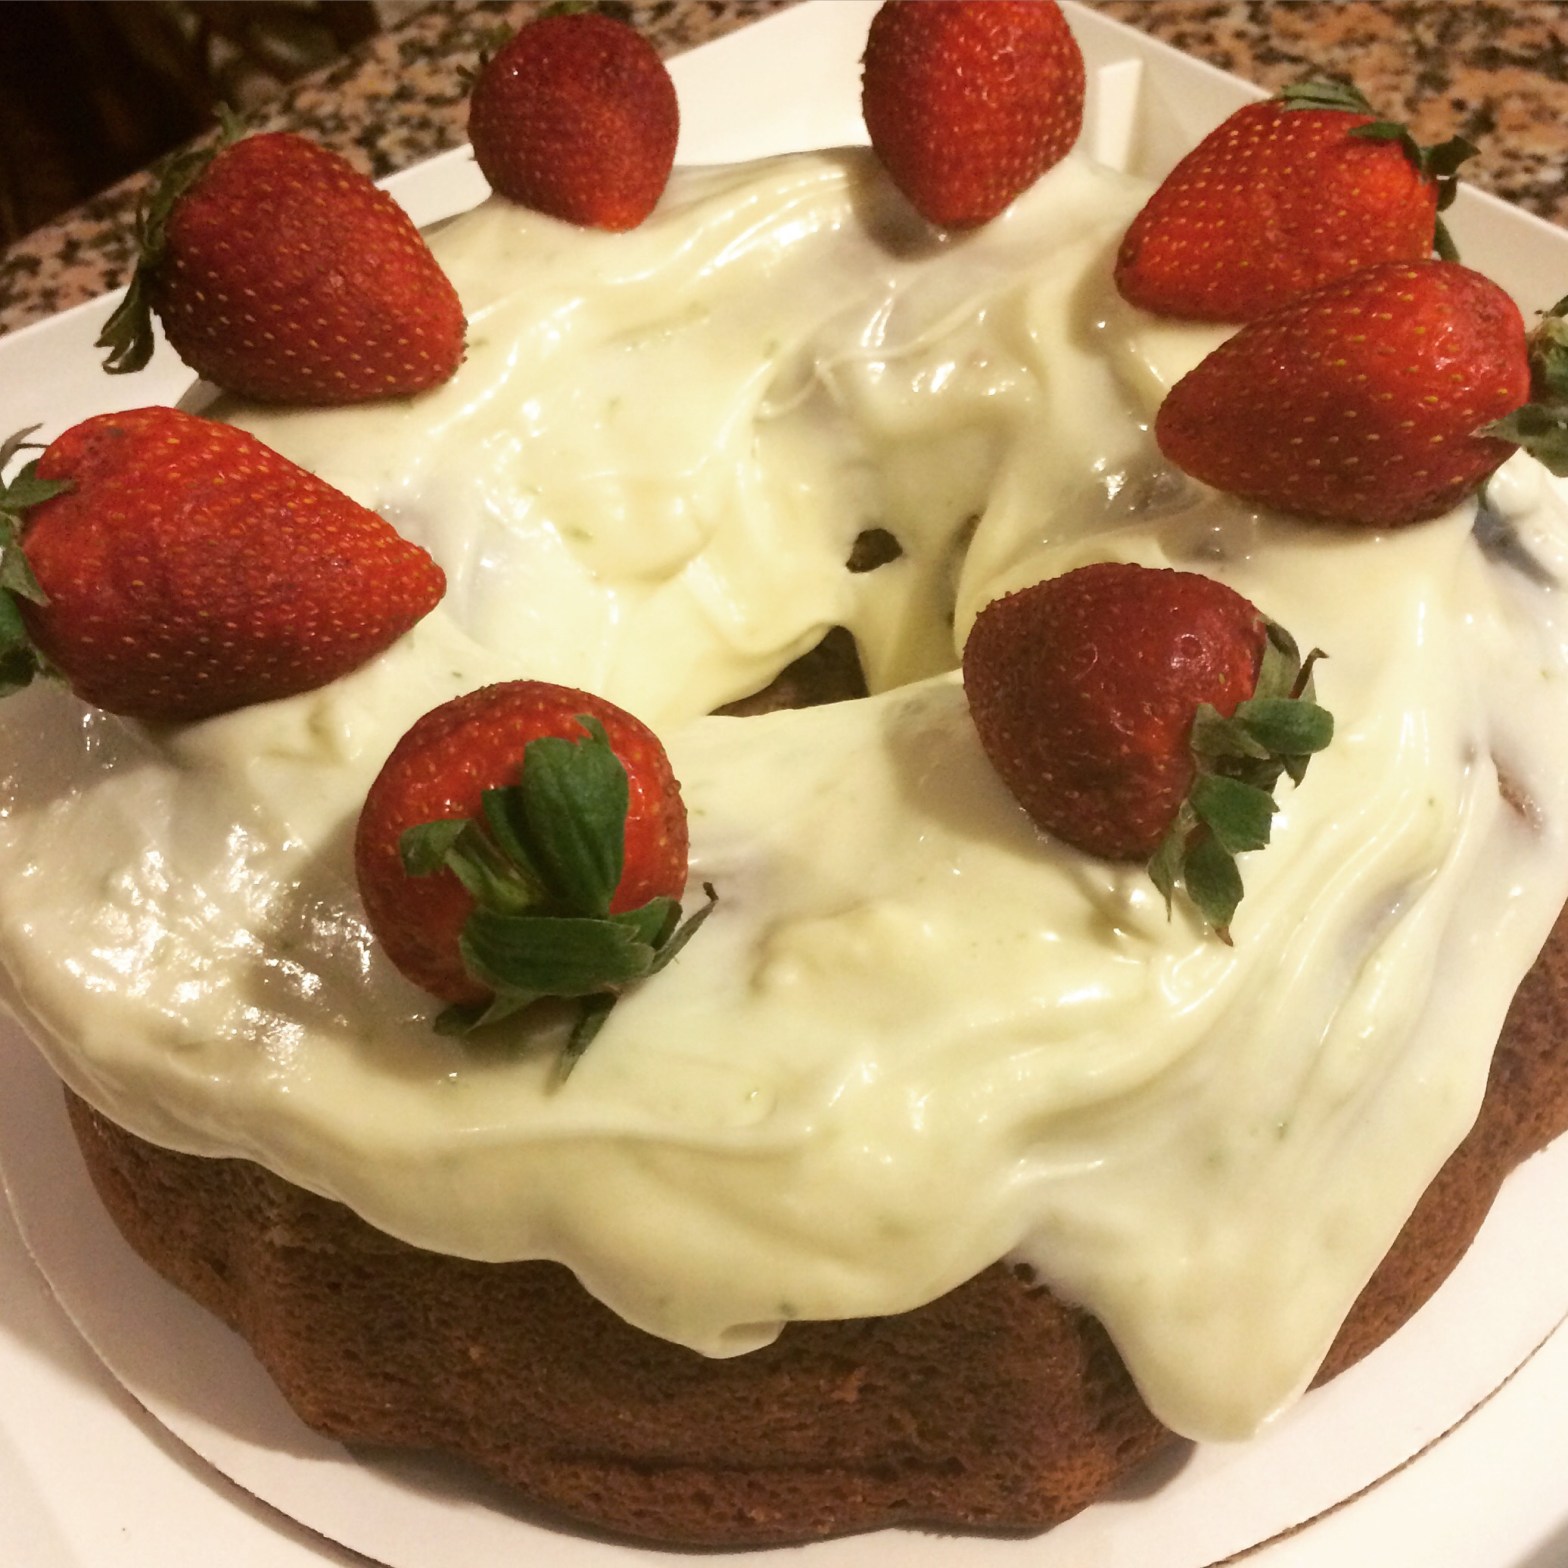
Frosting:

  • 8 ounces reduced -fat cream cheese
  • 2 tablespoons vanilla Greek yogurt
  • 1 tbsp of fresh mint, finely chopped
  • 1 teaspoon vanilla
  • ½ cup powdered sugar

Directions

  1. Preheat oven to 375 degrees.
  2. Line 2 baking sheets with parchment paper or baking mat.
  3. In a large mixing bowl, whisk together flour, baking soda, baking powder, and salt. Set aside.
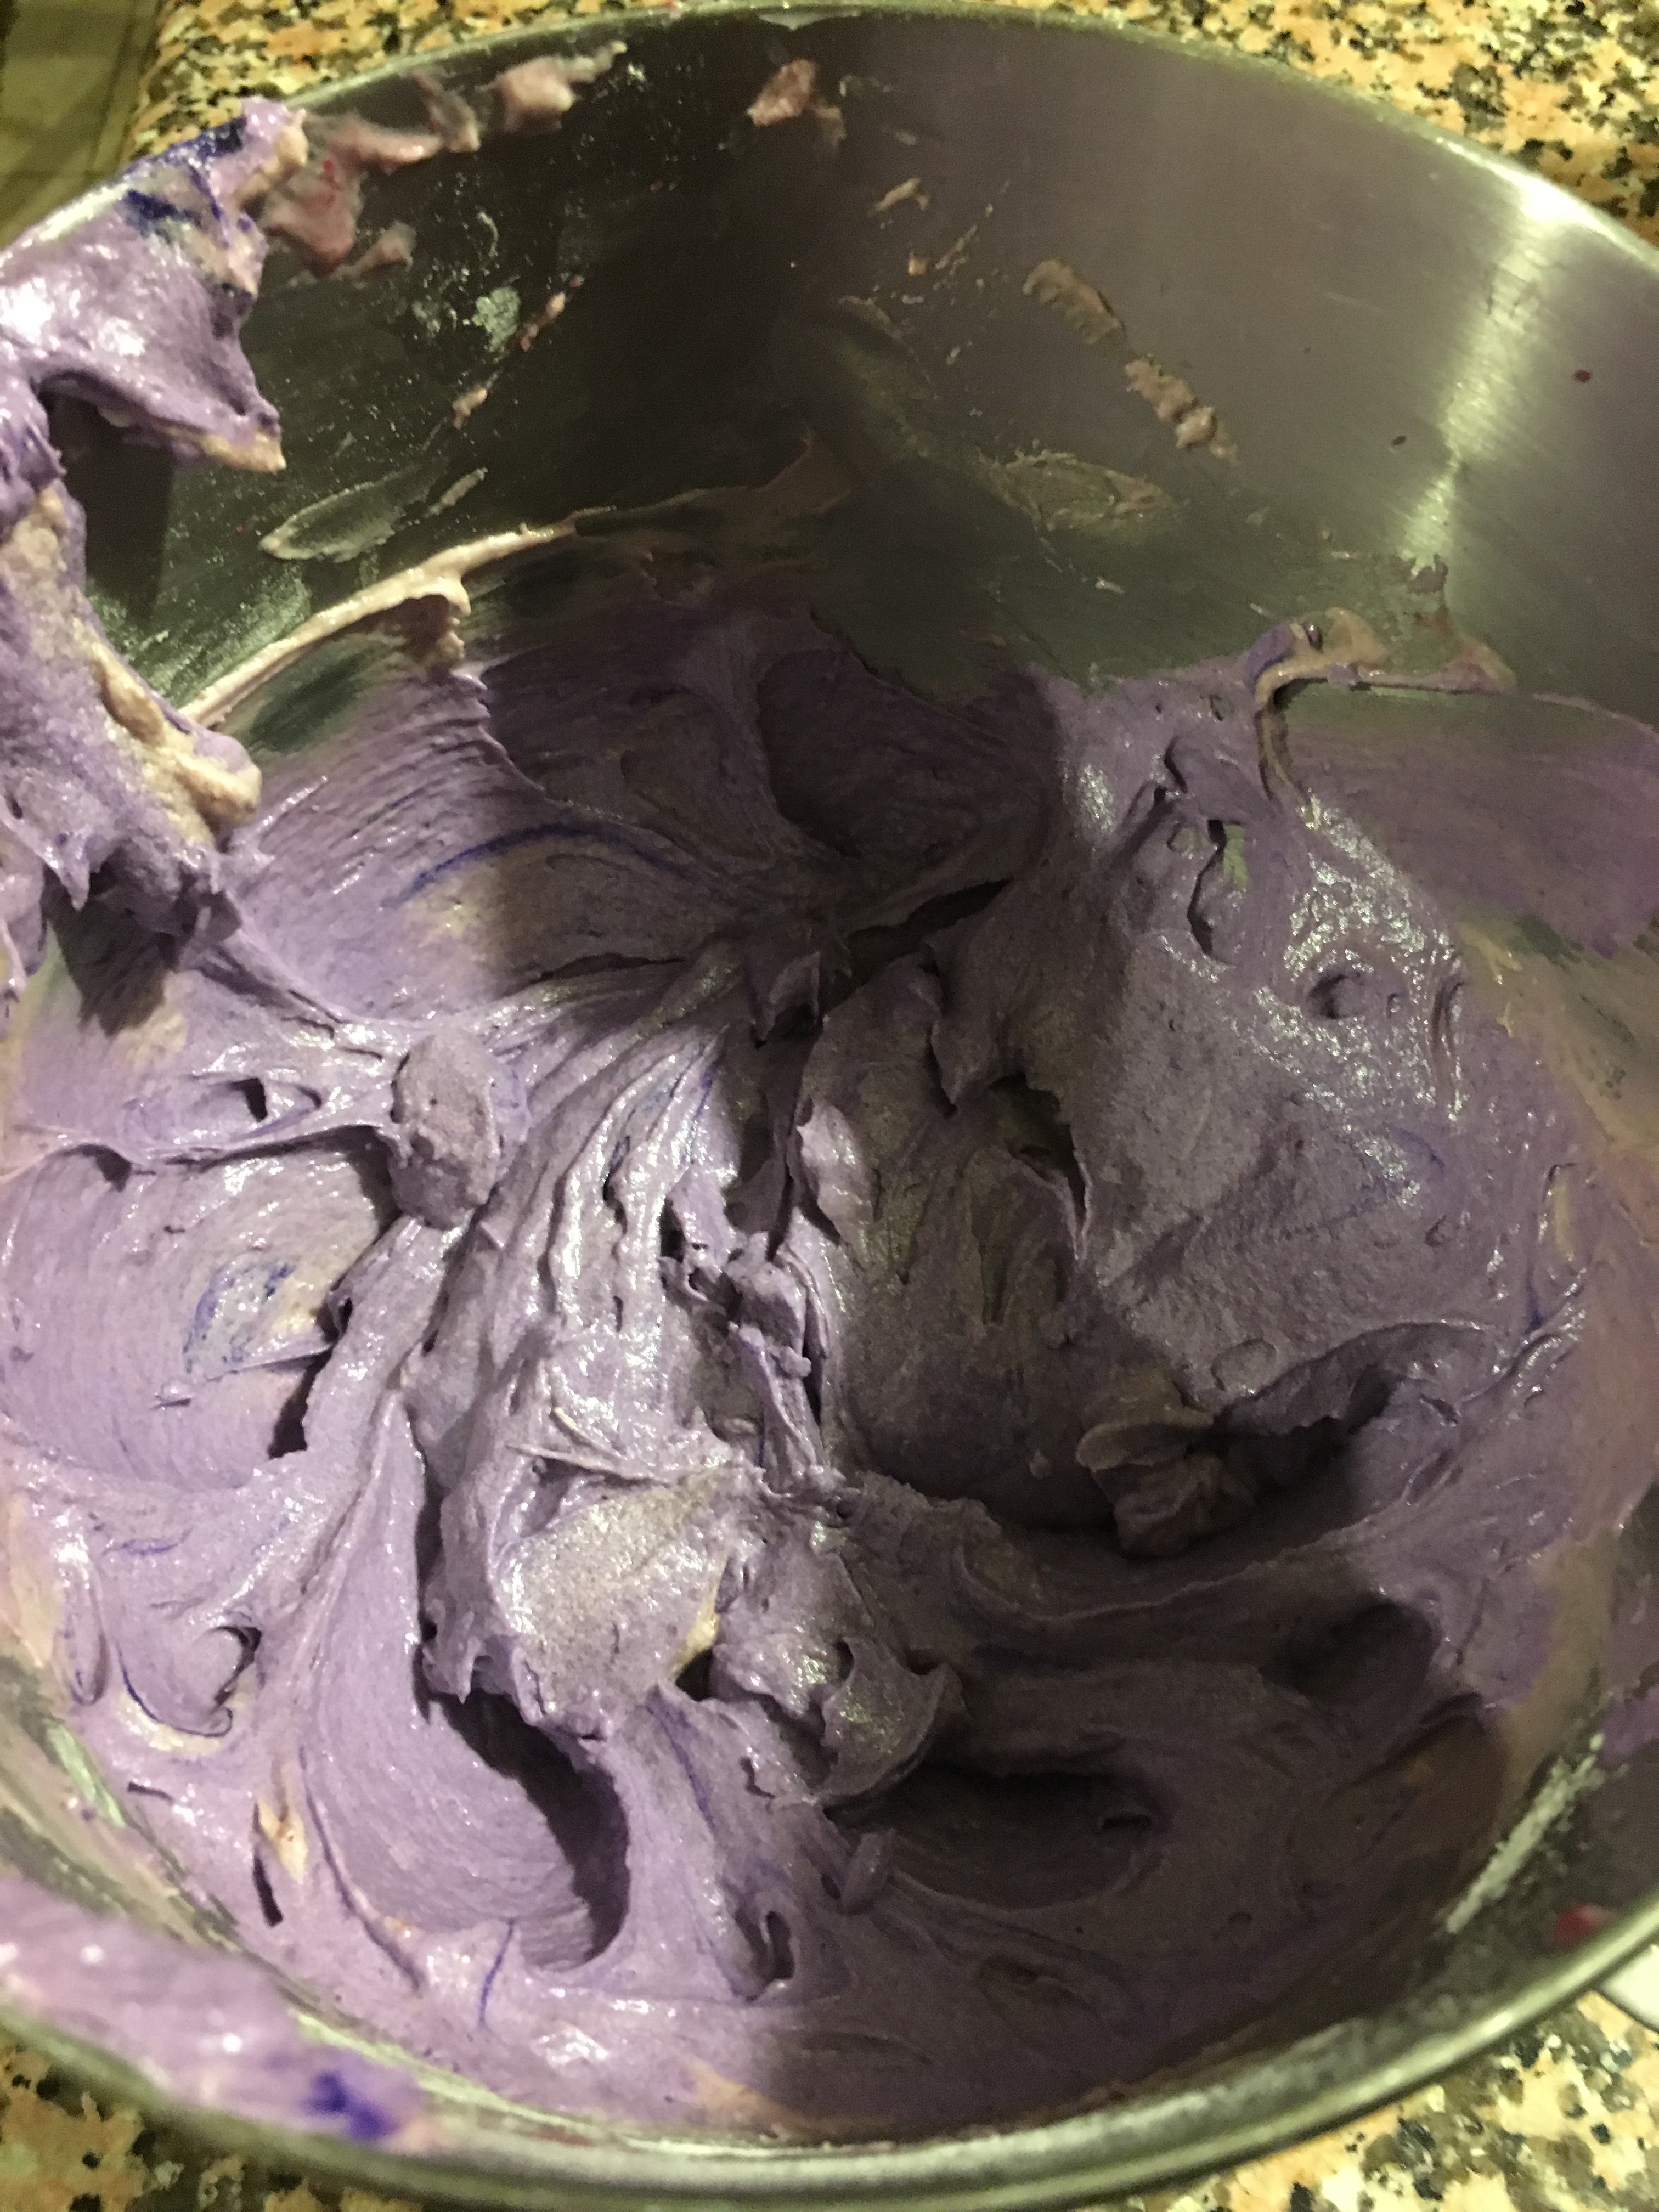
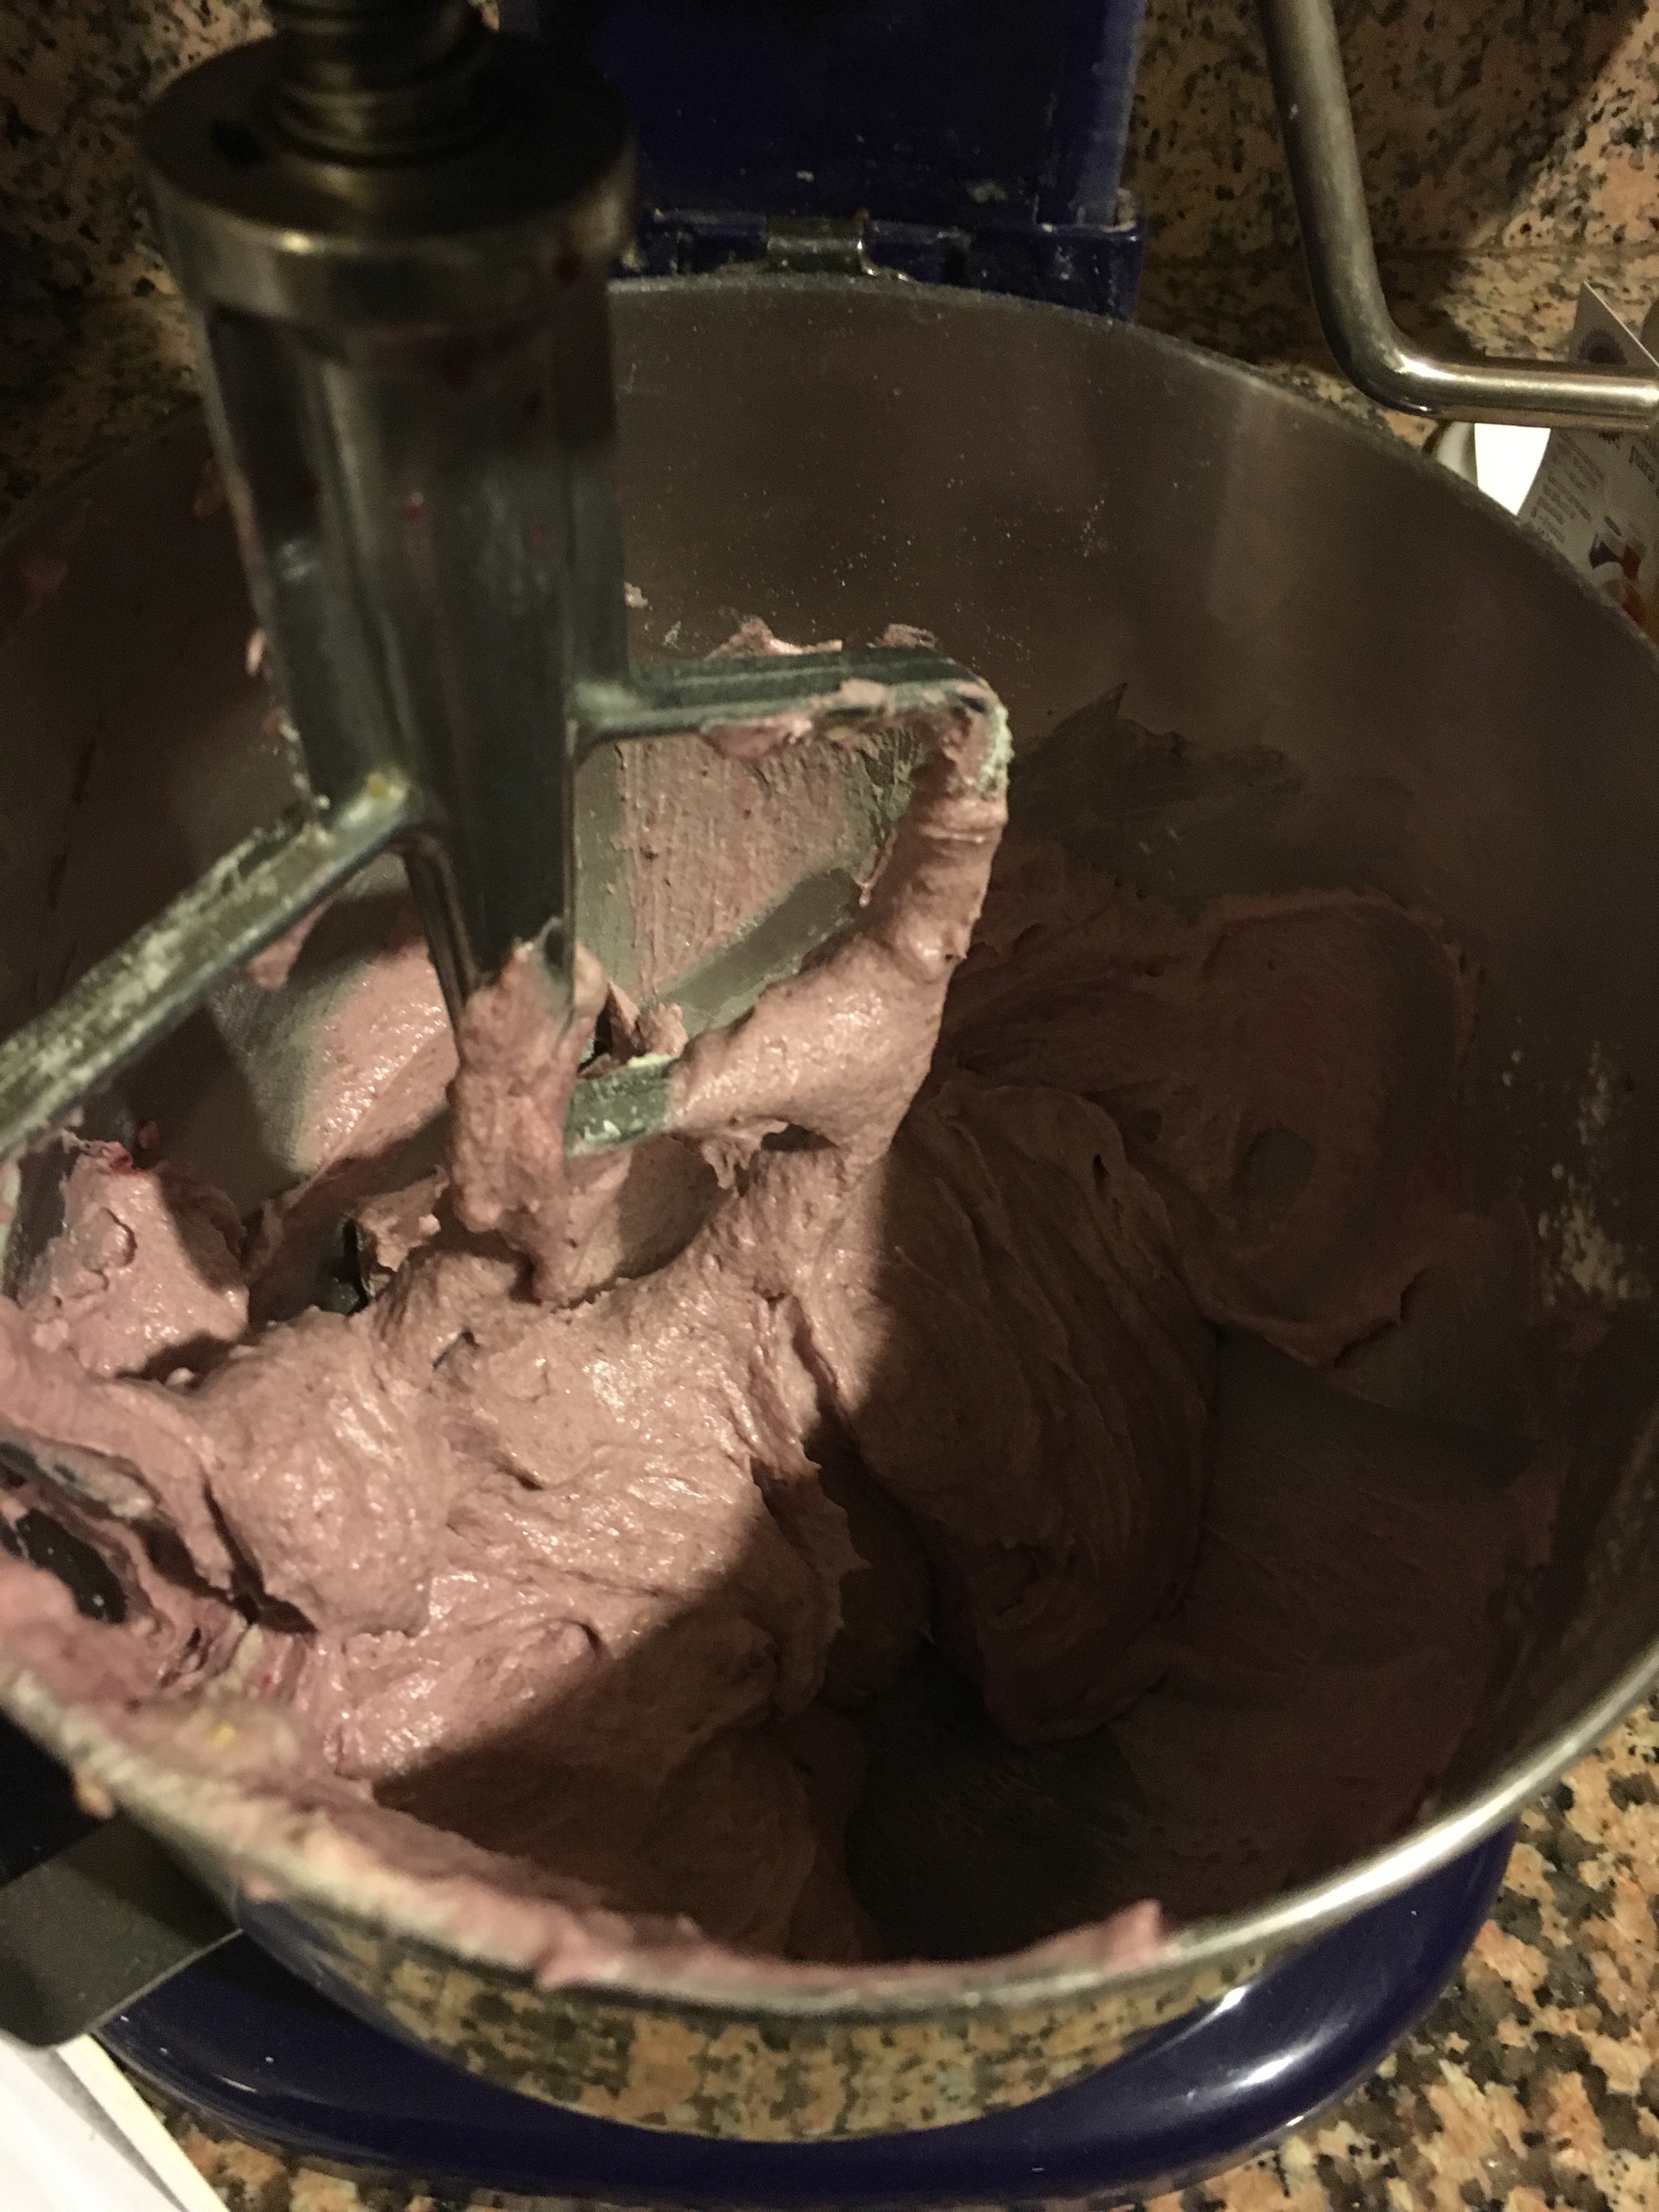
  4. In a separate bowl or stand mixer, beat sugar, butter, and canola oil together until light and fluffy.
  5. Add egg, vanilla, and lemon zest and mix to combine.
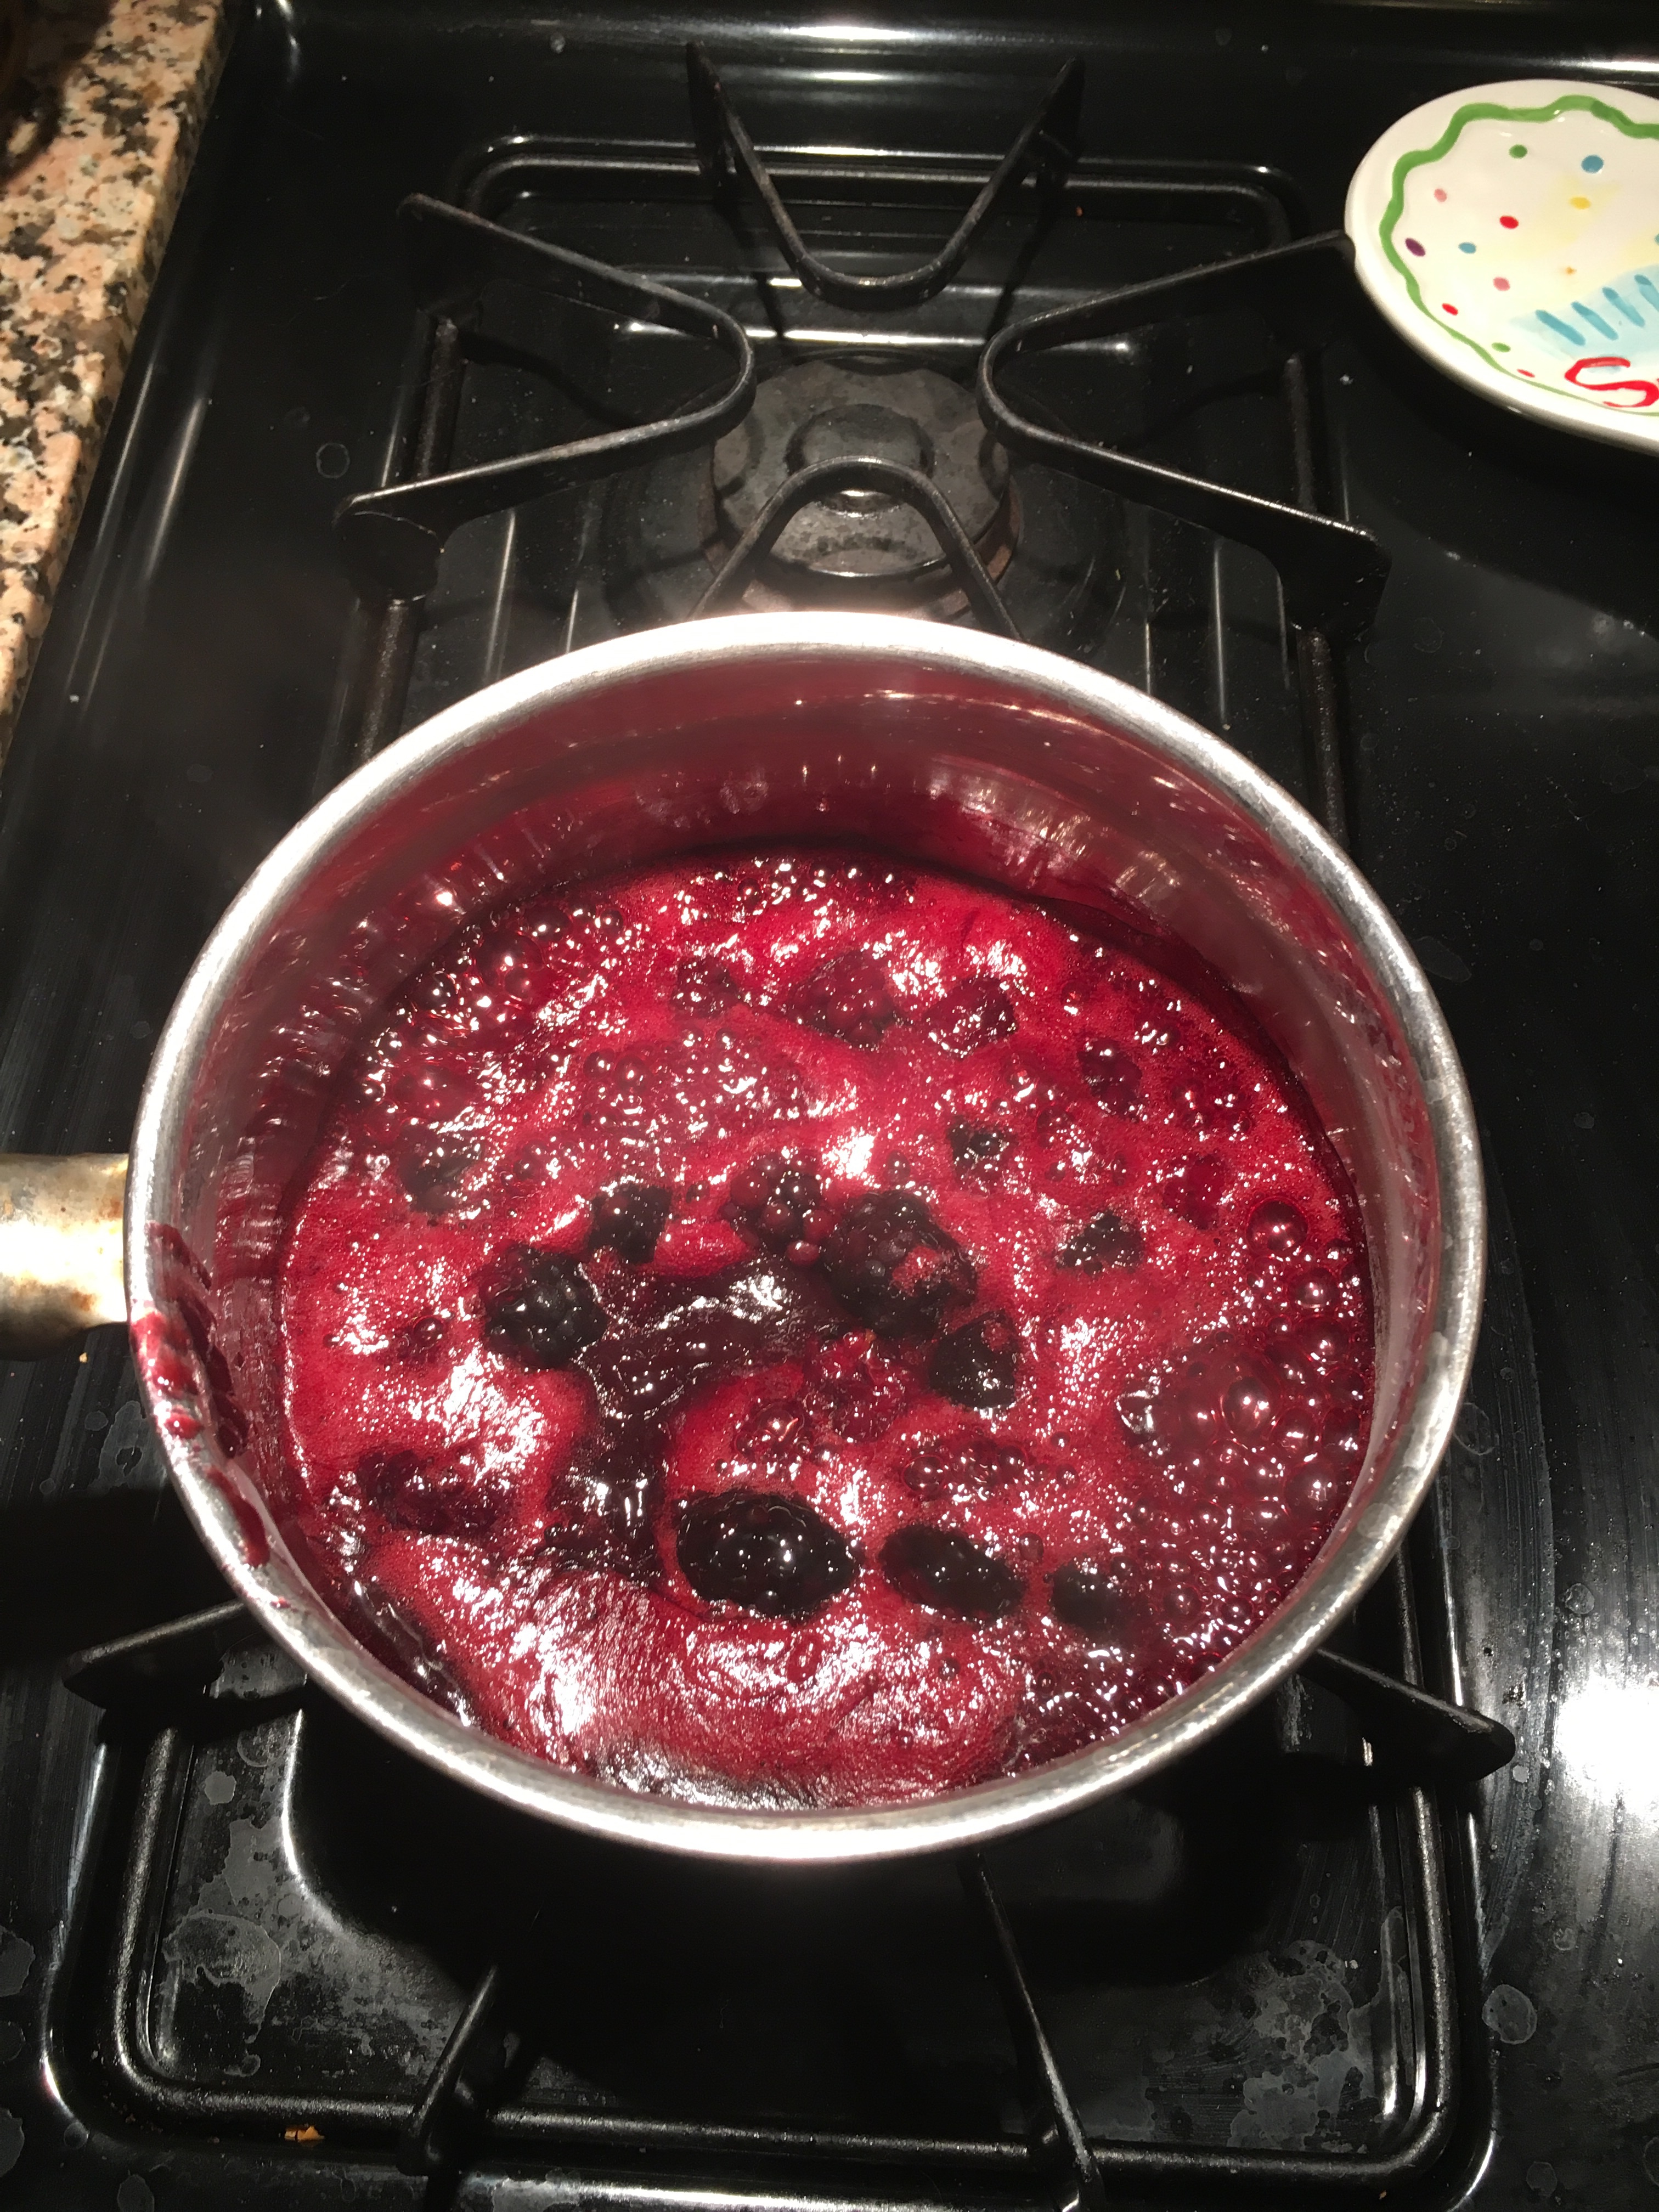
  6. Using a blender, blender together milk, blueberries and lemon juice until smooth.
  7. Add 1/3 of flour mixture to wet ingredients, followed by ½ of milk, and mix to combine. Repeat one more time, beginning and ended with flour.
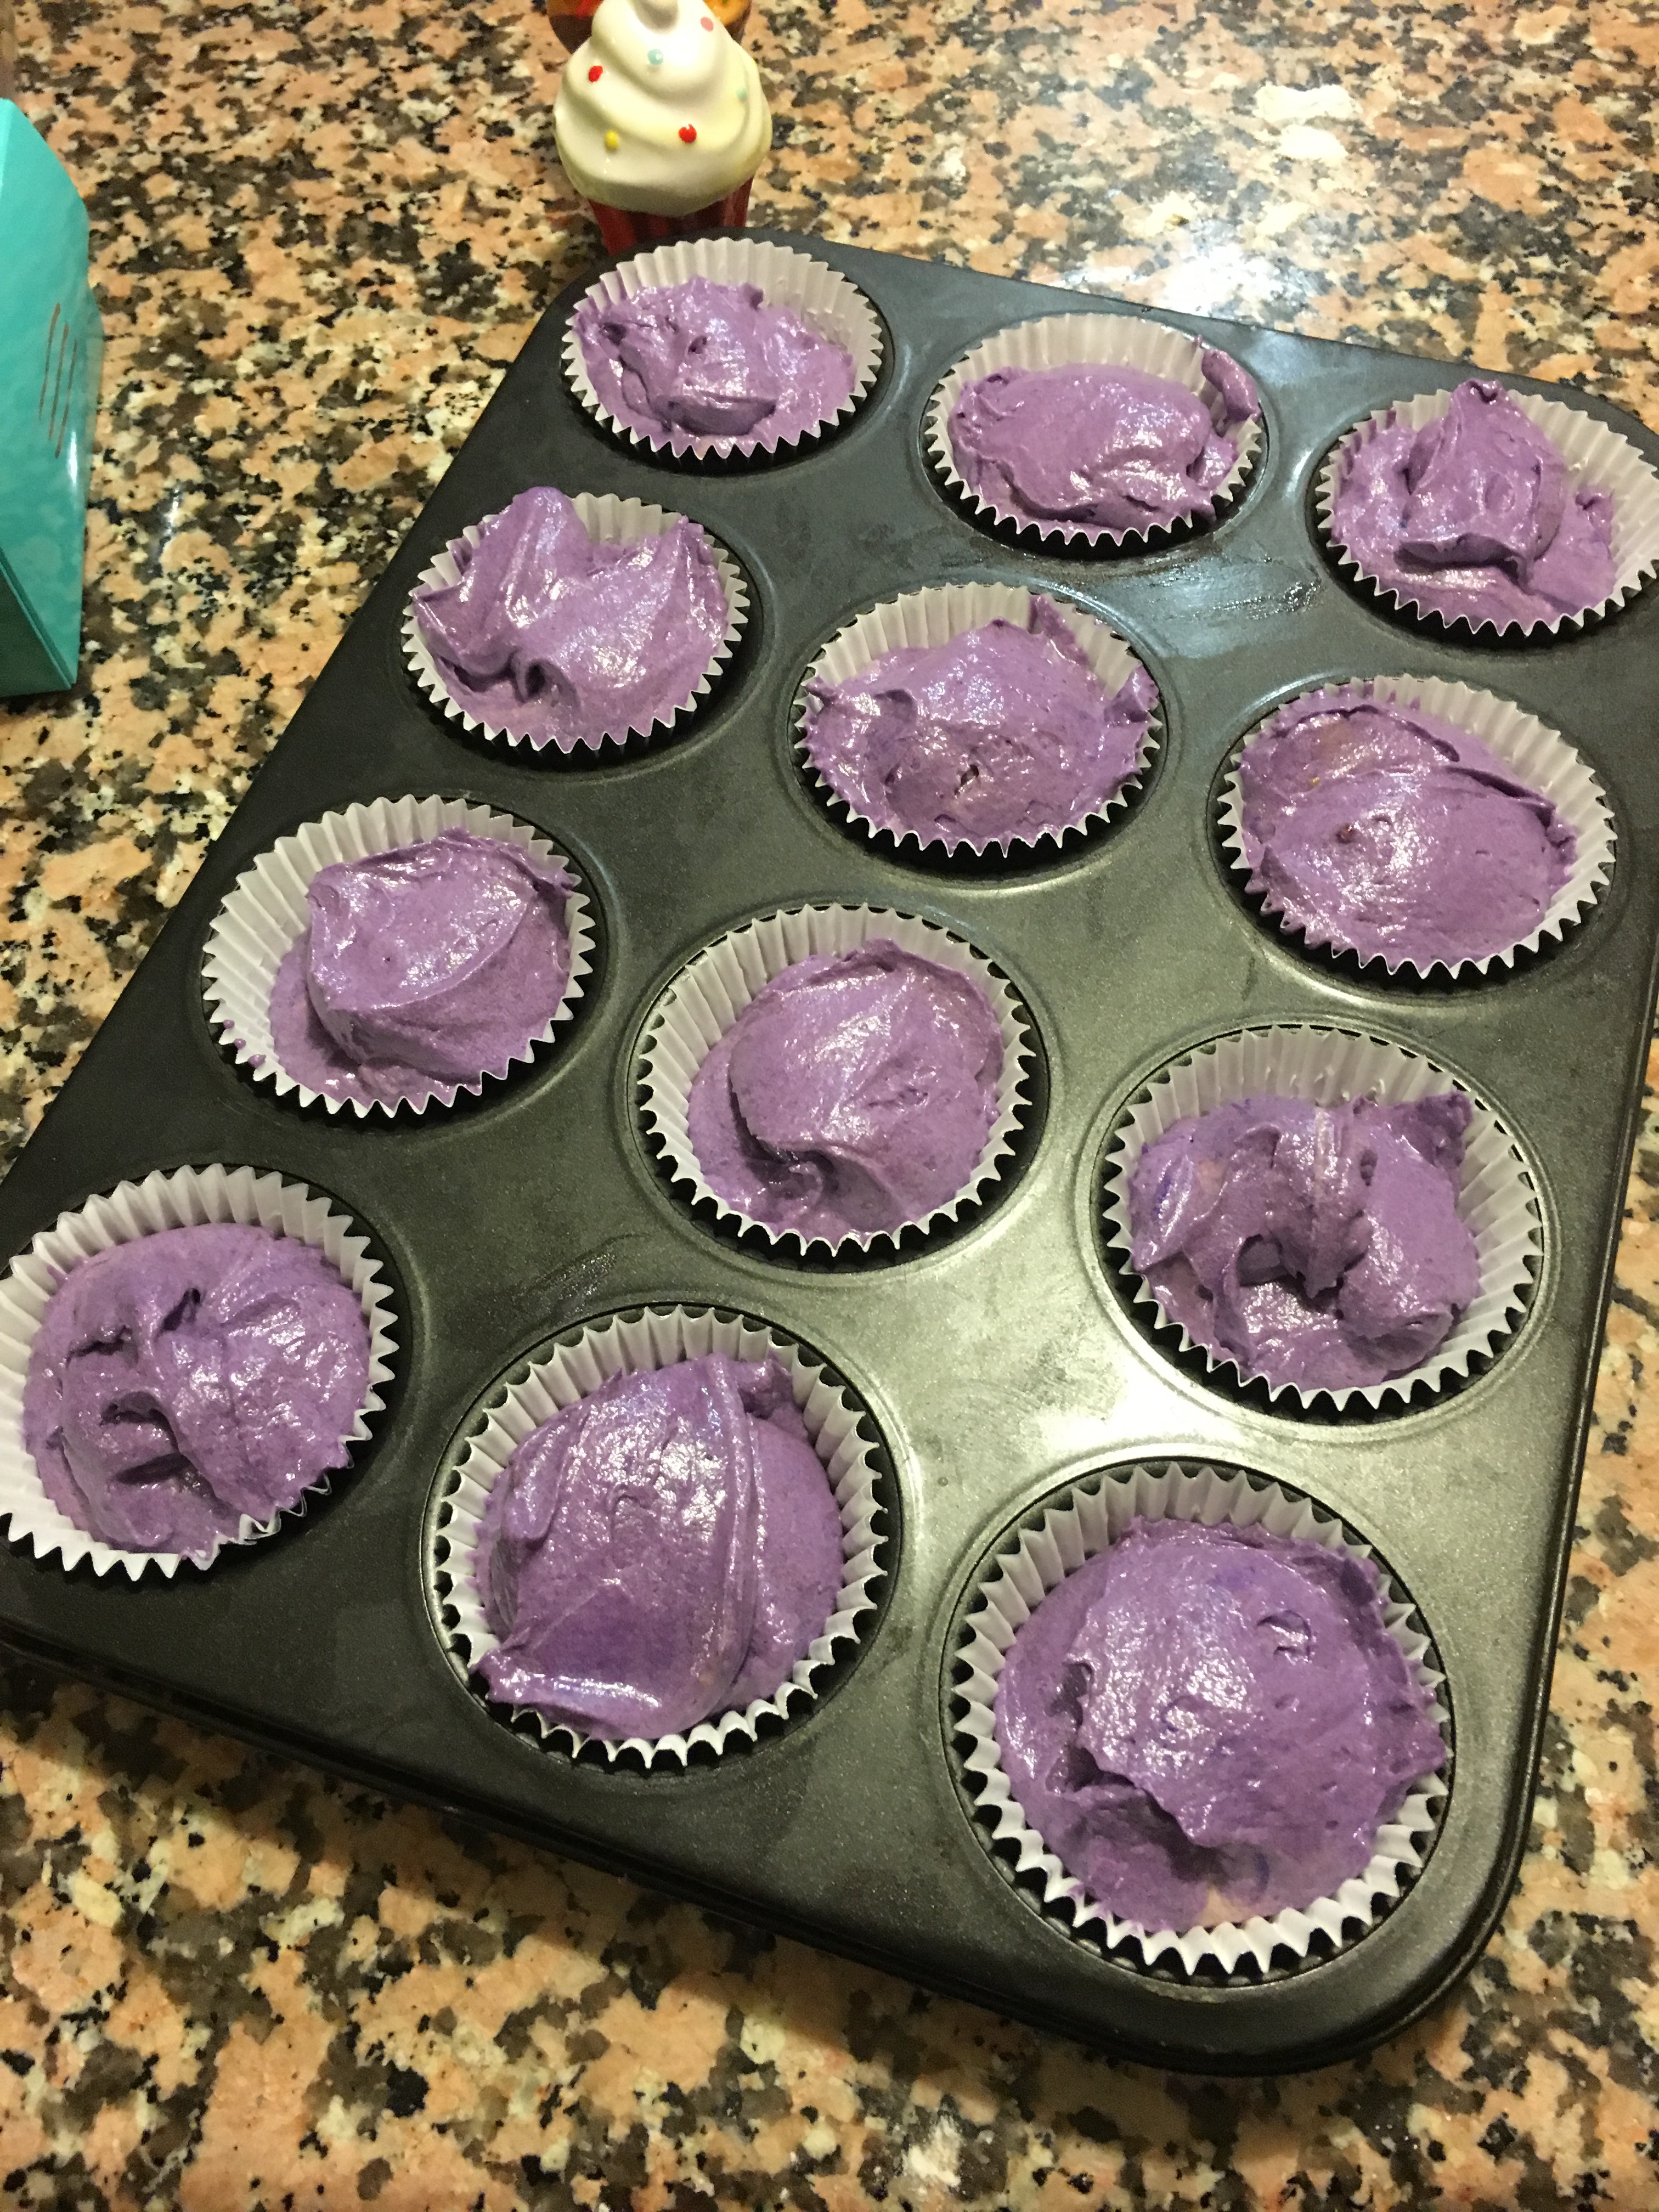
  8. Scoop batter, using small ice cream scoop, one at a time into 12-16 circles about 2 inches apart on prepared baking sheets.
  9. Chill in freezer for 15 minutes, or 30 minutes in refrigerator.
  10. Bake for 10-12 minutes, or until firm. Let cool completely before adding frosting.
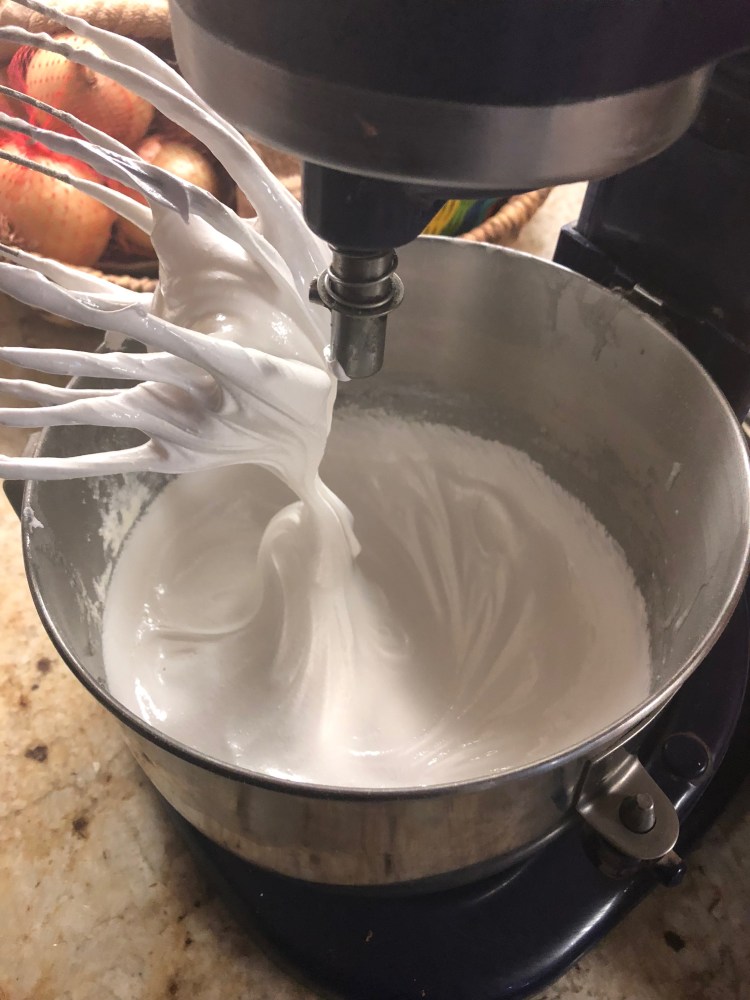
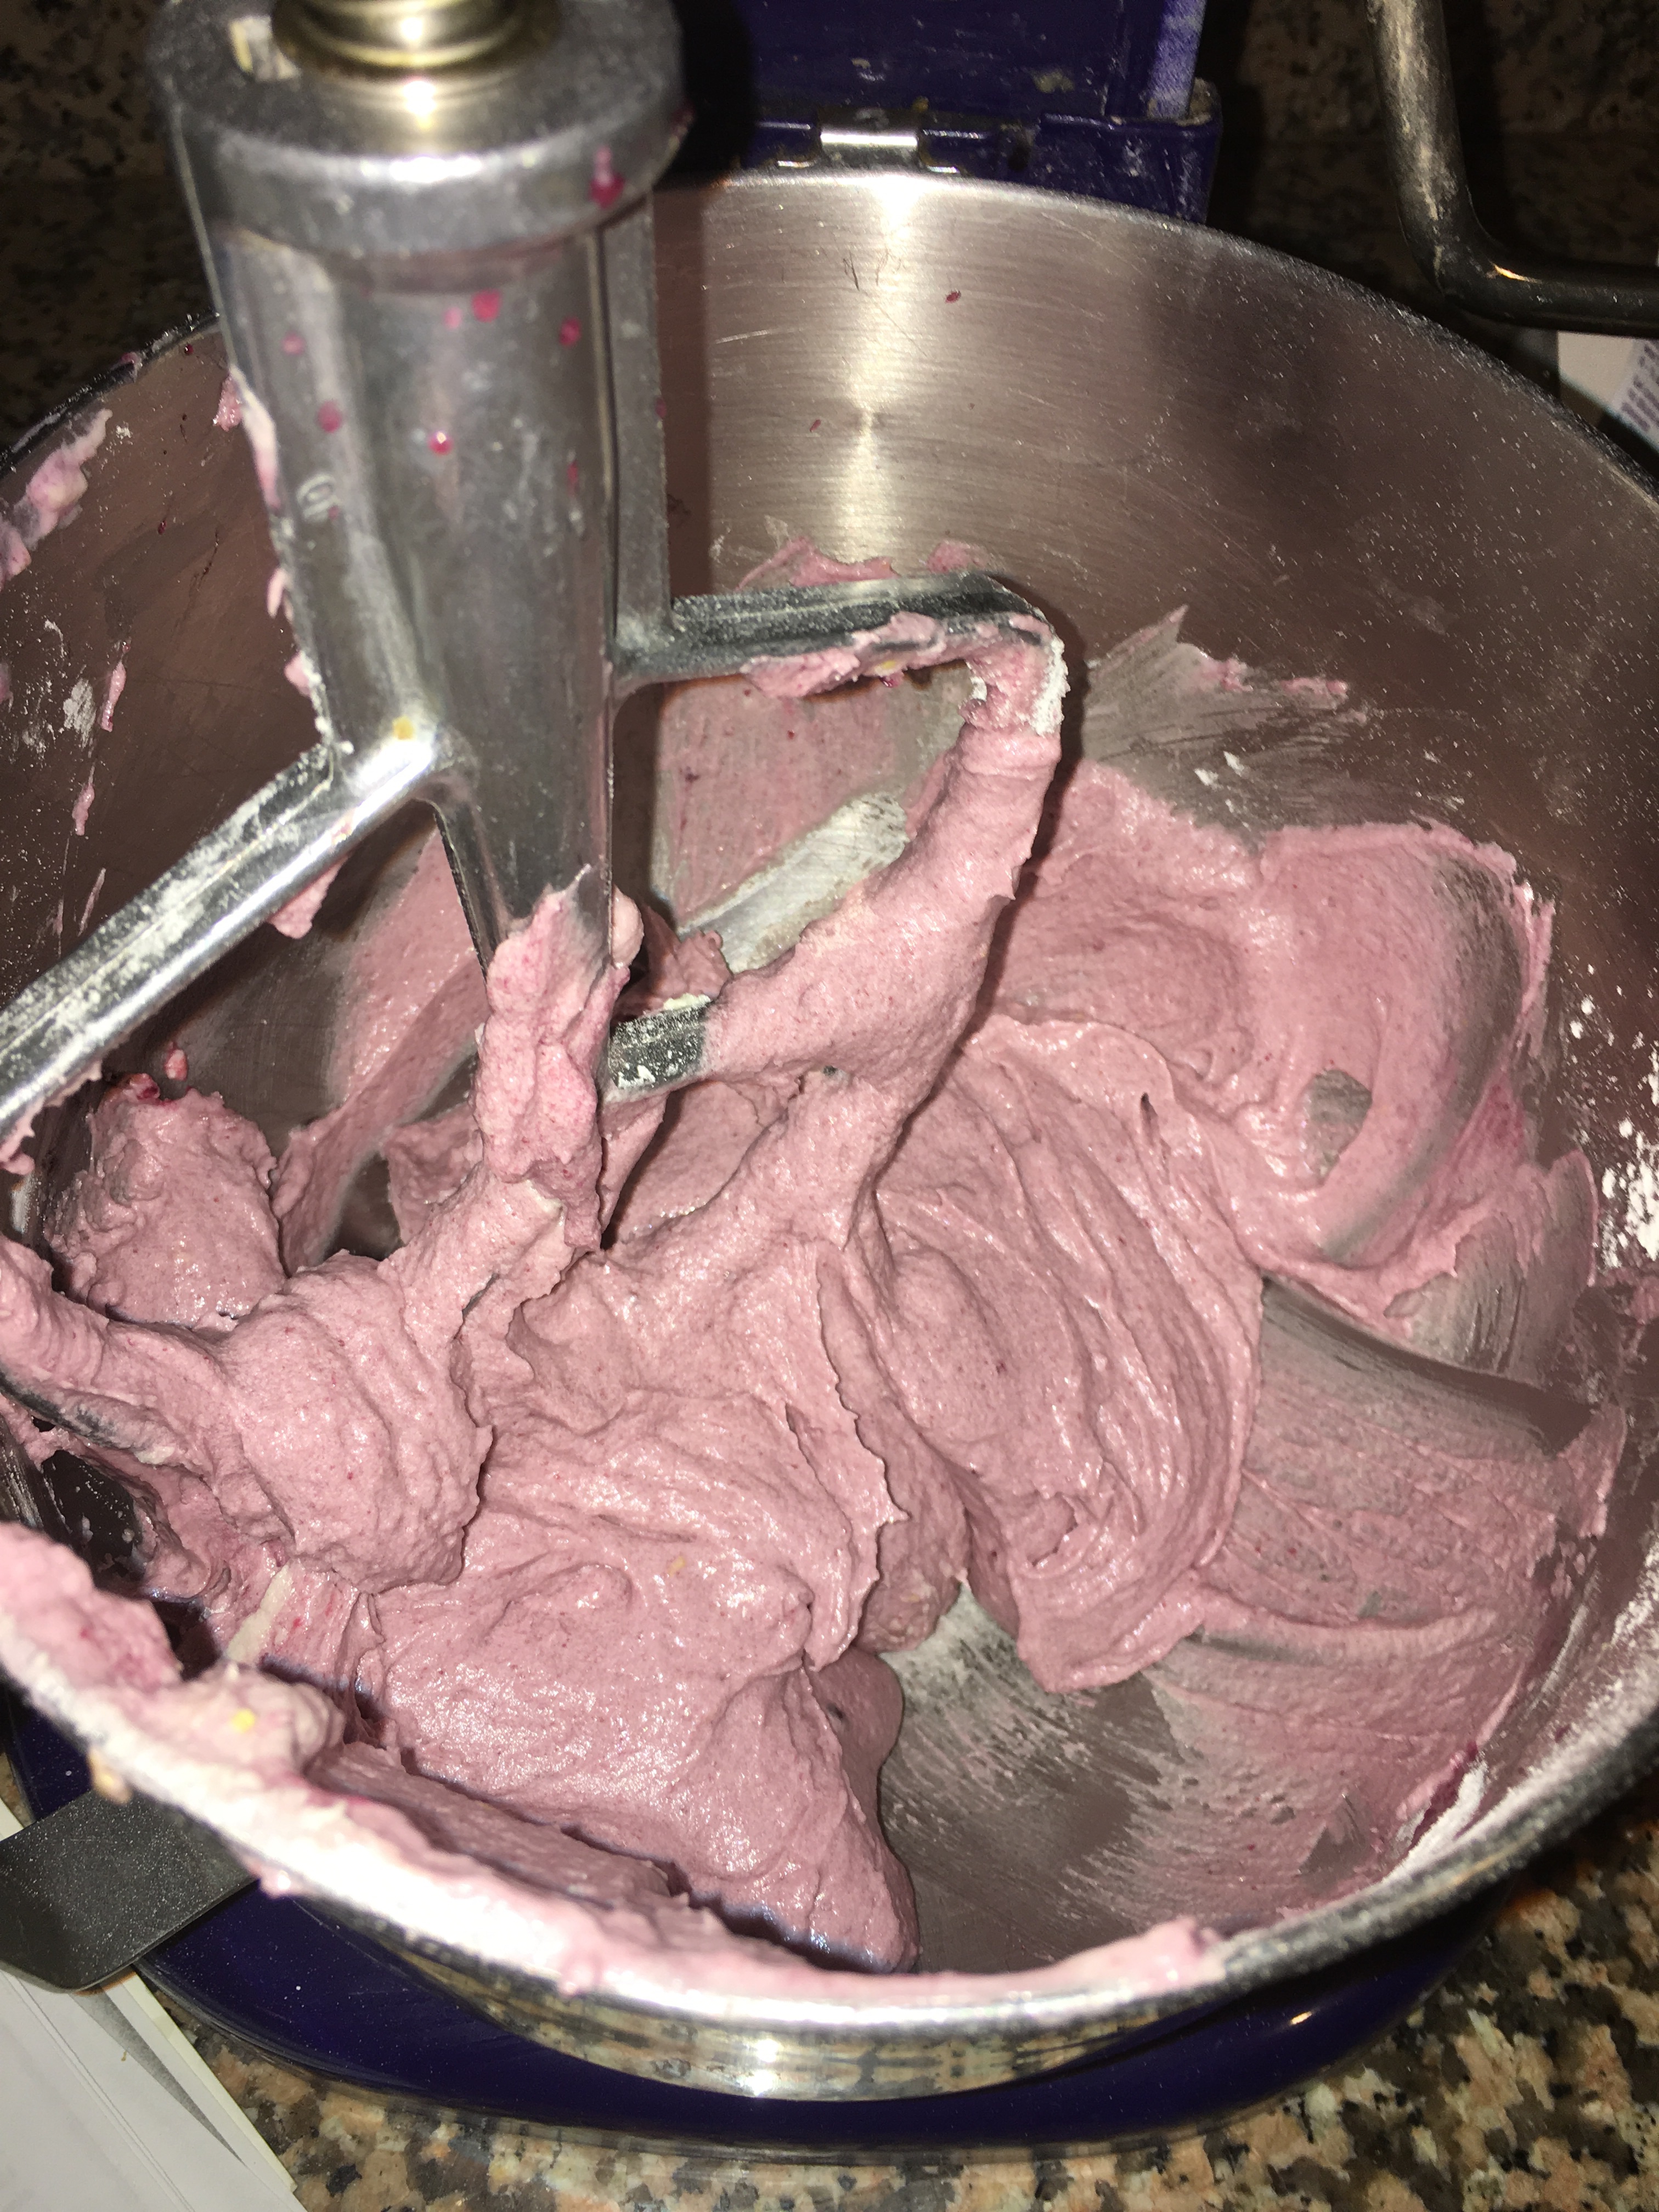
  11. To prepare frosting, mix all ingredients in a mixing bowl until smooth.
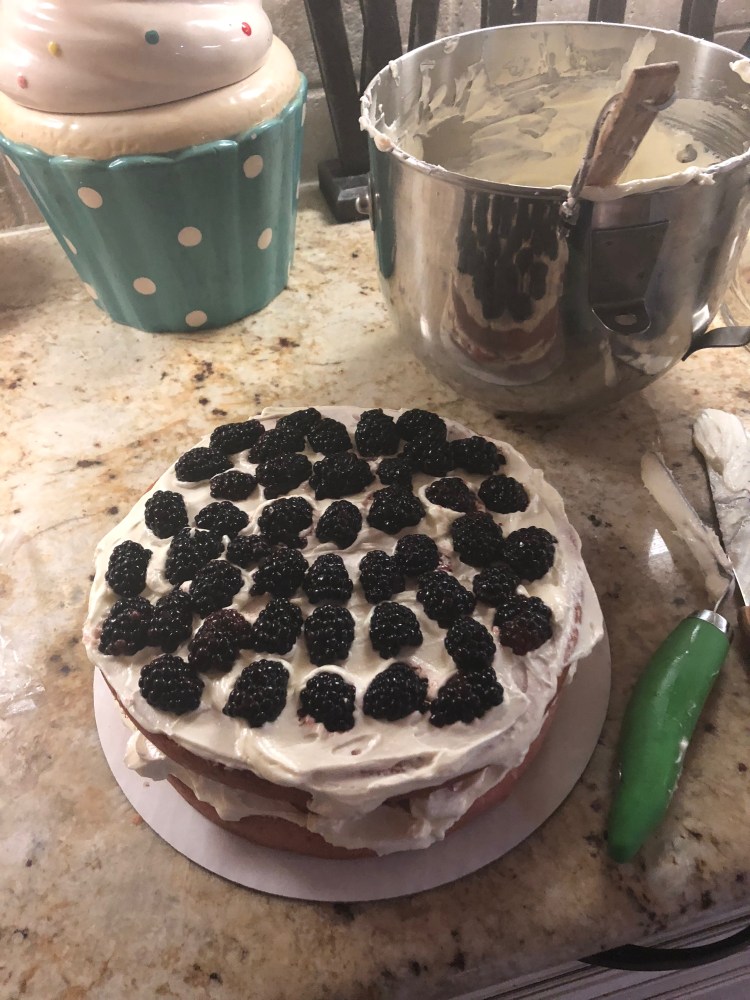
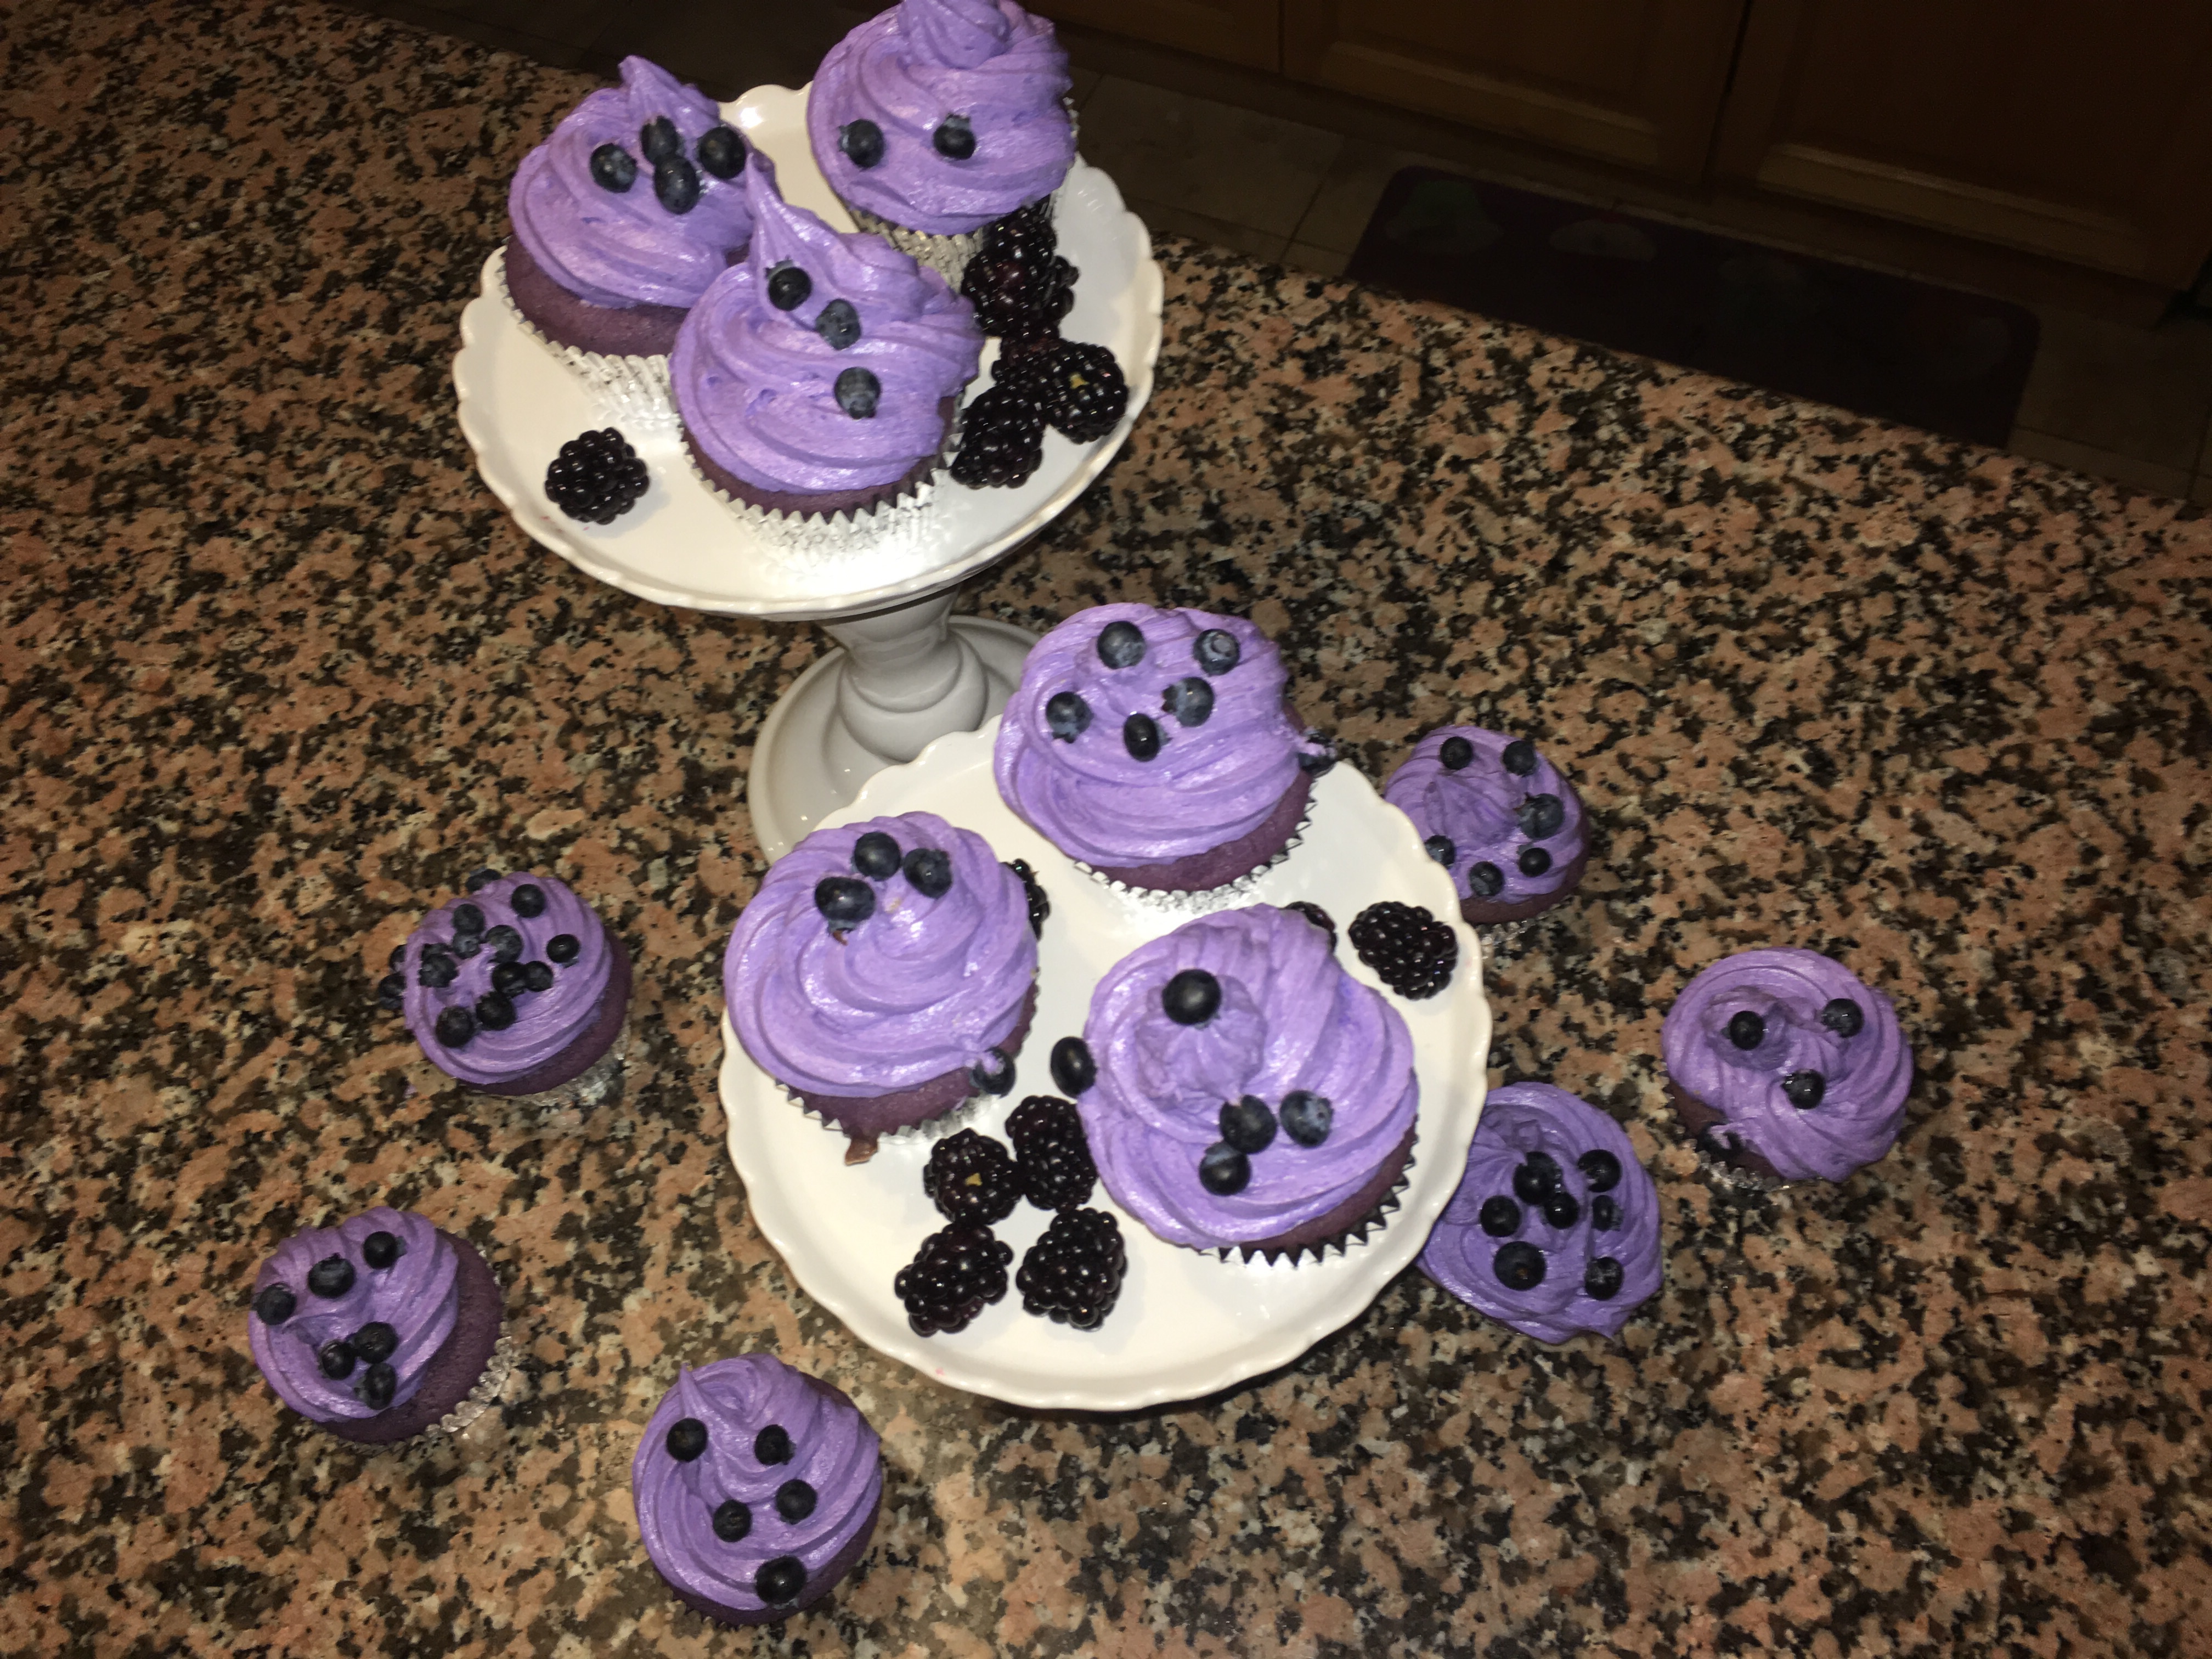
  12. Flip over sandwich cookies, and add frosting evenly to 6-8 of the rounds.
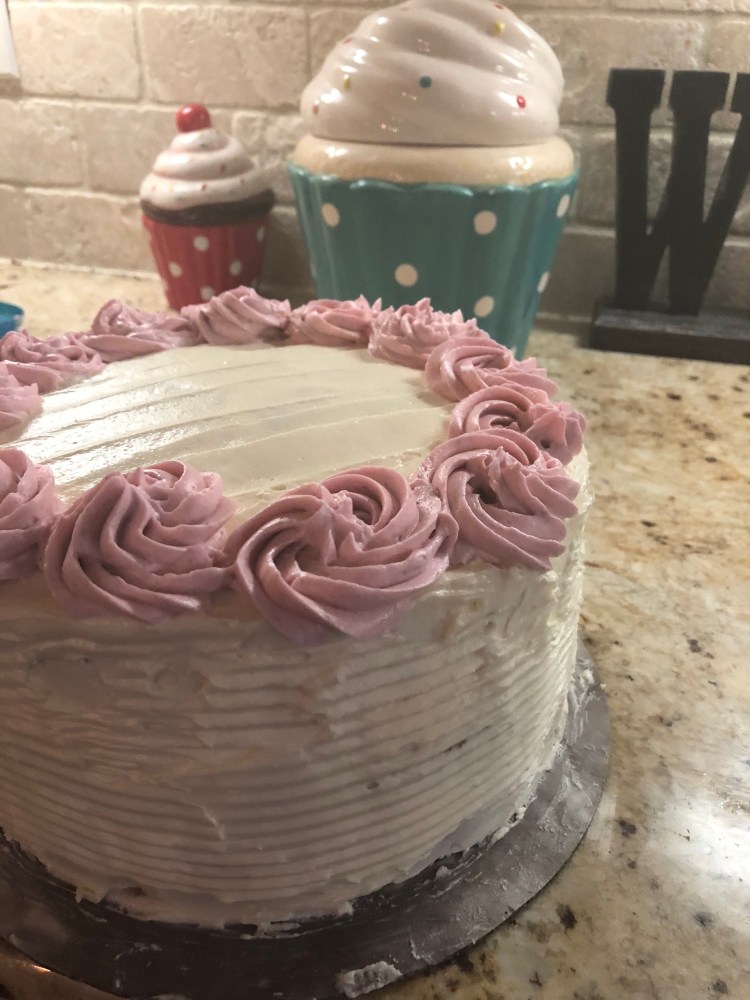
  13. Top with remaining rounds and serve.
  14. Devour and enjoy!!
Step be step video on making Whoopie pies

Dresser Upgrade

Dresser Upgrade

Materials

3, Spray paint colors of your choice

1, clear gloss sealant spray 

1, drop cloth

Medium grade sand paper

Microfiber cloth

Screwdriver

2, ¼”  wood dowels

Wood glue

Spakling

Tape measure 

Pencil

Painter’s tape (the blue kind) 

Packing paper

Drawer knobs

Instructions

1. Clean off all dirt and debris from your dresser. (I sprayed my dresser down with water and let it dry completely)

2. Remove the drawer from dresser and unscrew old drawer pulls from drawer.

3. Sand down your dresser and drawer.

4. Use the microfiber cloth to wipe off sanded dust and debris from your dresser.

5. Lay your dresser and drawer onto your drop cloth.

6. Using one of your spray paint colors, spray the inside cabinet of your dresser and let it dry completely. 

7. While your dresser is drying, place your wood dowels into the extra dresser holes (left from the old dresser pulls) using your wood glue to stick.

8. Once the dowels have dried in place, use sparkling to cover up the remainder of the holes. 

9. Once the sparkling has dried, sand down your drawer holes until they are smooth and blend with the front of the drawer. 

10. Wipe down your drawer using your microfiber cloth. 

11. Spray the inside of your drawer using your second spray paint color. Allow to dry completely.

12. Once your dresser and drawer have both dried, use your tape measure and pencil to measure the amount needed to cover the inside of your cabinet and top of your drawer with packing paper.

13. Cut out necessary amount of packing paper and cover both the inside cabinet and top of your drawer using painter’s tape. 

14. Use remainder to painter’s tape to securely seal packing paper in place.

15. Spray the dresser and drawer evenly with your third spray paint color. Allow both to dry completely. 

16. Spray additional coat of paint on both the dresser and drawer. Allow to dry completely. 

17. Remove painter’s tape and then spray both the dresser and drawer with the clear sealant spray. Allow it to dry

18. Screw new drawer knobs into place.

19. Place drawer back into place in dresser. 

When Life Gives You Lemons Cake

Lemon cake with candied lemons

Ingredients

  • 2 ½  cups of all purpose flour
  • 2 ½  tsp. of baking powder
  • ½  tsp. of table salt
  • ½  cup of unsalted butter, room temperature
  • 1 ¾  cups of granulated sugar
  • 4 large eggs, room temperature
  • ½  cup of greek yogurt 
  • 1 tsp vanilla extract
  • Zest of 6 lemons (approximately ¼  cup) 
  • Juice of 6 lemons (approximately ½  cup)
  • 1 ¼  cup of milk 
  • ¼  cup of limonc”hello” (optional) 

Glaze

  • 2 ½ cups of confectioner’s sugar
  • Remainder of lemon juice (¼ cup)
  • ½ tsp of salt. 

Directions

1. Preheat oven to 350F degrees. 

2. Grease and flour your bundt pan.

3. In a medium sized bowl, whisk together flour, baking powder and salt. Set aside.

4.In a large bowl, beat butter and sugar together. Beat on medium speed until the mixture is fluffy and doubled in sized, approximately 5 minutes.

5. Add eggs one at a time to the mixture. 

6. Add yogurt, vanilla extract, lemon zest and half of the lemon juice (¼ cup) 

7. Beginning and ended with flour, add flour (divided into thirds) and milk (divided into halves) to the mixture until batter is smooth and all ingredients are together.

8. Transfer batter to the cake pan and smooth batter until even in the pan.

9. Hit cake pan onto the counter a few times to knock out air bubbles.

10. Bake cake for approximately 45-50 minutes until toothpick or cake tester comes out clean.

11. Place cake onto cake rack and poke cake all over using same toothpick or cake tester. (optional) 

12. Pour limonc”hello” slowly onto cake and allow cake to cool completely.

13. Invert cake onto cake plate or board. 

14. Pour glaze onto cake. 

15. Decorate with candied lemon slices, devour and enjoy!

Candied Lemon Slices

  • ¼ cup sugar
  • ¼ cup of water
  • 1 lemon 

1. Slice lemon into 1/8 inch thin round slices, using very sharp knife and set aside.

2. In a large skillet, mix together sugar and water on medium heat and bring to a boil.

3. Once the sugar has dissolved, turn heat down to medium low- low heat.

4. Add the lemon slices in a single layer and simmer for about 15-20 minutes, remember to turn over lemons once using tongs or spatula.

5. Lemons are done when they are translucent and syrup is thick and sticks to lemons. 

6. Place lemons on parchment paper and them to cool completely. 

Travel Shadow Boxes

Completed Shadow Box

Materials

  • Shadow Box
  • Map
  • Colored paper
  • Computer and printer
  • Pencil
  • Scissors
  • Elmer’s glue
  • Glue stick
  • Ruler
  • Stick pins
  • Travel memorabilia

Instructions

  1. Remove any stickers and price tags from you shadow box and clean glass.
  2. Open shadow box, using your ruler measure inside of shadow box where you will be placing your map.
  3. Lay out your map and trace out lines of measurements using your pencil and ruler.
  4. Cut along pencils lines until you have cut out your map piece completely and set aside.
  5. Using your computer and printer, print out your shadow box title on your colored paper. (I used script font in size 150. I then outlined letters).
  6. Carefully cut out scripted letters on colored paper.
  7. Open up your shadow box and using your Elmer’s glue place your map in the center of your shadow box.
  8. Using your glue stick, place your colored letters on the top center of your map.
  9. Allow your map and letters to dry completely.
  10. While your map and letters are drying, take at your memorabilia and lay out your shadow box placement.
  11. Once everything is dried, pin your memorabilia in place.
  12. Hang or display your shadowbox wherever you want and be proud of everything you have done!!
Shadow Box in my office

Cinnamon Rolls

Cinnamon Rolls

Best tasting cinnamon rolls ever!!

Dough

• 2- 1/4-ounce package yeast

• 1/2 cup luke warm water (approximately 140F) 

• 1/4 cup sugar

• 1/3 cup butter, melted

• 1 teaspoon salt

• 1 egg

• 4 to 4 ½  cups all-purpose flour

Filling

• ½ cup butter, softened

• ¾ cup likely packed brown sugar

• 2 tbsp ground cinnamon

Frosting

  • 1 8oz package of cream cheese

• 1/2 cup butter, softened

• 2 cups powdered sugar

• 1 tsp. vanilla extract

• 3 to 5 tbsp of milk

• ¼ tsp of salt

• ½ cup of pecan halves (optional)

Directions

In a large mixing bowl, dissolve yeast in warm water and allow it to set for at least five minutes until the mixture starts to bubble. In a separate small bowl mix sugar, melted butter, salt and egg together. Add egg mixture to large bowl while yeast hook is going on medium speed. Turn hook speed down to low and add 2 cups of flour and mix until flour is incorporated. Mix in remaining flour until dough is easy to handle and comes off the side of the bowl. Knead dough on lightly floured surface for 5 to 10 minutes. Place in well-greased bowl, cover and let rise until doubled in size, usually 1 to 1 1/2 hours.

When doubled in size, punch down dough. Roll out on a floured surface into a 15 by 9-inch rectangle. Spread softened butter all over dough using pastry brush. Mix sugar and cinnamon and sprinkle over buttered dough. Beginning at the 15-inch side, role up dough and pinch edge together to seal. Cut into 12 to 15 slices.

Preheat oven to 350 degrees.

Place cinnamon roll slices close together in the pan and let rise until dough is doubled, about 45 minutes. Bake for about 30 minutes or until nicely browned.

Meanwhile, in a medium sized bowl mix together cream cheese, butter, powdered sugar, salt and vanilla. Add milk 1 tablespoon at a time until the frosting reaches desired consistency. Spread over slightly cooled rolls.

Sprinkle with pecans (optional) 

Devour and Enjoy!!

Limonc”hello”

Doesn’t get any better than homemade Limoncello

Limoncello (adaptive from What’s Cooking America recipe):

  • 15 organic lemons ( I used 6 meyer lemons and 9 regular lemons)  
  • 2 (750 ml) bottles 100-proof vodka ( I used Tito’s) 

Simple Syrup:

  • 4 cups sugar
  • 5 cups water (filtered tap water or distilled water)

Instructions

Step One:

  1. Clean the lemons to remove any dirt, pesticides or wax; pat the lemons dry.
  2. Carefully zest the lemons with a zester or vegetable peeler so there is no white pith on the peel.  

Step Two:

  1. In a large glass jar (1-gallon jar with lid), add vodka.
  2. Add the lemon zest as it is zested.
  3. Cover the jar and let sit at room temperature for at least (10) ten days and up to (40) days in a cool dark place.  The longer the mixture rests, the better the end taste will be.
  4. There is no need to stir – all you have to do is wait.  As the limoncello sits, the vodka slowly take on the flavor and rich yellow color of the lemon zest.

Step Three:

  1. Make a Basic Simple Syrup using the 4 cups sugar and 5 cups water:
  2. In a large saucepan, combine the sugar and water; bring to a gentle boil and let boil, approximately 5 to 7 minutes.  Remove from heat and let the syrup cool before adding it to the Limoncello mixture.
  3. Add cooled sugar mixture to the Limoncello mixture (from Step One).  Cover jar and allow to rest for another 10 to 40 days.

Step Four:

  1. After the rest period, strain the Limoncello ( I used a cheesecloth); discarding the lemon zest.   Pour strained Limoncello in bottle/bottles (of your choice) and seal tightly.

Storing Limoncello:

Keep your bottle/bottles of Limoncello in the freezer until ready to serve.  Serve ice cold from the freezer.

Homemade Limoncello

Côte d’Azur Cake

Eze, France


Two Summers ago, I had the incredible opportunity to travel to the South of France. For those of you who don’t know, Paris, is my most favorite city in the World!! (Super cliché I know).  I never had a bad experience while visiting France so figured that I had to check out one of these most renown places for the elite and prosperous.

Nice, France and its surrounding cities are in ways indescribable. The countryside, the breathtaking views, the historic sites, the people, the yachts, all make the South of France one of the thee most sought after places to travel. Once thing that I recall about the food of the area was the fresh produce. 

While visiting Cannes, I had a chance to go an open market. I don’t want to call it your typical “farmer’s market” because this market would put any market I’ve been to in the states to shame. The food in Cannes was some to the freshest vittles I have ever put in my mouth. I mean the bread, the cheese and the PRODUCE!!. After that experience I realized why this area is called Côte d”Azur or “fruit of the sea.” Not only was seafood amazing but the literal fruits of the area are the best I’ve ever had.  I had the tiniest of strawberries from the market but they were probably the juiciest little things I’ve ever tried.

Open market in Cannes, France

Not only is this area known for their food but also their Rosé. I glass of Rosé with fresh ice is the drink of choice when one is sitting on the promenade enjoying the wonderment of France. I had the best and most Rosé I’ve ever had in my life. I must admit that Rosé is now my drink of choice on a warm relaxing L.A. day.

After this fabulous trip I knew that I wanted to create a way to remember all the glorious experiences of Côte d’Azur. I had heard of a pink champagne cake and thought I can make it better and luxurious like my Summer trip to France. Here’s what I came up with:

Côte d’Azur Cake

Prep Time 2 hours
Cook Time 25 minutes
Total Time 2 hours 25 minutes

Côte d’Azur Cake:

3 cups all-purpose flour

3 tsp. baking powder

1 tsp. salt

1 cup unsalted butter room temperature

1 ½  cup plus 2 tbsp. of granulated sugar

6  large egg whites, room temperature

2 tsp vanilla

½ cup Rosé or dry Moscato

¼ cup seedless raspberry preserves

Rose color gel

1 pint of strawberries, wash and dried

1 pint of blackberries, wash and dried

Vanilla Buttercream:

8  large egg whites

2 ½ cups granulated sugar

3 cups unsalted butter, room temperature and cubed

2 tsp vanilla extract

Rose color gel

INSTRUCTIONS:

Côte d’Azur Cake:

  1. Preheat oven to 350F and grease and flour three 8 or 9″ cake rounds, line bottom of pan with parchment paper.
  2. In a medium bowl, whisk flour, baking powder, and salt. Set aside.
  3. Using a stand mixer fitted with the paddle attachment, beat butter until smooth. Add sugar and beat on med-high until pale and fluffy (5-7mins).
  4. Reduce speed and add egg whites one at a time, fully incorporating after each addition. Add vanilla.
  5. Place raspberry preserves in a microwave safe measuring cup. Place in microwave for approximately 30 seconds until preserves have melted. Add Rosé to preserves and mix together.
  6. Alternate adding flour mixture and Rosé mixture, beginning and ending with flour (3 additions of flour and 2 of champagne) to batter in stand mixer. Make sure to fully incorporate after each addition.
  7. Add a small amount of Rose color gel using a toothpick. Mix to incorporate but try not to over mix.
  8. Spread batter evenly into prepared pans. Smooth the tops with an offset spatula.
  9. Bake for approx. 25 mins or until a toothpick inserted into the center comes out mostly clean.
  10. While the cakes are baking, slice strawberries cross-wise about 1/8 inch thick. Place in a small bowl and mix with tbsp. of sugar. Set aside
  11. Slice blackberries length-wise. Place in a small bowl and mix with tbsp. of sugar. Set aside
  12. When cakes are done, place cakes on wire rack to cool for 10 mins. then turn out onto wire rack to cool completely.
Vanilla Buttercream:
  1. Place egg whites and sugar into the bowl of a stand mixer, whisk until combined.
  2. Place bowl over a hot water bath on the stove and whisk constantly until the mixture is warm to touch and no longer grainy to the touch (approx. 7-8 mins).
  3. Place bowl on your stand mixer and whisk on med-high until the meringue is stiff and cooled (the bowl is no longer warm to the touch (approx. 5-10mins)).
  4. Switch to paddle attachment. Slowly add cubed butter and mix until smooth. Add vanilla and continue to whip until smooth.
Assembly:
  1. Place one layer of cake on a cake stand or serving plate. Top with approximately ½ cup of frosting and spread evenly. Add strawberries on top of frosting in even layer.  Repeat with the second layer of cake and frosting. Add blackberries evenly and place last cake on top. Apply a thin coat of frosting all over the cake. Chill for 20mins.
  2. Frost and smooth the sides. Chill for 20mins.
  3. Using a toothpick, add a small amount of Rose color gel to the remaining frosting. Stir with a spatula to incorporate, or place back on the stand mixer to mix in the color.
  4. Decorate with pink rosettes on top and add a decorative border to the bottom

Devour and Enjoy!!

*recipe adaptation from Liv for Cake, Pink Champagne recipe https://livforcake.com/pink-champagne-cake/

Purple Rain Paradise cupcakes with raspberry (beret) liqueur

Prince!! What an inspiration. This man was not afraid to be his own person. He did what he loved despite what other people may have felt. He was a fantastic musician and humanitarian. Despite him only being a whooping 5’2″, he made a gigantic imprint on me and the world! May he rest in peace!! I decided to do a Prince tribute the best may I knew how, a baked good. I got the idea to use Prince love of purple and one of his most popular songs to create a pretty tasty cupcake. Here’s how I did it


Ingredients


1 cup of seedless blackberry preserves

1 pint (approx 6oz.) of fresh blackberries

3 tbsp of raspberry liqueur

1 ½ cup of sugar

3 large eggs, room temp.

3 cups of AP flour

1 ½ tsp of baking powder

¼ tsp of salt

1 tsp of lemon zest

½ cup of buttermilk

Violet color gel (optional)


Frosting

1 cup (2 sticks) of butter, room temperature

3- 8oz packages of cream cheese

4 cups of confections sugar

3 tbsp of raspberry liqueur

½ tsp of lemon zest

Violet color gel (optional)


Fresh blueberries (optional)


Directions


For cupcakes: In a small saucepan, combine and stir preserves and fresh berries on low heat. Allow berries to simmer until preserves start to boil and the berries bust and soften. Remove from heat and allow to cool completely. Use strainer to separate seeds from blackberry sauce. Add raspberry liqueur to berry mixture. Set aside.

In large bowl separate bowl combine flour, baking powder, salt and lemon zest. Whisk ingredients together and set aside. In a large separate bowl cream butter, and sugar together until white and fluffy, approximately 5 minutes. Add eggs, one at a time to creamed mixture. Stir until completely blended. Add blackberry mixture.  Add flour mixture and buttermilk, alternating, starting and ending with the flour mixture. Be careful not to over mix. Lightly stir in dye. Pour into prepared, lined muffin pans to about 2/3 full. Bake for about 18-20 minutes. Allow cupcakes to completely cool.


For frosting: In a large mixing bowl, using an electric mixer, blend butter, cream cheese, zest and raspberry liqueur on low speed until incorporated. Increase the speed to low/medium slowly add in confectioners sugar. Once all sugar has been added, increase speed to high and mix until light and fluffy, about 5 minutes.  Add in dye and whisk until incorporated. Pipe the cream cheese filling into cooled cupcakes with a piping bag or a plastic baggie with a hole cut at the corner.

Add flesh blueberries.


Devour and enjoy!!!

Nostalgia cookies

Ingredients

2 cups cinnamon crunch cereal

2 cups AP flour

1 tsp baking soda

½  tsp of salt

½ tsp of cinnamon

1 cup of butter, room temperature

1 cup brown sugar, lightly packed

2 large eggs, room temp.

2 tsp of vanilla extract

2 cups of marshmallows, separated from cereal

2 cups of crunch berries, separated from other cereal

Directions

Preheat oven to 350 degrees

Using 2 medium sized bowls take cereal and separate marshmallows from marshmallow cereal. Once you have approximately 2 cups of marshmallows, set them aside. Repeat the same step with the crunch berries cereal.  Separate crunch berries from regular cereal. Once you have approximately 2 cups of crunch berries, set aside for later.  

Using either a food processor or heavy object, crush cinnamon crunch cereal until a fine meal, place in medium sized bowl. In the same bowl with the cinnamon cereal,  add flour, baking powder, salt and cinnamon. Stir until combined.  

In a large separate bowl, using either hand or stand mixer, cream together butter and brown sugar. Add eggs one at a time. Mix until smooth. Add vanilla extract. Add half of flour mixture to cream mixture and stir until incorporated. Add second half of flour mixture. Stir until incorporated. Add marshmallows and crunch berries to batter. Slowly fold in until combined, be careful not smash the berries too much.

Line cookie sheets with parchment paper. Using cookie scoop or ice cream scoop, place cookie dough onto sheets about 1.5-2 inches apart. Slightly press down onto dough to flatten cookies. Bake for 12-15 minutes until cookies are slightly golden and firm to touch. Remove from oven and allow cookie to cool to room temperature.

Devour and Enjoy!!

For the full nostalgia, I suggest eating with a big glass of chocolate milk!!

* This recipe is great for kids to get involved in. They can have a blast separating cereal for the cookies

Strawberry Tequila Lime Cake

First off apologies for my absence in my blog posting. I have been slacking and am going to get back posting something monthly.

Well, last week was the perfect storm of celebration in the Los Angeles area. It was Taco Tuesday as well as Cinco de Mayo. My plans were to find some cheesy Mexican restaurant with a Mariachi band and stuff my face with fish tacos. That quickly changed after the gym though. I was completely drained and had no motivation to leave my house or escape my pjs. I ended staying in that night to say the least and having fish nachos and tequila with my boo. That was way better than going out. After our mini holiday celebration I found inspiration in our leftovers. I thought, why not make a cake with some the limes and tequila we did not use. This is how it turned out and I decided to share. Recipe is below. Enjoy!!

Ingredients

2 ½ cups of all purpose flour

2 ½ tsp of baking powder

½ tsp of salt

zest of one lime

¾ cup of vegetable oil

1 ¾ cups of sugar

3 eggs, room temperature

2 tbsp all natural strawberry preserves

1 ½ cup of strawberry puree

2 tsp of vanilla extract

1 ½ cup of milk

Frosting

1 8oz package of cream cheese, room temperature

3 tbsp of tequila

1 tbsp of milk

juice and zest of one large lime

3- 4 cups of confectioners sugar

Directions

Preheat oven to 350ºF. Grease and flour a regular sized bundt pan

Defrost and drain approximately 2 cups of frozen strawberries, or use fresh ones. Place strawberries in blender and puree until smooth. Set aside

In a large separate bowl combine flour, baking powder, salt and lime zest. Whisk ingredients together and set aside. In another large separate bowl, cream oil and sugar together until white and fluffy, approximately 5 minutes. Add eggs, one at a time to creamed mixture. Stir until completely blended. Add preserves and strawberry puree. Add vanilla extract.  Add flour mixture and milk, alternating, starting and ending with the flour mixture. Stir until combined, be careful not to over mix.

Poor mixture into bundt pan and bake for approximately one hour, until tester comes out clean. Allow cake to completely cool

While cake is baking, in a large bowl whisk together cream cheese, tequila, milk and zest and juice of one lime. Whisk until cream cheese is light and fluffy and almost doubled in size. Slowly add confections sugar until frosting is smooth and creamy

Take cake out of bundt pan. Pour frosting onto top of cake and decorate with extra strawberries (optional)

Devour and Enjoy!!!