
Materials
- Shadow Box
- Map
- Colored paper
- Computer and printer
- Pencil
- Scissors
- Elmer’s glue
- Glue stick
- Ruler
- Stick pins
- Travel memorabilia
Instructions
- Remove any stickers and price tags from you shadow box and clean glass.
- Open shadow box, using your ruler measure inside of shadow box where you will be placing your map.
- Lay out your map and trace out lines of measurements using your pencil and ruler.
- Cut along pencils lines until you have cut out your map piece completely and set aside.
- Using your computer and printer, print out your shadow box title on your colored paper. (I used script font in size 150. I then outlined letters).
- Carefully cut out scripted letters on colored paper.
- Open up your shadow box and using your Elmer’s glue place your map in the center of your shadow box.
- Using your glue stick, place your colored letters on the top center of your map.
- Allow your map and letters to dry completely.
- While your map and letters are drying, take at your memorabilia and lay out your shadow box placement.
- Once everything is dried, pin your memorabilia in place.
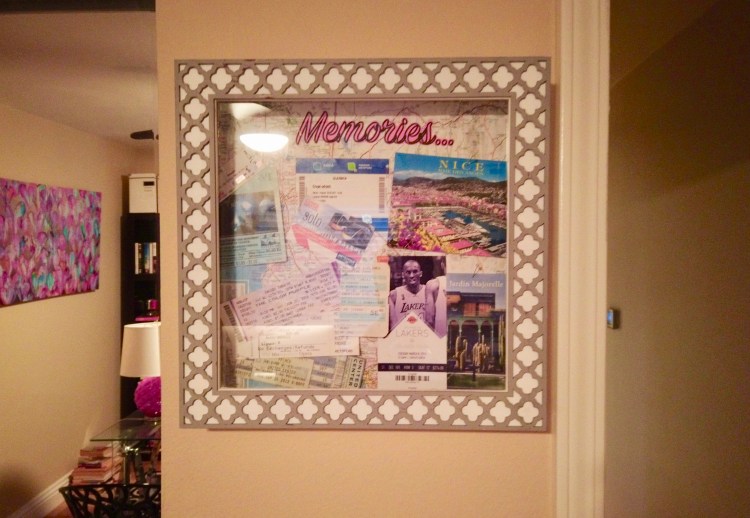
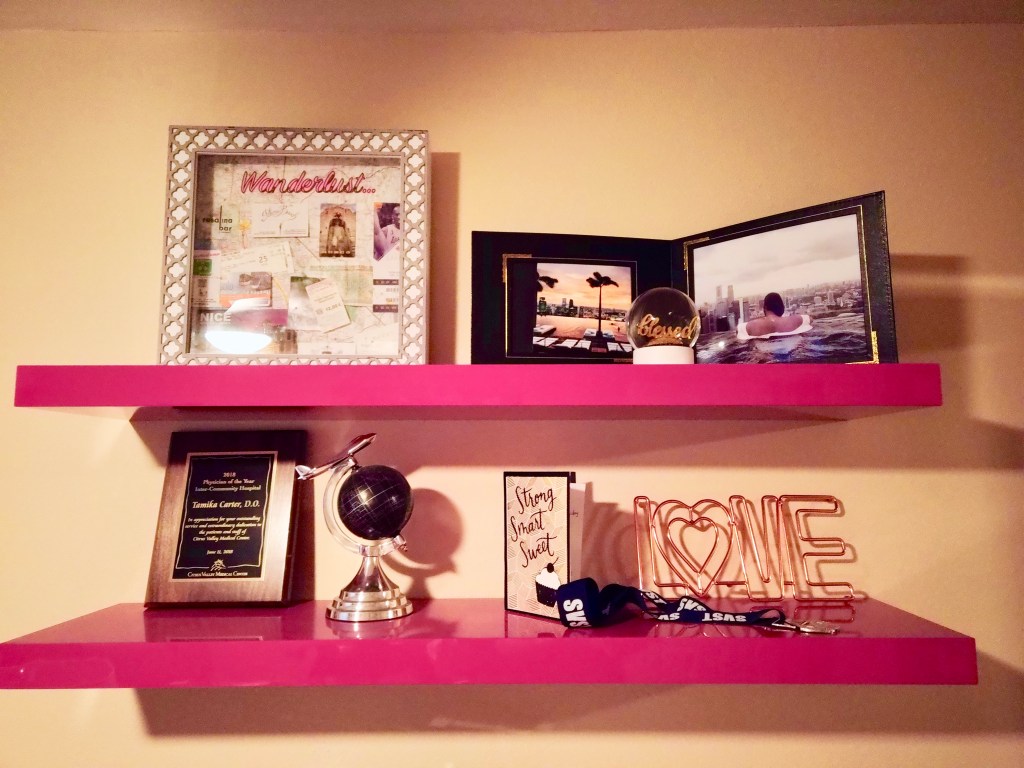
- Hang or display your shadowbox wherever you want and be proud of everything you have done!!
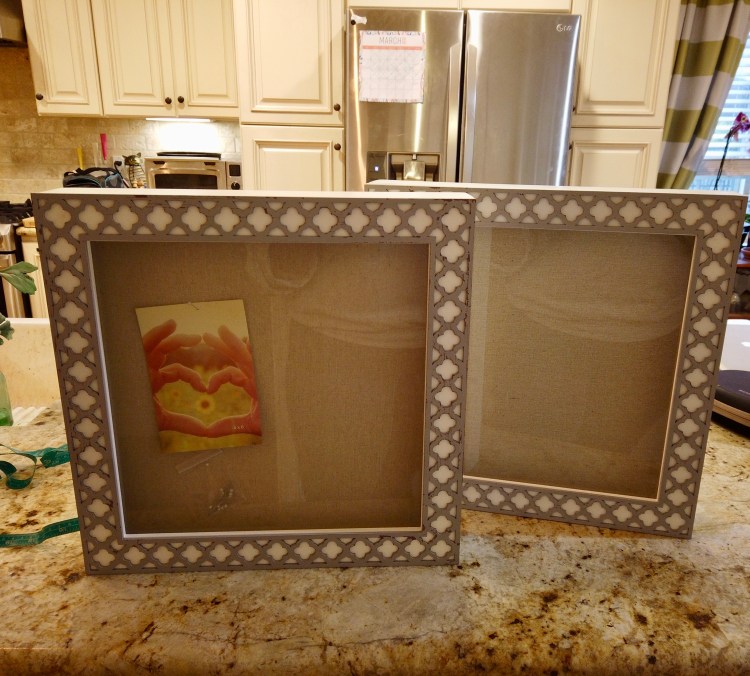
Shadow Boxes 
Materials 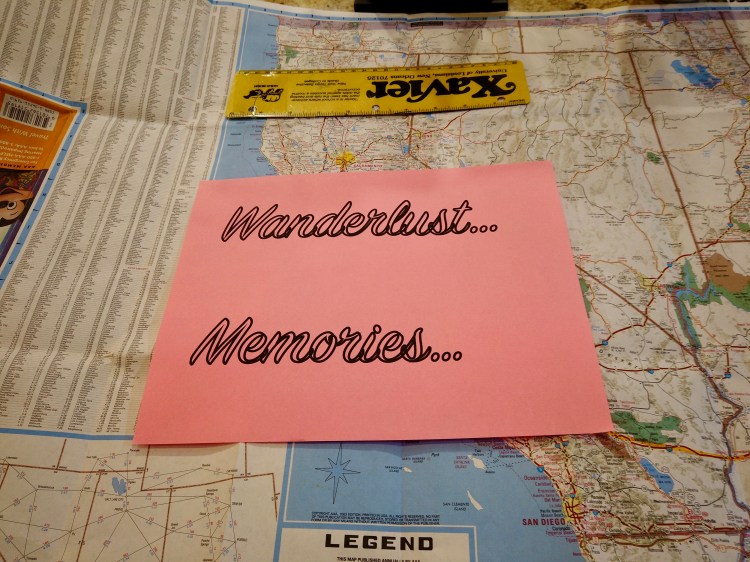
Scripted Letters 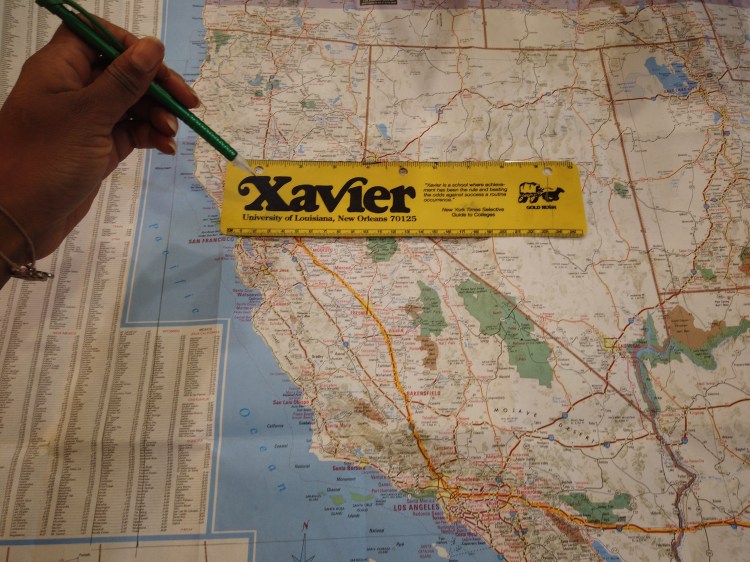
Measuring out CA map 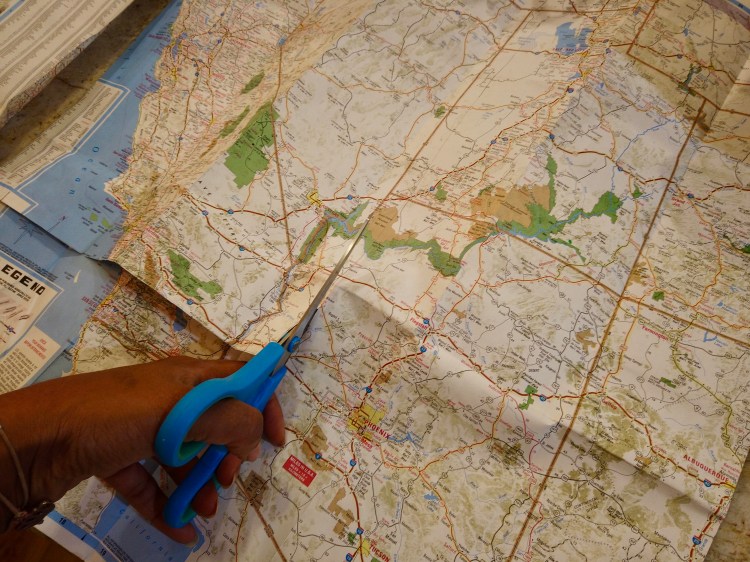
Cutting map for shadow box 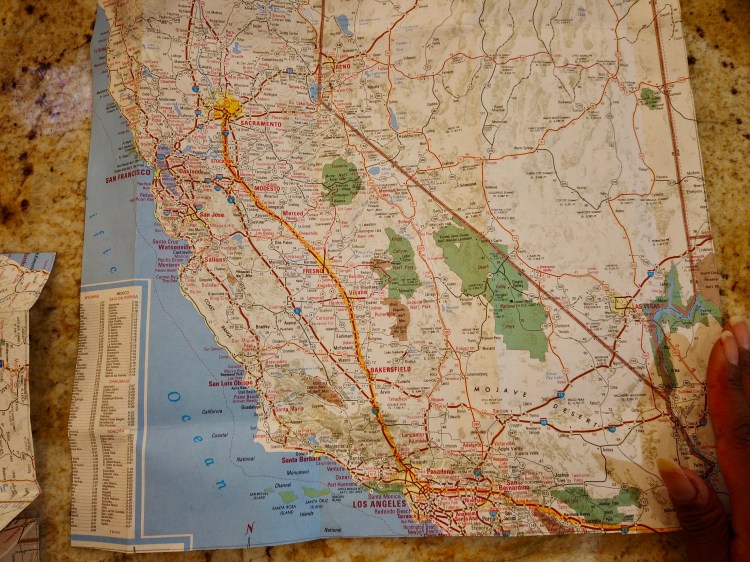
Finished cut out map 
Ready for glue 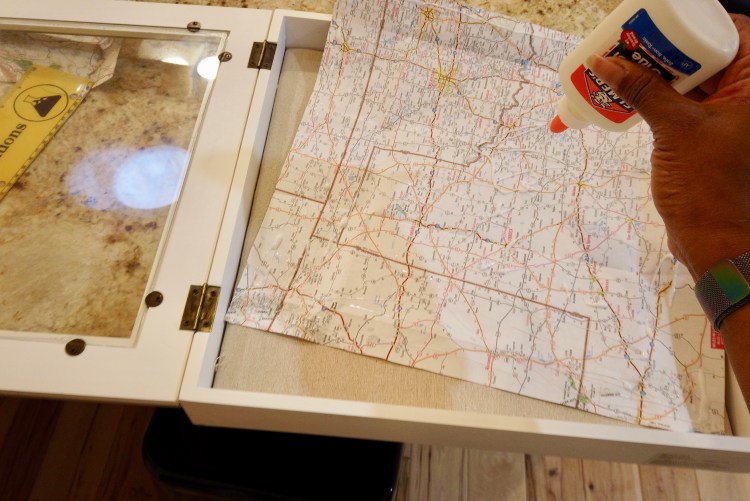
Glue it down 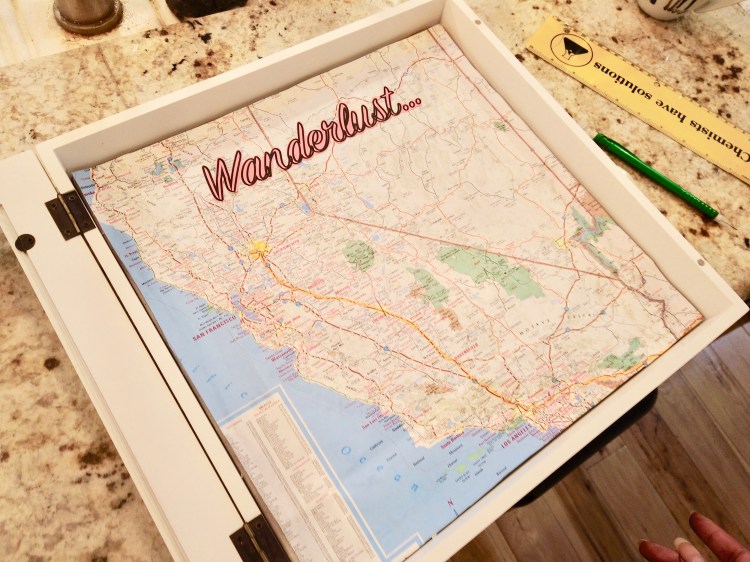
Coming together 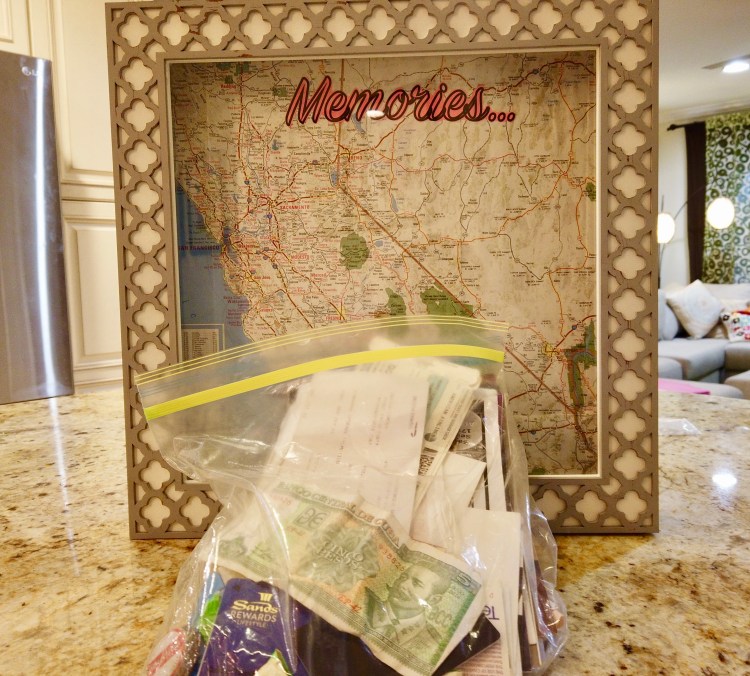
Bag of goodies 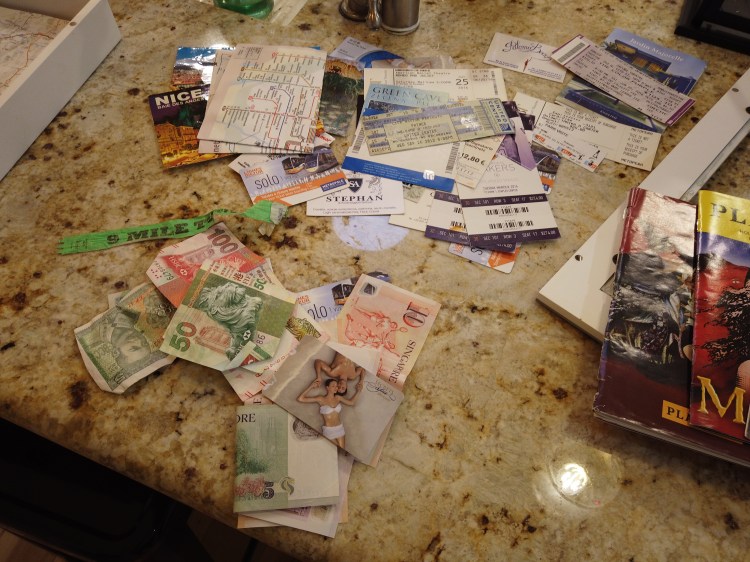
Sort and organize memorabilia 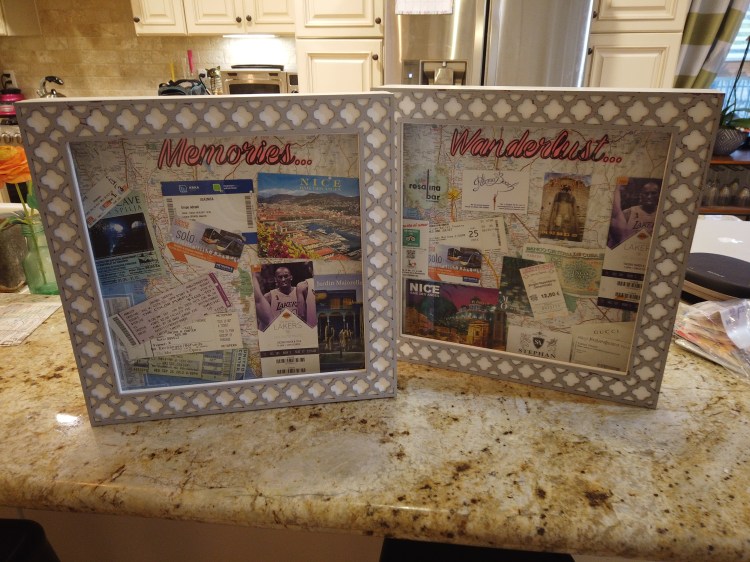
Finished Shadow Boxes

One thought on “Travel Shadow Boxes”