Persimmon Orange Cupcakes

Happy January! I’m not going to say I’m glad to see 2021 go. Last year was an incredible year. I was able to accomplish so much. I was fortunate to start traveling and see the world safely again. Just going to Paris again was enough to make 2021 memorable. Besides Paris, there was Antigua, Copenhagen and Los Cabos. I also continued my fitness journey and crushed my goals for the year. I also was able to relaunch my online bakery, Sweet Serendipity Bakery, after a hiatus and my Etsy shop. The list of my 2021 achievements could continue into the next day, and that does not even include Kaleidoscope Sprinkles. The sprinkling of blessings and progress has been amazing. Like I said, 2021 was truly good to me.


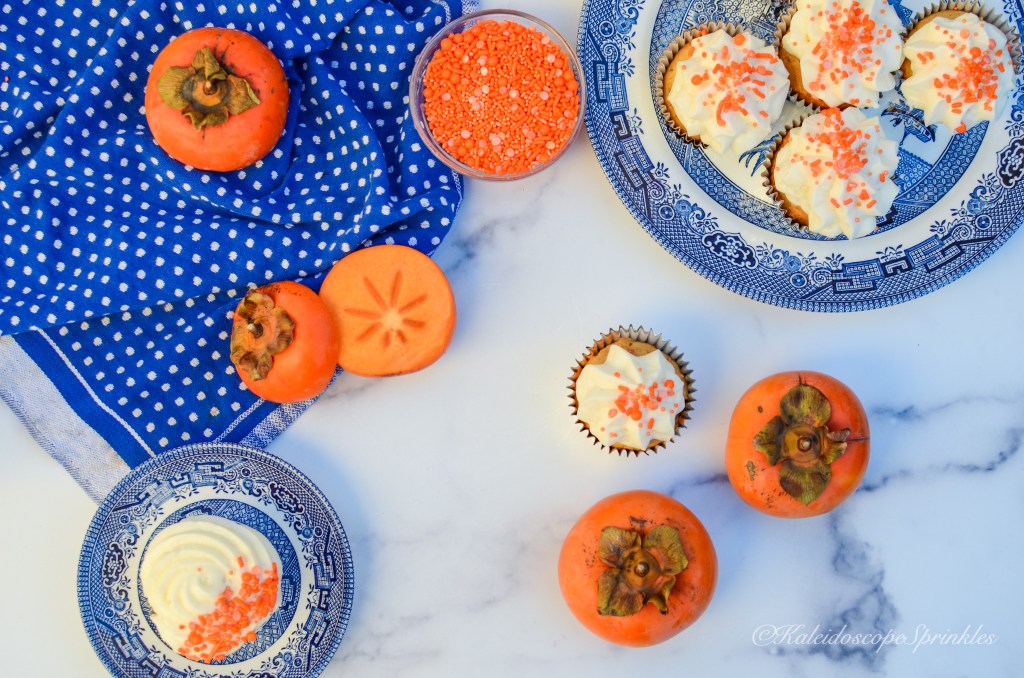
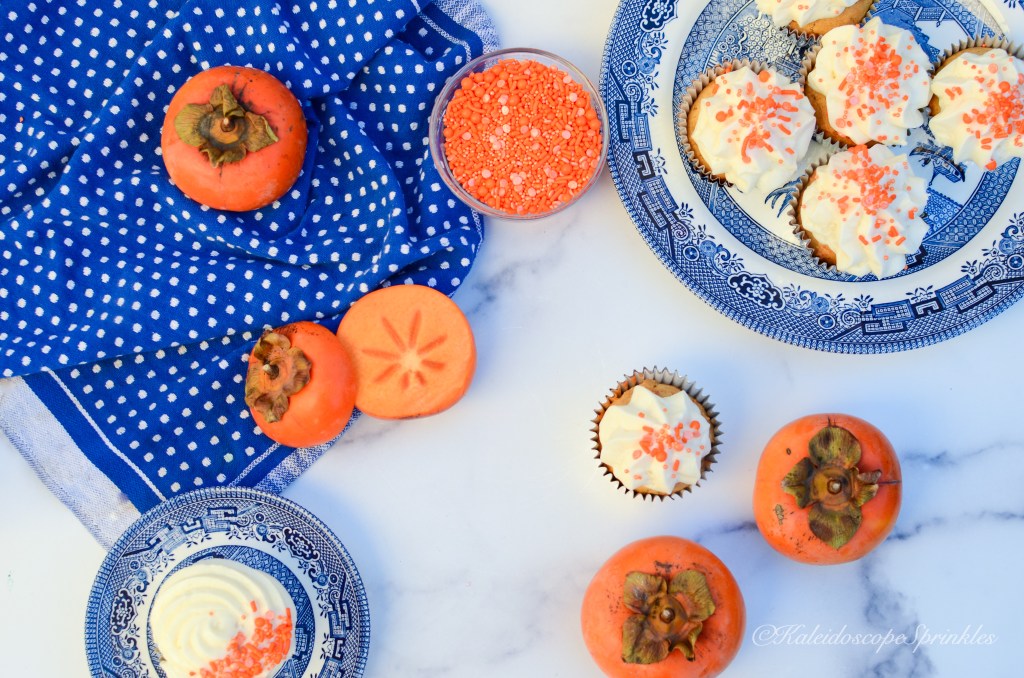
2022 is now upon us. With a new year comes new expectations, goals, memories and my favorite, recipes! Some of you may know that I’m a physician by day and baker by night. Last week while at the office one of colleagues brought in some freshly picked persimmons from his tree. I always love using seasonal fresh ingredients in as many recipes as I can. I gathered up my bundle of ripe fruit and instantly was inspired for a new recipe.


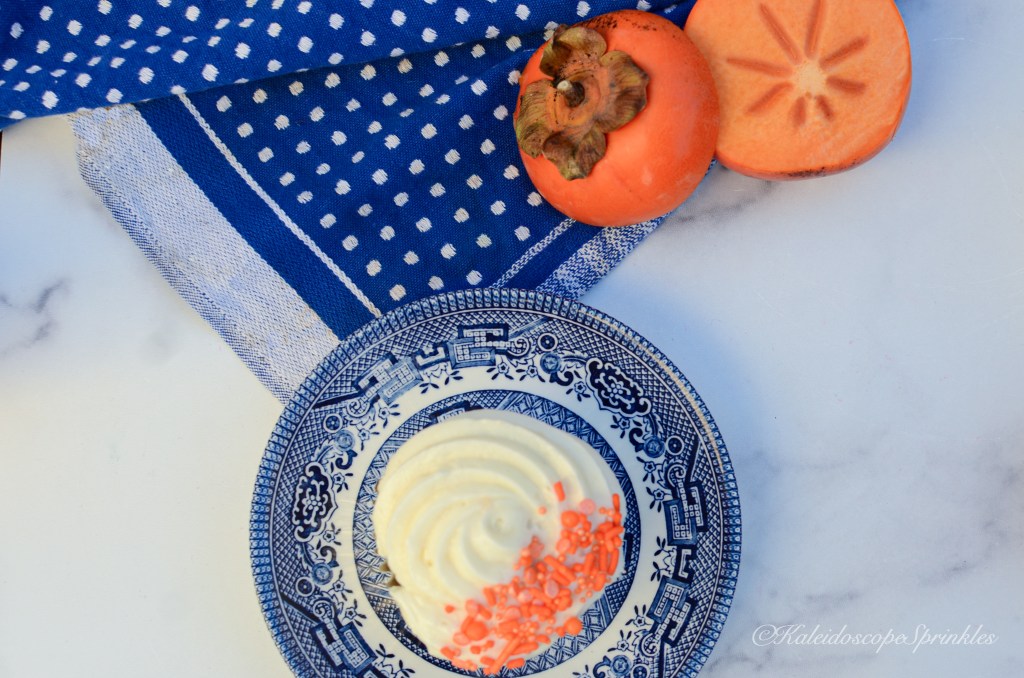
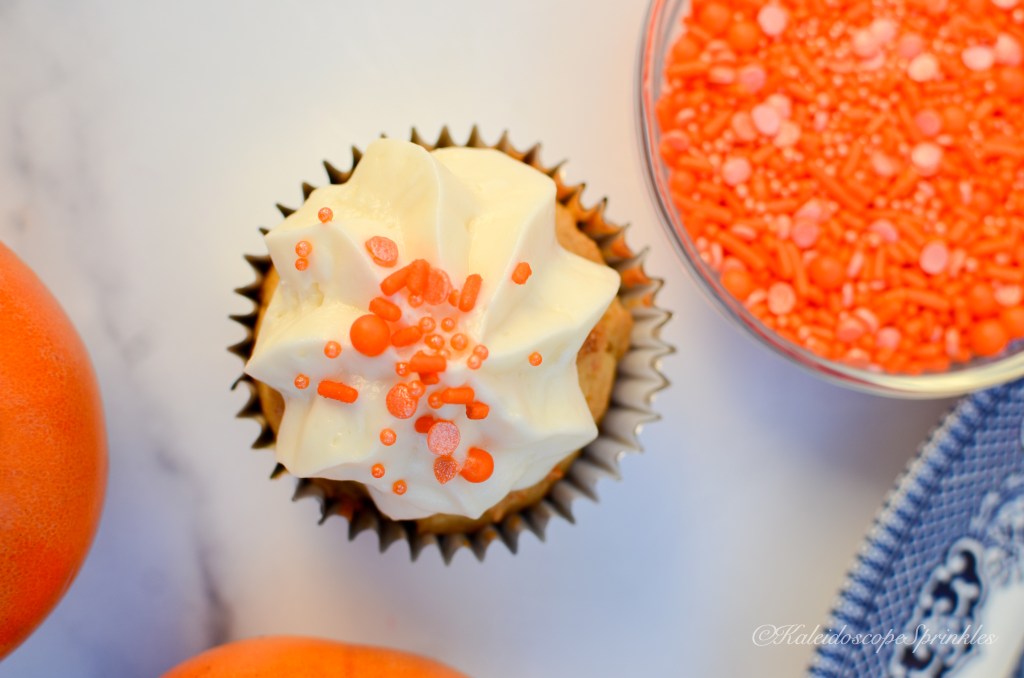
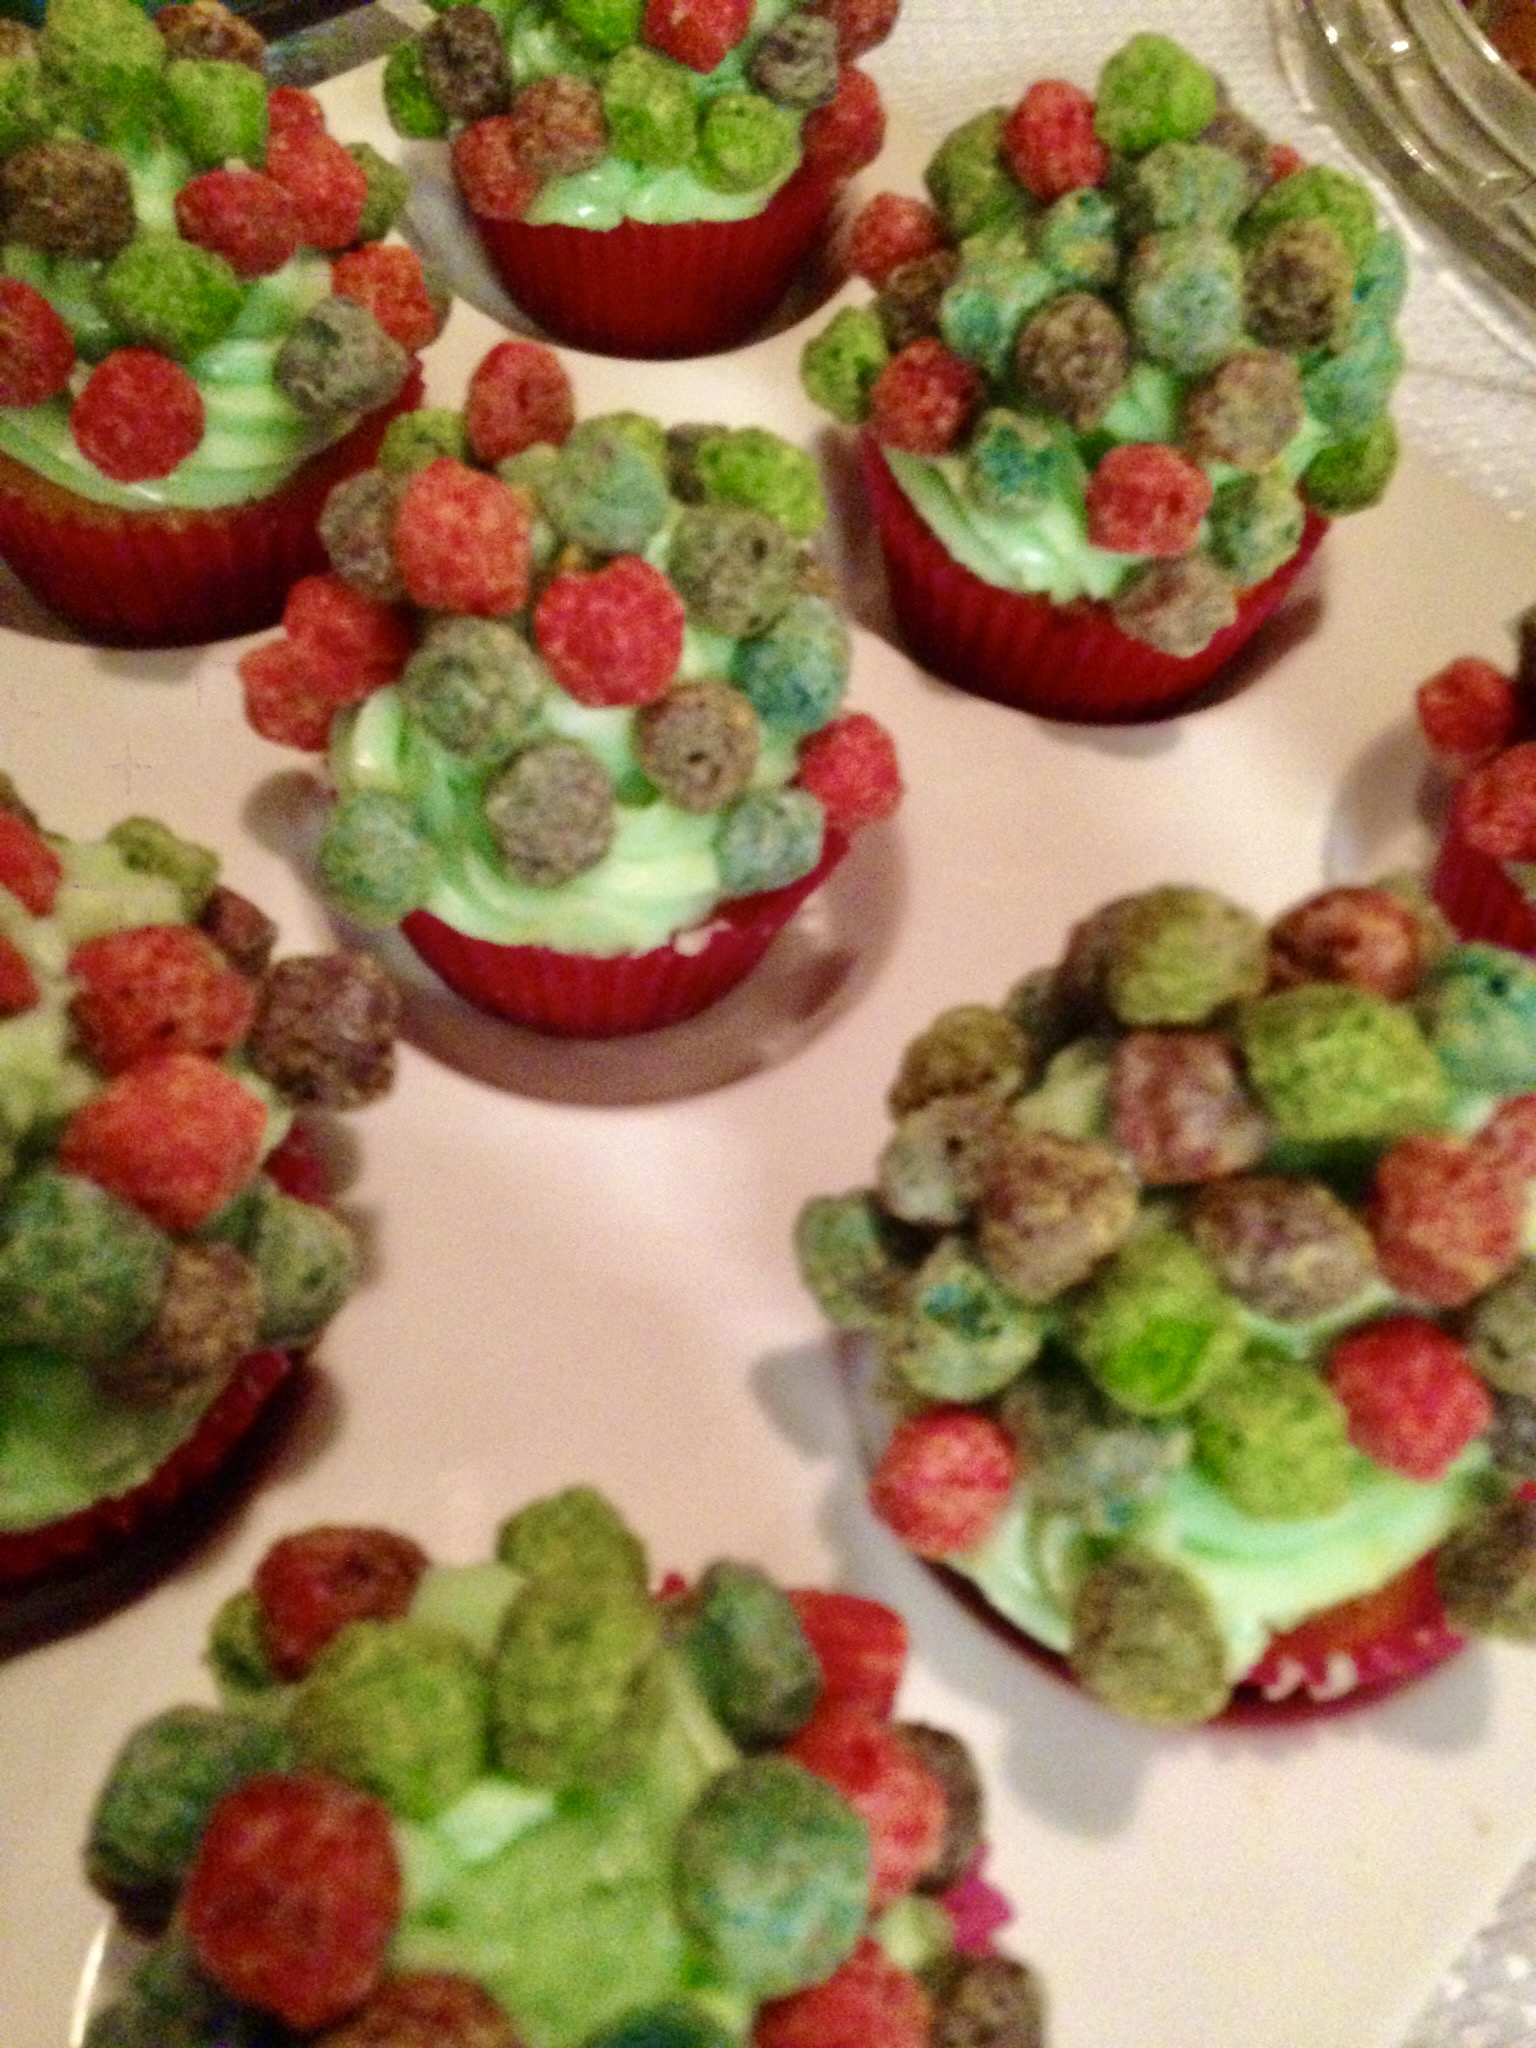
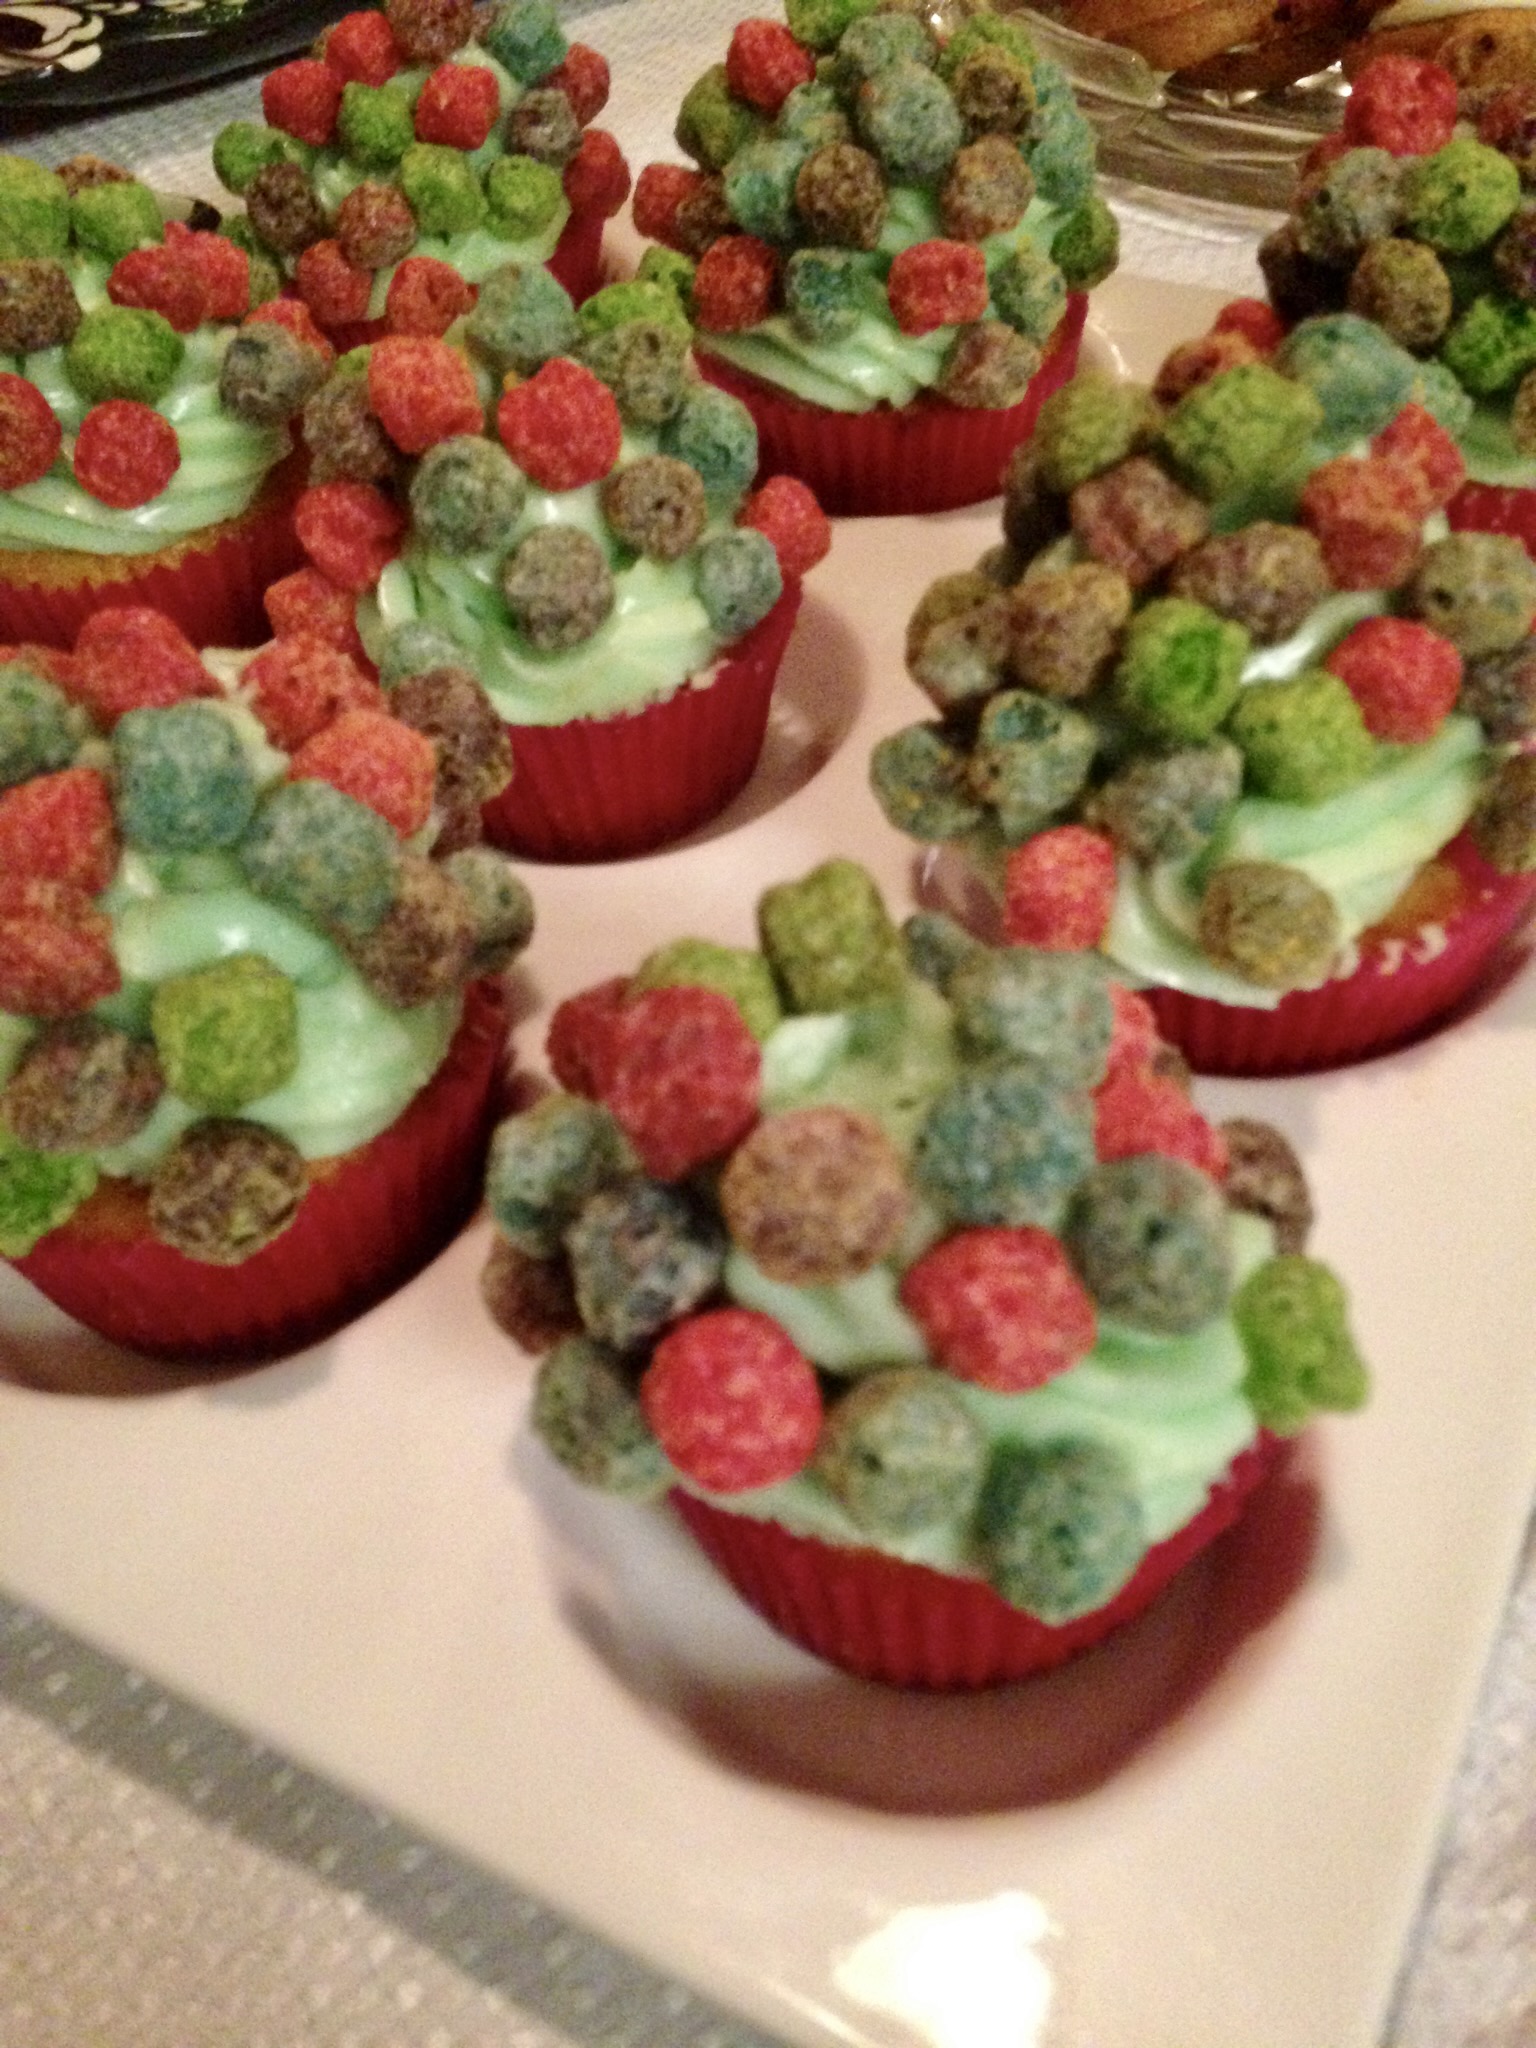
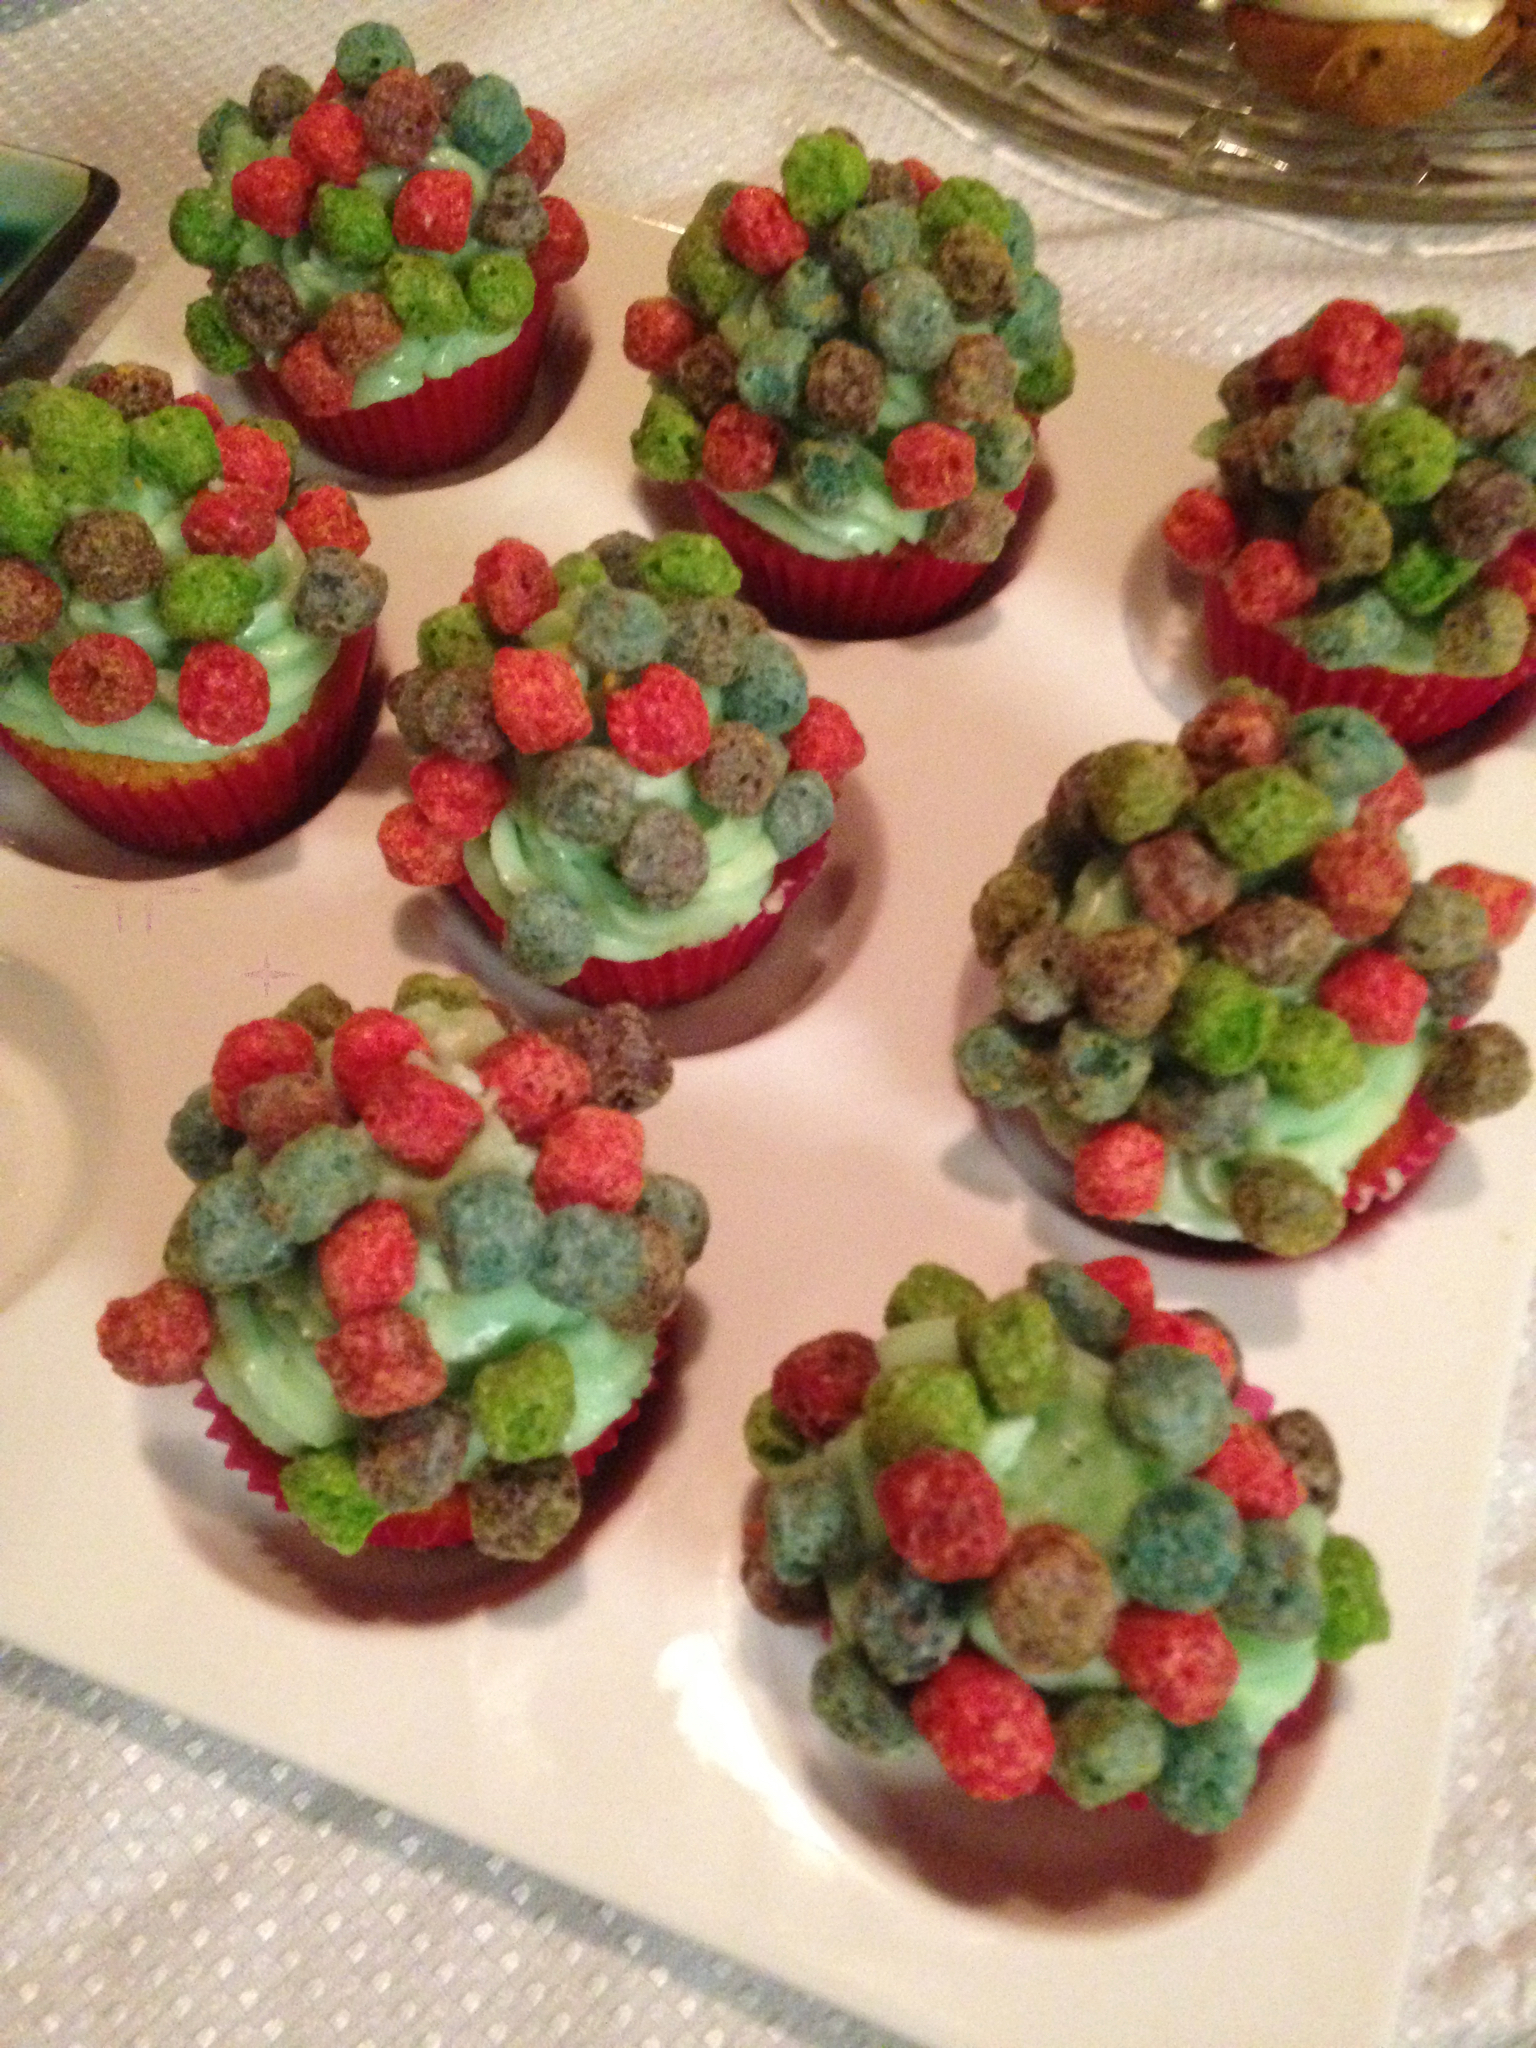
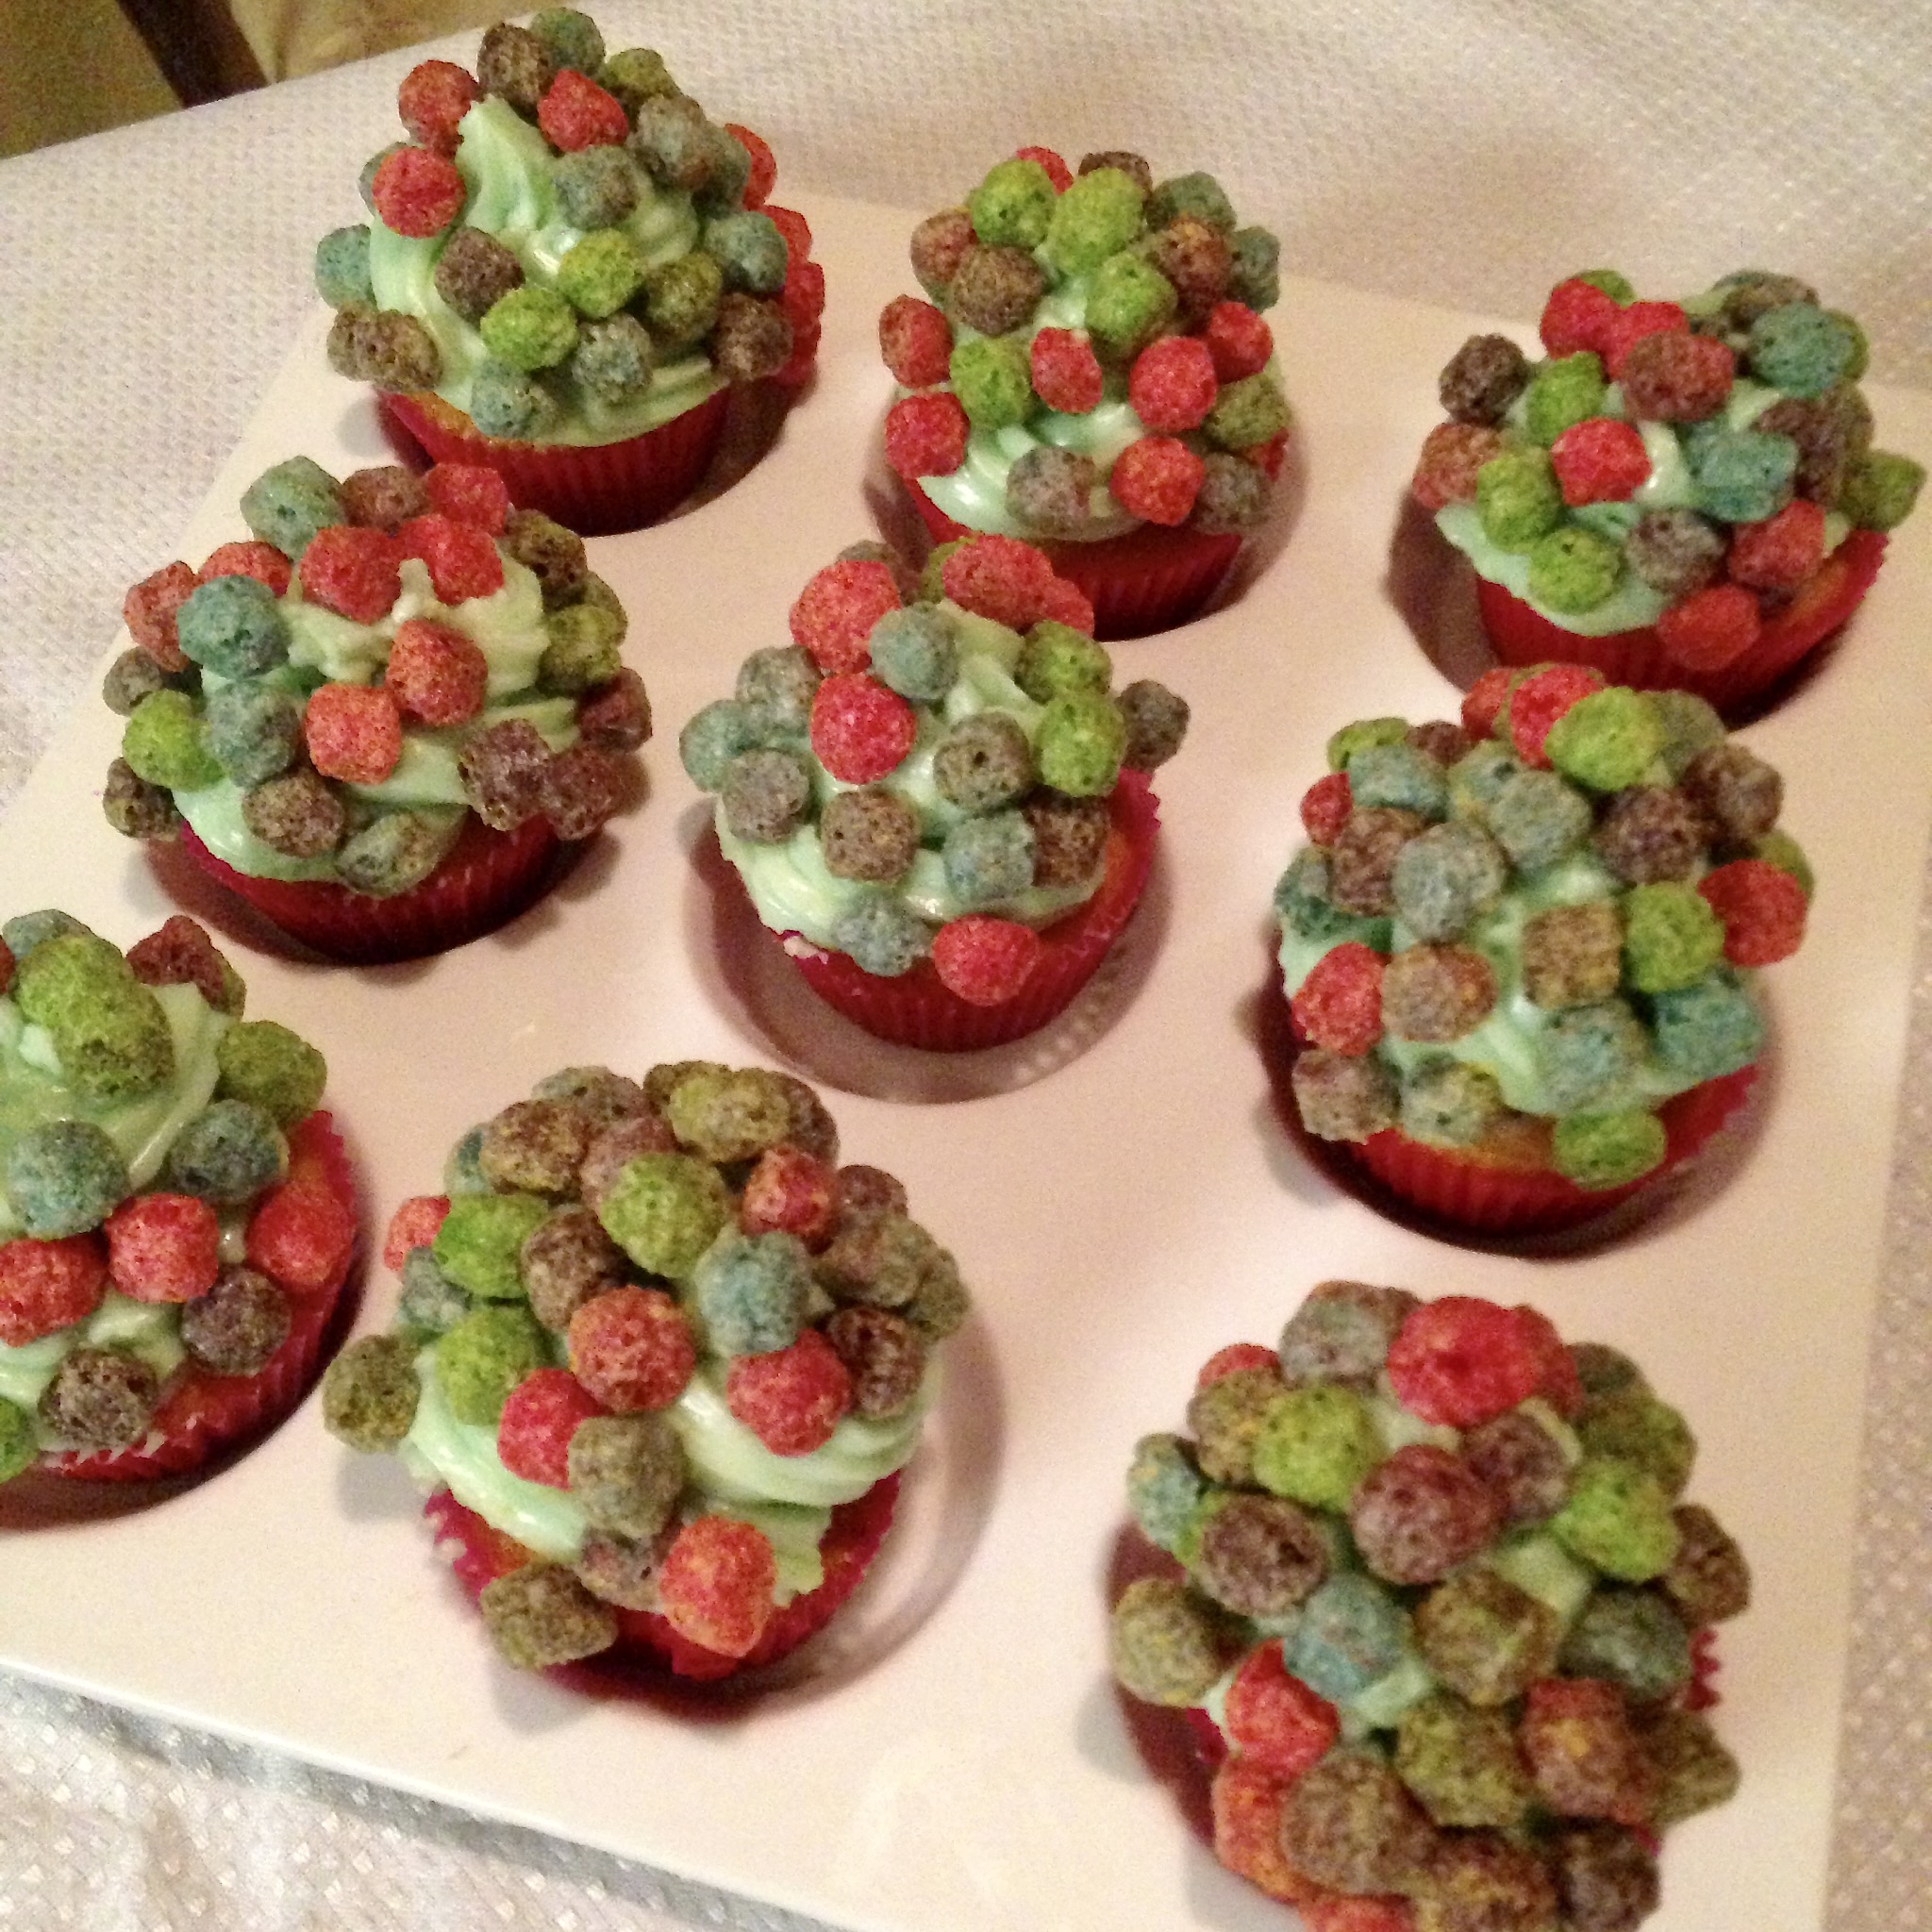
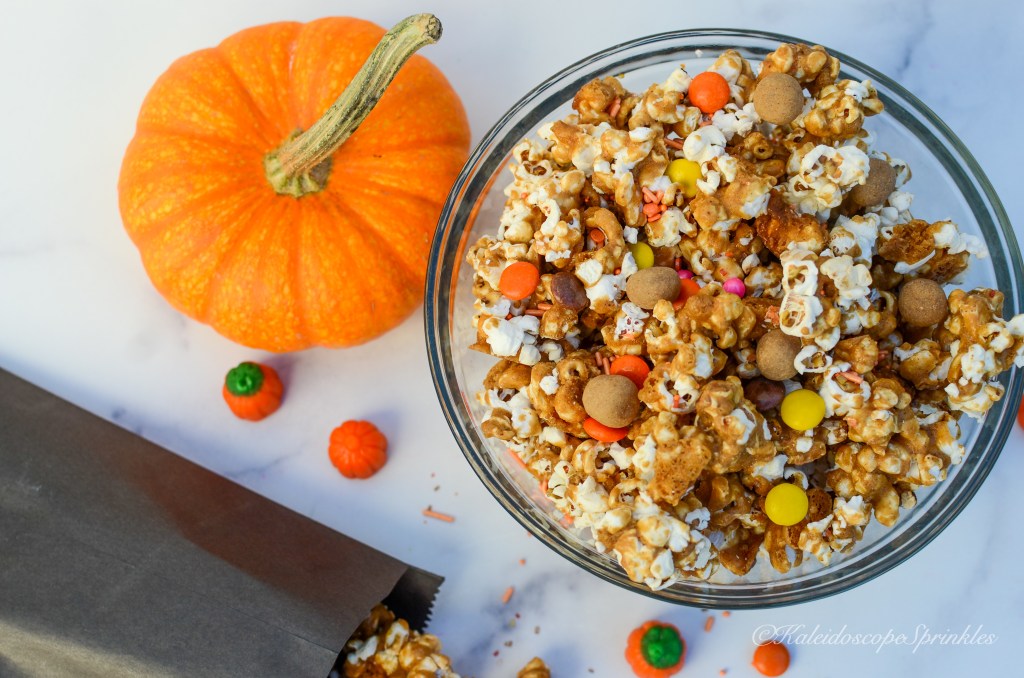
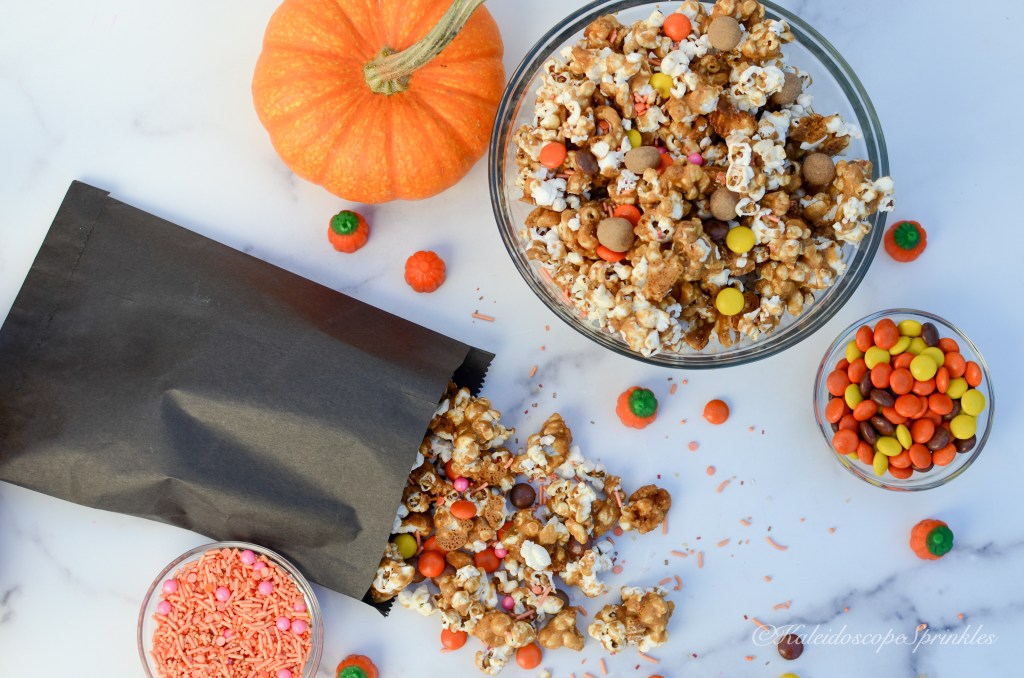
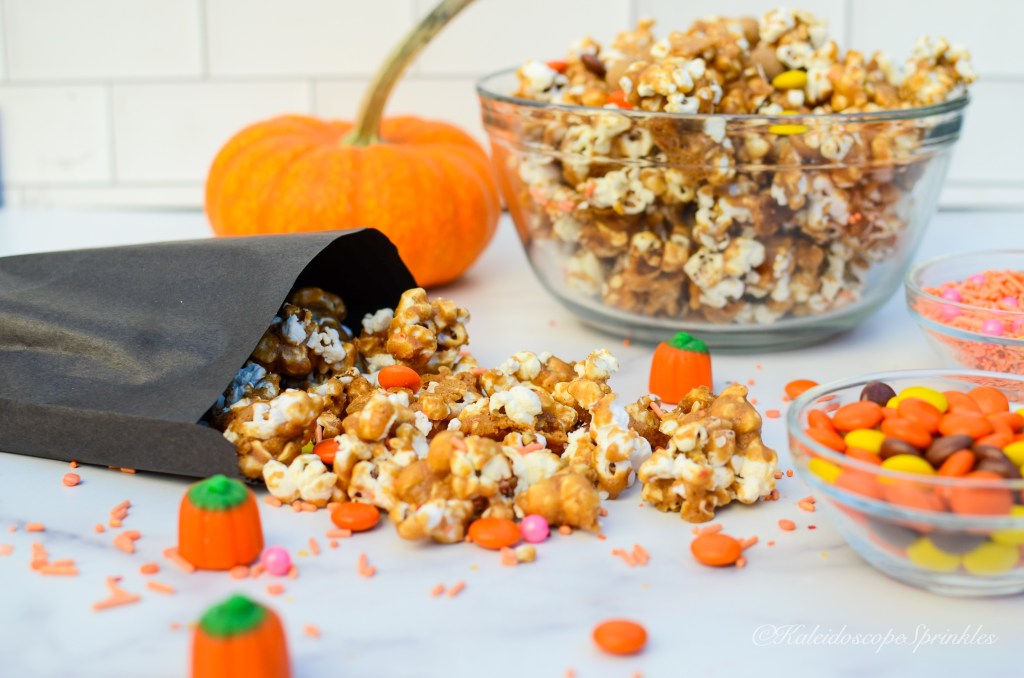
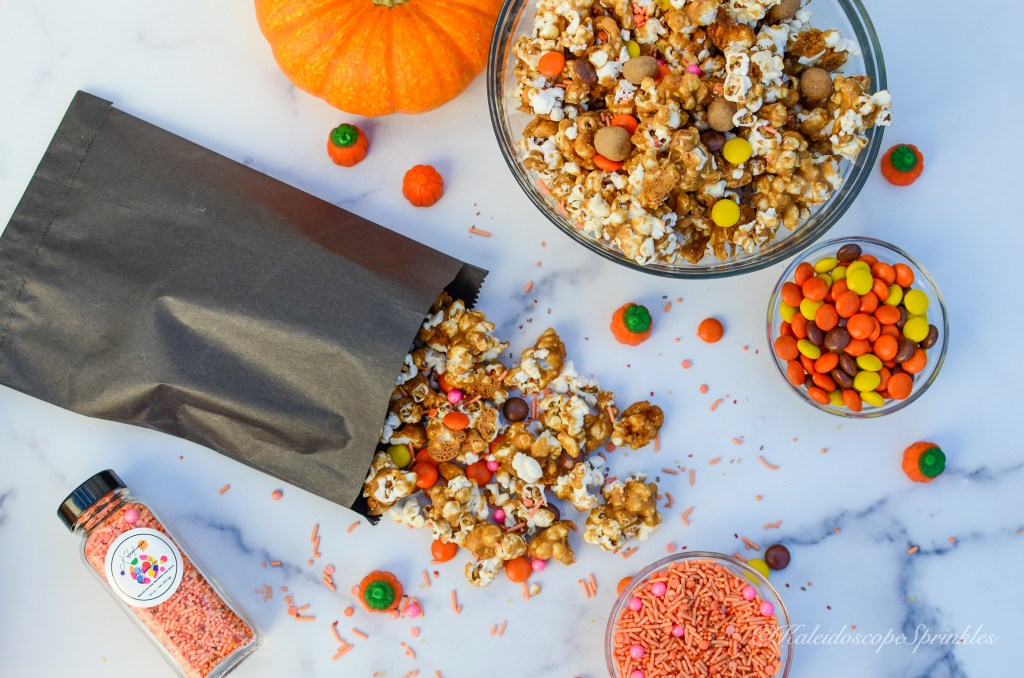
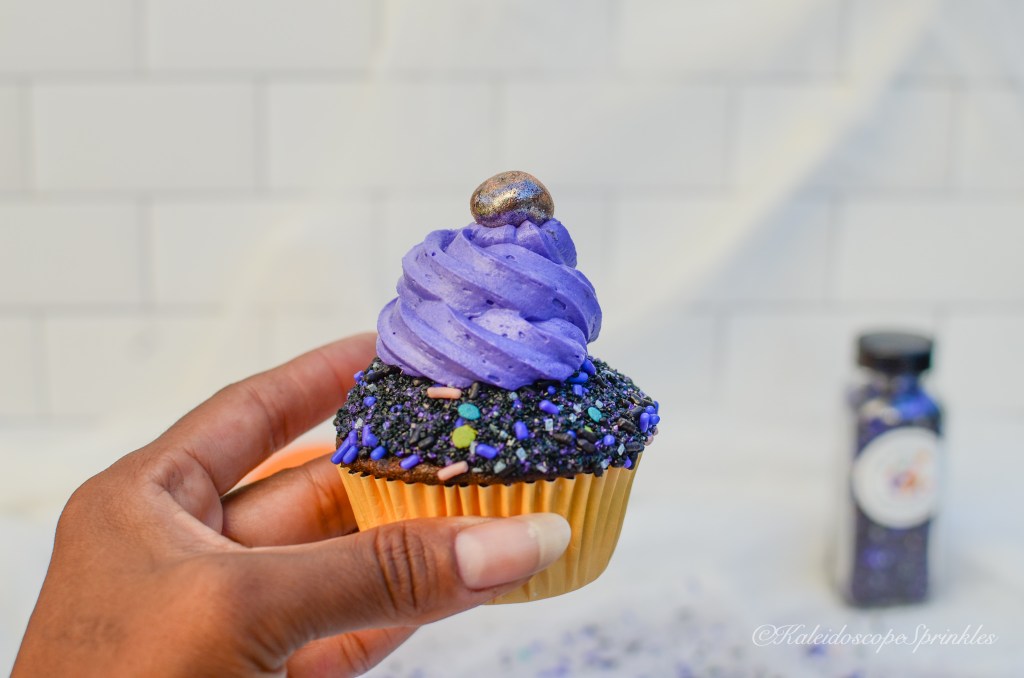
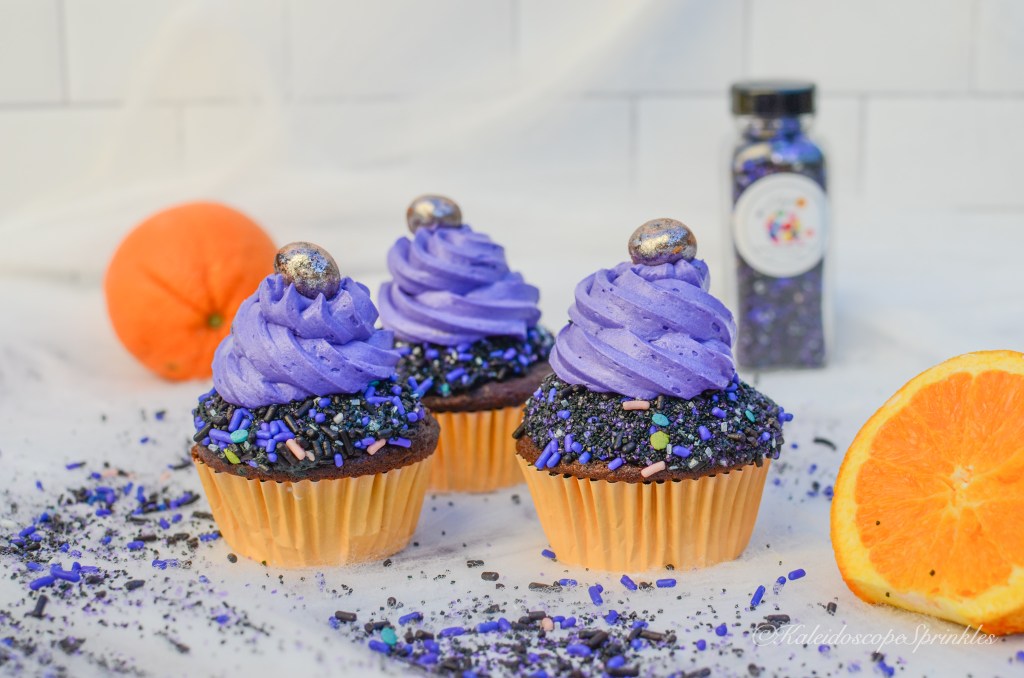
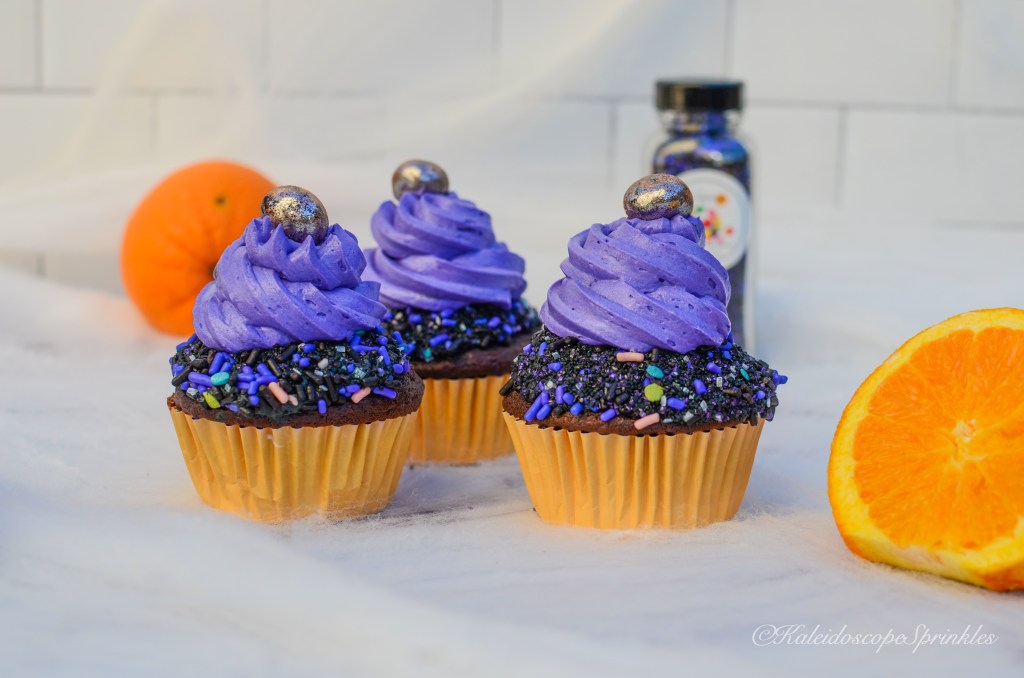
I have used persimmons in the past to make bread or muffins. I know it to be a very mild flavored fruit that needs some background singers to make to really sing. I decided that these permissions would shine with sugar and spice. To add even more pizzazz I made some delicious cream cheese frosting. I then topped the spectacular treats with Kaleidoscope Sprinkles Orange Jevarius Sprinkle Mix.

Check out my recipe and step by step video for the Persimmon Orange Cupcakes below.

Step by Step video


Makes 10-12 cupcakes
Ingredients
Cupcakes:

1 ½ cup all purpose flour

¾ tsp. baking powder

½ tsp. salt

½ tsp. cinnamon

¼ tsp. ground ginger

zest of small orange (approximately ½ tsp.)

½ cup butter

1 cup sugar

2 large eggs

½ tsp. vanilla extract

½ cup pureed persimmons (approximately 2 persimmons)

Cream Cheese Frosting:

8 oz. of cream cheese

¼ cup (1/2 stick) of butter

2 – 2 ½ cups of confectioners sugar

1 tsp of vanilla extract


Orange Jevarius Sprinkle Mix


Directions
Quarter and remove seeds from persimmons. Using food processor or blender, puree persimmons until consistency of baby food. (Should make approximately ½ cup). Set aside.

Preheat oven to 350F. Line cupcake tin with liners.

In a medium sized bowl whisk together flour, baking powder, salt, cinnamon, ginger and orange zest. Whisk until all ingredients are combined and set bowl aside.

In a separate large bowl using either a stand or hand mixer cream together butter and granulated sugar until light and fluffy and doubled in sized. (Approximately 3-5 minutes). Add eggs to mixture one at a time. Add vanilla extract. Add persimmons until combined. Add flour mixture and stir until combined. Be careful not to over mix.

Using an ice cream scoop place cupcake batter into cupcake tins. Bake cupcakes at 350F for approximately 22-25 minutes until tester comes out clean. Allow cupcakes to completely cool.

While cupcakes are baking make frosting. In a large bowl, or stand mixer, whisk together cream cheese and butter. Slowly add confectioner’s sugar using mixer on low speed until frosting is smooth. Add vanilla extract. Whisk frosting on medium-high speed until vanilla extract combined and frosting is light and fluffy.

Devour and Enjoy!

DIY: Spiked Sweater

Original Post: January 16th, 2013

I was scrolling through Instagram the other day and I saw one of the cutest sweaters on someone’s fashion account. It was a simple sweater but what made it stand out was the shoulder embellishment. There were spikes on the shoulder, which brought a new flare to a basic top. I thought to myself “this is so easy, I can do that!” Thats exactly what I did and here is how I did it.

Materials

1. Sweater, tight knit (this one was purchased at Goodwill)

2. 30 screw on spikes, 9.5mm (purchase here: spikes)

3. fabric pen/ marker

4. ruler

5. flat head screw driver

6. Extra fabric of piece of paper

Instructions

Make sure your sweater is washed and ready. Turn sweater inside out. Try sweater on. Mark on sweater approximately where spikes would sit on center of your shoulder. Take sweater off. Keep sweater inside out. Fold sweater down center so that sleeve is in the center of sweater. Place access fabric or paper between sweater to prevent bleeding of pen through fabric. Take your ruler and your pen, start from shoulder seem trace 2″ vertical line above and below shoulder seem. Starting from top center of vertical line, mark dot approximately 0.5″ apart horizontally. Move down 0.5″ from first row and mark dots again until your reach shoulder seem. Repeat the step twice on vertical line below shoulder seem. On second to last line. Draw two dots, each about 0.5″ away from vertical line. On last line, place mark in center of two dots above. Turn sweater over and repeat marks on the other side of the sweater. Try to keep both shoulder marks as identical as possible.

Keep sweater inside out, place spike screws through each mark on shoulder seem. Screw on spike. (Make sure not to complete screw down spike in case you have to reposition your spikes.) Once every spike has been screwed on, turn sweater right side out. Lay sweater flat on floor. Adjust spikes if need be. Once satisfied with spikes, using screw driver, completely screw spikes into place. Your sweater is now ready to be rocked!!

DIY: Baubled Beanie

Original Blog post: December 15th, 2013

Last week I was doing my usual perusing on Pinterest when this gorgeous designer beanie popped up on my screen. It was a simple beanie but it was adorned in crystals creating a unique head ornament. I clicked on the link to the hat to possibly purchase the item. The item was not only sold out but I was a bit overpriced. I knew that could create something very similar for way less. The craft wheels in my head started turning and I went to work. I must say that I very impressed with my results.

My beanie cost me less than $30 as compared to the $155 designer beanie.

My finished beanie was very easy to create. I am keeping mine but you could easily make several for Christmas or Kwanzaa gifts. Here is how I did it:

Materials

1. Large beanie (large enough to fold over brim)

2. crystalized gems (I bought all of mine from Hobby Lobby)

3. Fabric glue (I used E6000, pictured above)

4. Wire Cutters, pictured

5. Tweezers

6. Needle and thread, match sure the color is as close to the hat as possible

Instructions

Try on hat to determine how wide you want your brim on your beanie. (Make sure that brim is at least wide enough to place your gems on.  Remove hat. Use needle and thread and loosely sew brim into place, make sure you leave enough thread to allow hat to stretch around your head. Use wire cutters to remove any backing from your gems so they may lie flat against the hat. Place all your gems onto the brim in the approximate desired position. Once you are satisfied with the look of your hat, glue the gems in place. Once everything is glued down, place a large object onto top of your hat to secure gems. Allow glue to dry overnight. Once glue is complete dry, remove heavy object from hat. Take needle and thread and sew gems in place (optional). Put on your beanie and enjoy its fabulousness or give it away as a gift. Believe me, you wont want to because its way too fly!!

Scrumptious Eggnog Bars

I love this time of the year when it’s super chilly outside and it’s warm, fuzzy and festive inside. Every chance that I can, I throw on one of my onesies and curl up with a big mug of apple cider, hot cocoa or eggnog. Although some people don’t enjoy the later, I have always been a fan of eggnog. Whether it’s cold or heated, this winter drink continues to warm my spirits. I may not be able to drink the original formula thanks to my being lactose intolerant, but thank goodness for milk alternatives. I appreciate that eggnog is also super versatile and can easily be placed into recipes.


A few winters past, I was on a super eggnog kick. I was incorporating eggnog into as many recipes as possible. From pancakes to pound cakes, I couldn’t get enough. It was during this same season I came up with the recipe for these Scrumptious Eggnog Bars. I brought these sweet treats to a Christmas kickback and they were definitely a hit. I had several people ask me for the recipe. These bars are a personal favorite of mine because the eggnog flavor is intensified with nutmeg and rum. Also the bars can easily be switched to adult-friendly bars by using spiked eggnog in the recipe.


These bars are very easy to make and a great recipe to make and decorate with kids. Check out the recipe and complete step by step video below.

24 servings

Preparation time: 20 mins

Baking time: 15 minutes


Ingredients

Bars:

3 cups flour

1 teaspoon baking powder

½ teaspoon salt

½ teaspoon nutmeg (fresh is best)

½ cup butter, softened

½ cup brown sugar

1 egg

½ cup eggnog (I used almond milk eggnog)

1 tablespoon rum (optional)

For the Eggnog Frosting:

½ cup butter, softened

1 tablespoon of dark rum (optional)

⅓ cup eggnog (I used almond milk eggnog)

¼ teaspoon salt

3 ½ cups powdered sugar

This Christmas Sprinkle Mix, for decorating (optional)
Silver Cosmic Shimmers, for decorating (optional)

Directions
Preheat oven to 375F. Grease and flour or parchment paper 9x 13 pan.


In a medium bowl, stir together the flour, baking powder, salt, and nutmeg. Set aside.
In a large bowl, beat the butter and brown sugar until creamy and fluffy. Add the egg, eggnog, and rum (optional) and beat again.


Slowly add flour mixture to the butter mixture until thoroughly incorporated and dough has come together. Press dough into a greased 9×13 pan.


Bake at 375 degrees for 12-15 minutes. Do not over bake. Let cool completely.
While bars are baking, make the frosting.


Beat the butter until creamy. Add the rum, eggnog, and salt and beat again. Slowly add the powdered sugar until frosting is creamy and stiff. Spread evenly over the cooled bars.

Top with sprinkles and Cosmic Shimmers. Cut into 24 bars.

Devour and enjoy!!

Mint Berry Crunch cupcakes!!

Mint Berry CRUNCH!

Original Post: January 13th, 2014

I find inspiration for baked goods in the oddest places. During last seasons South Park, one episode in particular caught my interest. All of the kids were different superheroes. There was one super hero whose super power was to shoot cereal out at villains.  Although I found this super power useless it did sound quite delicious. His name was Mint Berry Crunch. As soon as I saw him, I knew what I wanted to do. I was going to make some delicious cupcakes out of this strange super hero’s power. This is the recipe I came up with, and I might say it is quite delicious!! MINT-BERRY CRUNCH!!

Makes 22- 24 cupcakes

Ingredients

Cupcakes:

1 cup of butter

1 cup of granulated sugar

1 1/2 cups of crunch cereal (ground)

1 1/2 cups of all purpose flour

1 1/2 tsp of baking powder

1/4 tsp of salt

3 large eggs

1 tsp of vanilla extract

1 cup of buttermilk

Frosting:

8 large eggs whites

2 cups granulated sugar

1/4 tsp of cream of tartar

3 cups (6 sticks) of butter, room temperature

1/2 tsp of mint extract

1 tbsp of peppermint schnapps

Berry crunch cereal for decoration

Green food coloring (optional)

Directions

Separate crunch and berries from approximately 5 cups of crunch cereal with the berries. Set berry cereal aside. Grind up crunch cereal into corn meal consistency. 

Preheat oven to 350°F.

In a small bowl mix together flour, cereal, baking powder and salt, set aside.

In a mixing bowl, cream together butter and sugar for about 5 minutes. Add eggs to creamed mixture one at time. Add vanilla. Next add flour mixture and buttermilk to mixture, alternating, beginning and ending with the flour mixture. Place mixture into lined baking cups and bake for 20-25 minutes, depending on your oven. Allow to COMPLETELY cool.

For frosting: Place sugar and egg whites in the heat-proof bowl of an electric mixer. Set bowl over a pan of gently simmering water, and whisk until sugar has dissolved and egg whites are hot to the touch, about 3 minutes. Transfer bowl to mixer stand. Add cream of tartar. Using the whisk attachment, beat on high speed until mixture has cooled completely and formed stiff and glossy peaks, about 10 minutes. Add the butter, one tbsp at a time, and beat until incorporated after each addition.  Add mint extract and food coloring, beat just until combined. Using piping bag with tip of your choice, frost cupcakes. Once all cupcakes are frosted add crunch berries.

Devour and Enjoy!!

Chocolate Hangover Cake

The season of fall definitely comes with a variety of sweet treats. Besides everything pumpkin spice and an array of apple confections, let’s not forget the abundance of candy that comes with Halloween. As an adult, I have thoroughly enjoyed buying all my favorite candies to pass out to the kiddies on October 31st. I always end up buying way too much candy in fear that I’ll run out in the midst of trick-or-treaters. Let me be honest, I don’t just buy the candy to pass out. I usually end up stuffing my face full of fun size candy bars and feeling guilty about it later.


This year I decided to try a different approach to my endless supply of chocolate. Instead of tearing through a bunch candy wrappers and calories, I thought I would find a different way to get rid of the temptation. I decided to turn that gluttony into inspiration for a new recipe.


Check out my latest recipe, Chocolate Hangover Cake. This delicious chocolatey recipe is full of yummy candy bar bits and rich cream cheese filling. The cake is then covered with a white chocolate glaze. The cake is then decorate with Kaleidoscope Sprinkles Why Iota Sprinkle Mix and more candy bar bits. This cake is incredibly delectable and decadent. It’s a great way to use up all that let over candy and makes a great gift!


You can find the complete recipe and step by step video below.


Ingredients

Cake:

1 ½ cup granulated sugar

2 cups all purpose flour

¾ cup Dutch cocoa powder

1 ¼ tsp. baking soda

1 ¼ tsp. baking powder

½ tsp. salt

2 eggs, room temperature

½ cup greek yogurt

½ cup milk (I used oat milk)

½ cup vegetable oil

2 tsp. vanilla extract

2 tbsp. strong coffee (does not have to be fresh)

1 cup boiling water


Filling:

8 oz. cream cheese, room temperature

½ cup granulated sugar

1 tsp. vanilla extract

2 tbsp. egg whites

12 oz. chocolate candy, roughly chopped


Glaze:

1 cup confectioners sugar

2 tbsp. white chocolate liqueur


Kaleidoscope Sprinkles Why Iota Sprinkle Mix, for decorating (optional)

Directions

Unwrap and roughly chop 12 oz (approximately 20 fun size) candy bars. Set aside.


Make filling. In a medium sized bowl, whisk together cream cheese, sugar, vanilla extract and egg whites until smooth. Using a spatula fold in approximately 8oz. of candy bars. Place filling in the refrigerator. Set remaining candy bars aside for decorating.


Preheat oven to 350F. Grease and flour bundt pan.


In another medium sized bowl mix together granulated sugar, flour, cocoa powder, baking soda, baking powder and salt. Set aside.


In a large bowl, using either a stand or hand mixer, mix together eggs, yogurt, milk, vegetable oil, vanilla extract and coffee until combined. Add flour mixture to wet ingredients in thirds.


Once cake mixture is throughly combined slowly add boiling water.


Pour half of cake batter into bundt pan. Remove filling from refrigerator and add filling into middle of bundt pan using spatula. Cover filling with the remainder of the cake batter.
Bake cake for 50-55 minutes on 350F until cake tester comes out clean. Allow cake to completely cool to room temperature.


While cake is baking make glaze. In a small bowl whisk together confectioners sugar and liqueur.


Once cake has completely cooled, invert cake onto plate. Cover cake with glaze. Cover glaze with sprinkle mix and remainder of candy bar pieces.


Devour and enjoy!

OOTD: A Cool Coral Couture

Original post: October 28th, 2013

This is how I decided to style my DIY sweatshirt. For info. on how to create this top click here

Outfit Details

Bow Sweatshirt:  DIY click here

Orange distressed jeans: H & M (similar jeans here)

Nude platform pumps: LAMB (purchase here)

DIY No sew: Swank Sweatshirt

Original post date: October 28th, 2013

This Fall, elaborate and ornate sweatshirts are trending. Whether its bedazzled or there is huge embroidered kitty on the front, a sweatshirt can make your outfit. This type of clothing, that used to be reserved for a super casual relaxed looked has now been jazzed up so that it can now be considered a more dressy statement. These designer sweatshirts can costs hundreds of dollars. I refuse to pay that much for something you can easily make yourself and also make more GLAMOROUS!! I saw an inspirational pic. on Pinterest and I got to work. Here is what I did

Materials needed

1. Sweatshirt, I purchased mine from the mens section of Target for $7.49

2. Two yards of ribbon, width of your choice. (I would not go any small than a 3/4 inch)

3. 1/8 yard of silky fabric (Mine is a polyester blend)

4. Fabric glue

5. Fabric scissors

6. Hem iron on adhesive tape. I purchased mines from Joann Fabrics

7. Cloth/ fabric pen

8. Measuring tape

9. Iron

Instructions

Using your fabric scissors, cut off collar of sweatshirt. Turn sweatshirt inside out. Have back of sweatshirt facing you. Draw horizontal line from armpit to armpit. Measure center of line. Mark center of line. (this will be the apex of your back). Fold your sweatshirt length wise, making sure the center mark is visible and all the seams line up on each side of sweatshirt. Cut from Top arm seam to the apex mark. Unfold your shirt. (You should now have a low v-shaped cut in the back of your sweatshirt.) Clean up the edges, using your scissors, making sure the sides are as symmetrical as they can be. Set aside

Take your piece of fabric, hold it in half, the cut the ends at an approximate 45 degree angle. Unfold fabric. Fold and iron down a 1/4 inch hem around all the edges. Once hem is ironed, place adhesive tape under the hem line and iron tape in place.

Using your fabric pen and measuring tape, measure out 1.25 inch lines around the entire collar of your sweatshirt. (Make sure to leave about a 0.5 inch space between the collar and your mark). Once all your lines have been marked, cut lines the width of your ribbon on all the places you made marks around the collar. (Once again, make sure your cut lines do NOT intersect with the actual collar point). Once all lines have been cut, take your ribbon and basket weave it through your cut lines. Make sure the beginning and ending of your ribbon are at the apex of your back collar. Take your fabric glue and glue your ribbon in place. Trim off excess ribbon. Turn sweatshirt right side out.  Take 3 inches of your excess ribbon and glue the ends together, (this will serve as the middle of your bow). Once ribbon has dried, slide ribbon piece over fabric and place it in the center of the fabric. Glue ribbon piece to the apex of back of the sweatshirt. Fold one side the fabric over, so it resembles a bow. Glue the side of fabric to the back of the sweatshirt. Repeat this on the other side of the piece of fabric. Now glue the hanging fabric pieces by the apex of the collar so that they are able to stay in place but are still free flowing. Allow sweatshirt and glue to dry over night.

You now have a FABULOUS, super trendy sweatshirt that it is super chic!!

Pumpkin Spice Caramel Corn Pizzazz

Popcorn has always been one of my favorite snacks. As a kid, growing up my mom was known as the queen of popcorn to all my friends. When my friends would come over after school or on the weekends my mom always made a huge tub of fresh popcorn from her Stircrazy machine. Her popcorn was always perfectly seasoned and buttered. She still makes the best popcorn I’ve had to this day. I may not be the queen of popcorn, but I definitely come in second place. I now have my own Stircrazy machine and make my own savory, bougie popcorn covered in truffle oil and nutritional yeast.


For this season I decided to try my hands at some sweet, delicious caramel corn. I couldn’t just have ordinary caramel corn with my love for everything pumpkin spice. I thought this additional boost of flavor would make the caramel corn even better and was I right. This recipe of caramel corn is honestly some of the best popcorn I’ve tasted. Not only did I add pumpkin spice, but I also added some additional pizzazz with Kaleidoscope Sprinkles Sweet Potato Pie Sprinkle Mix. I also added some of my favorite fall candies like Reese’s Pieces and Sconza Pumpkin Spice Chocolate Caramels.


This recipe is simple to make and a great recipe to make with kids as well. If you’re not buying Halloween candy to pass out consider making this sweet treat, stay in and watch some scary movies. This popcorn is the best accompaniment to any movie night. Give this recipe a try, I guarantee you’ll be satisfied.


Recipe and complete step by step video below:

Ingredients

1 cup popcorn kernels, 6 quarts popped popcorn

1 cup (8 ounces) unsalted butter

2 cups firmly packed brown sugar

½ cup light corn syrup

½ tsp. baking soda

1 tsp. kosher salt

1 tbsp. pumpkin spice seasoning

1 tsp. vanilla extract


Kaleidoscope Sprinkles Sweet Potato Pie Sprinkle Mix, optional (purchase here)


favorite fall candies (I used Reese’s Pieces), optional


Sconza Pumpkin Spice chocolate caramels, optional (purchase here)


Directions

Pop popcorn kernels using your style preference. ( I used my StirCrazy popper but stovetop works as well)


Preheat oven to 250-degrees F.


Add popped popcorn to a large bowl and set aside.


In a large saucepan, add butter, brown sugar and corn syrup. Stir ingredients together on medium heat until butter has melted. Allow caramel to boil 5 minutes without stirring. Remove from heat.


Carefully stir in baking soda, salt, pumpkin spice and vanilla.


Pour mixture over popcorn and fold to coat and combine. Divide popcorn onto two large baking sheets and spread evenly into single layers on sheets. Bake at 250 F for 1 hour, rotating pan and mixing popcorn every 15 minutes.


Remove from oven and immediately add sprinkle mix. Allow mix to cool. Add additional candies and goodies.


Break apart. Serve right away or store in airtight containers.


Devour and enjoy!

Grown & Sexy Halloween Cupcakes

Halloween has never been a big celebrated holiday for me. As a child growing up in the church, most halloweens were celebrated as “harvest festivals” dressed up in recycled costumes bobbing for apples and such. There were a few occasions as I got older where I was allowed to trick or treat and I definitely took advantage of the free candy. I was never interested in all the commercialism and fluff associated the holiday. Although I’m not going lie, I was always thrilled for all the goodies that came along with Halloween.


As an adult, I have found my own ways to celebrate Halloween and more importantly fall. I love being creative and being able to create fabulous homemade costumes every now and then and of course treats. I love dressing up and passing out candy to the little kiddies in their cute costumes. I also love being able to gather with friends and celebrate the holiday in a mature way.


This year I’m not dressing up because honestly Halloween came too fast and I wasn’t prepared. Since I’m not dressing up in a costume I thought I would be fancy and dress up some cupcakes. These cupcakes are definitely not kid friendly and are made for those adults who still want to partake in the celebration. These fabulous chocolate stout cupcakes are made with a blood orange hazelnut ganache and a perfect balance of orange Grand Marnier buttercream. What makes these cupcakes even more grown and sexy is the decoration with Kaleidoscope Sprinkles Scary Spice Sprinkle Mix. The cupcakes are then topped with Cosmic Sprinkles covered blood orange dark chocolate caramels from Sconza Chocolates. You can’t get any more amazing than that.


Get the complete recipe and step by step video for these cupcakes below. You’ll definitely want to make these at least once this season. Your tastebuds won’t regret it!

Makes approximately 18 cupcakes

Ingredients

Cupcakes:

1 cup unsalted butter

1 cup stout beer

¾ cup cocoa powder

2 large eggs, room temperature

¾ cup greek yogurt

1 ½ cups granulated sugar

2 cups all purpose flour

½ tbsp. baking soda

¼ tsp. table salt


Blood Orange Hazelnut Ganache:

1 cup cocoa hazelnut spread

3-4 tbsp. blood orange flavored vodka (I used Skyy Vodka)

Orange Grand Marnier Buttercream:

Swiss Meringue Buttercream (recipe here)

¼ cup. Grand Marnier Liqueur

zest of one orange, approximately 1 tsp.

1 tbsp. fresh orange juice.


Black food gel

Violet food gel

Scary Spice Sprinkles Mix, for decoration (purchase here)

Tangerine Cosmic Shimmers, for decoration ((purchase here)
Blood Orange Dark Chocolate Caramels (purchase here)


Directions
Make buttercream first. Follow directions for Swiss Meringue Buttercream. Substitute the vanilla extract with orange juice. Add additional Grand Marnier Liqueur to the recipe. Refrigerate buttercream until ready for use.


Preheat oven for 350F. Line cupcake pan with cupcake liners.


Using a medium saucepan, on medium heat melt butter and add stout. Whisk in cocoa powder and let mixture come to a simmer. Once mixture starts to simmer, whisk again and remove from heat. Allow mixture to cool slightly.


In a medium sized bowl, mix together flour, baking soda and salt. Set aside.
In a large sized bowl, using stand or hand mixer, add eggs and sour cream and beat until smooth. Beat in sugar on medium speed until dissolved. Lower speed on mixer and add flour mixture.


Slowly pour in cocoa/stout mixture until large bowl on low speed. Mix until just combined.
Use ice cream scoop to place mixture until cupcake pan, filling up each cup ¾ full.
Bake cupcakes for 18-20 minutes or until tester comes out clean. Allow cupcakes to completely cool.


While cupcakes are baking make ganache. In a small mixing bowl stir together cocoa hazelnut spread and blood orange vodka until combined. (If your vodka is too cold and your ganache is not becoming smooth microwave for 1 minute on 50% power.)
Once cupcakes have completely cooled, using rounded part of pipping tip cut center out of cupcakes. Spoon or pipe ganache into the center of each cupcake. Pipe buttercream frosting on top of each cupcake.


Decorate cupcakes using Kaleidoscope Sprinkles Scary Spice Sprinkle Mix.


Use Cosmic Shimmers to decorate blood orange chocolate caramels. Top each cupcake with blood orange dark chocolate caramels.


Devour and enjoy!