
Original Blog post: December 15th, 2013
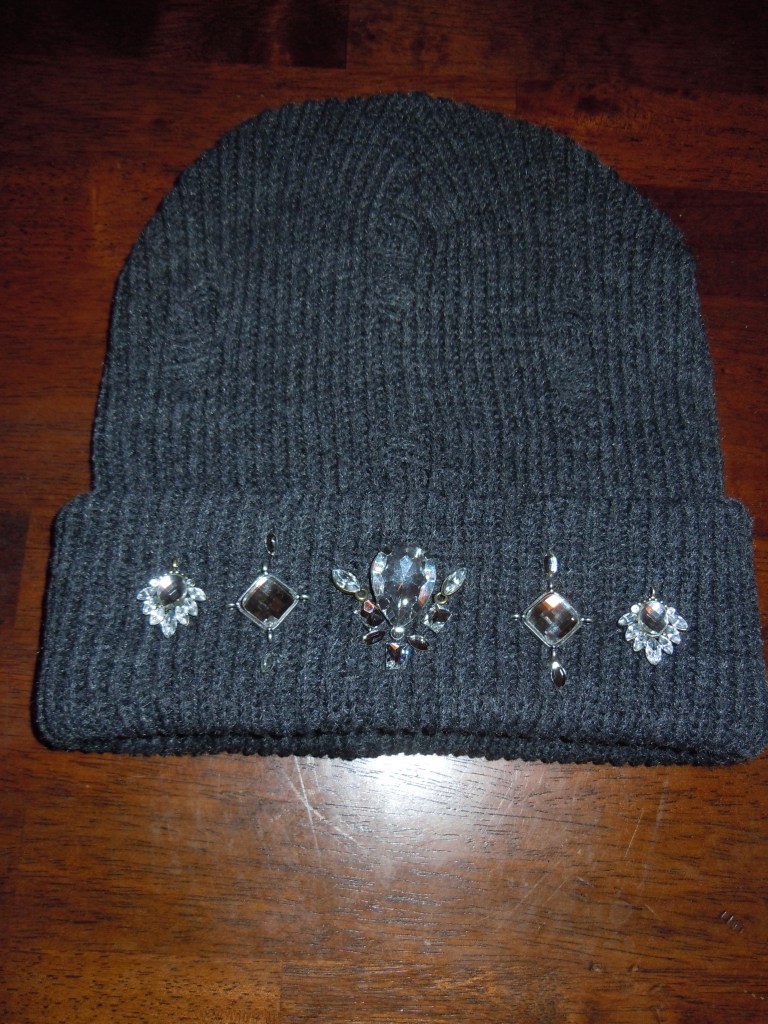
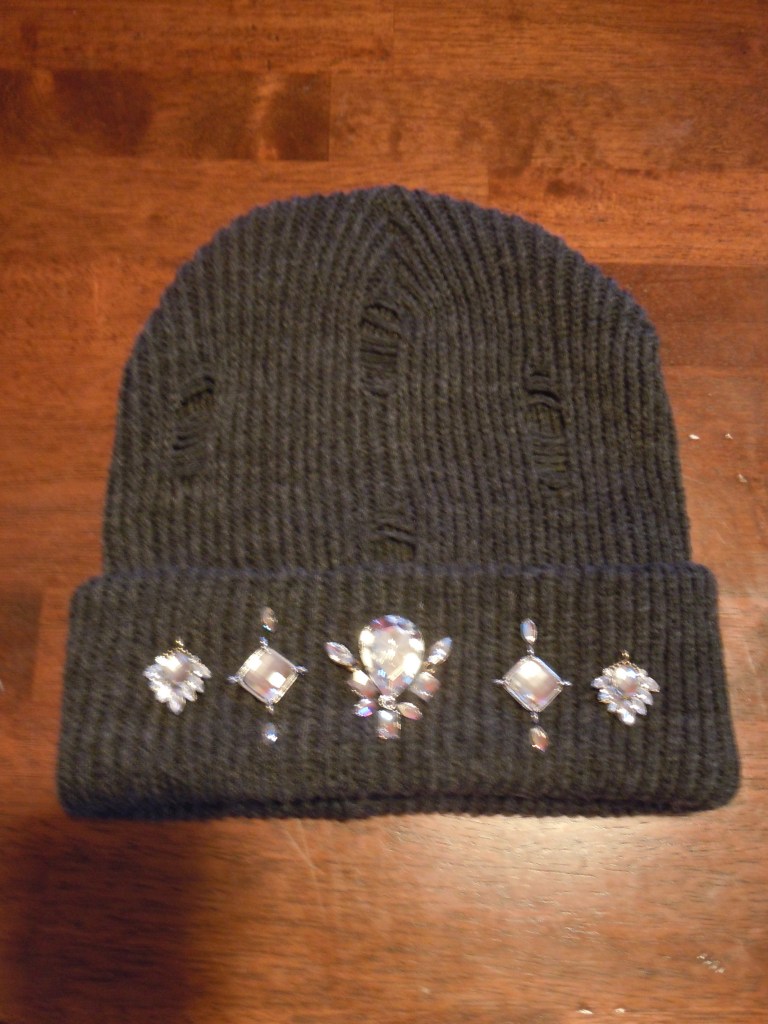
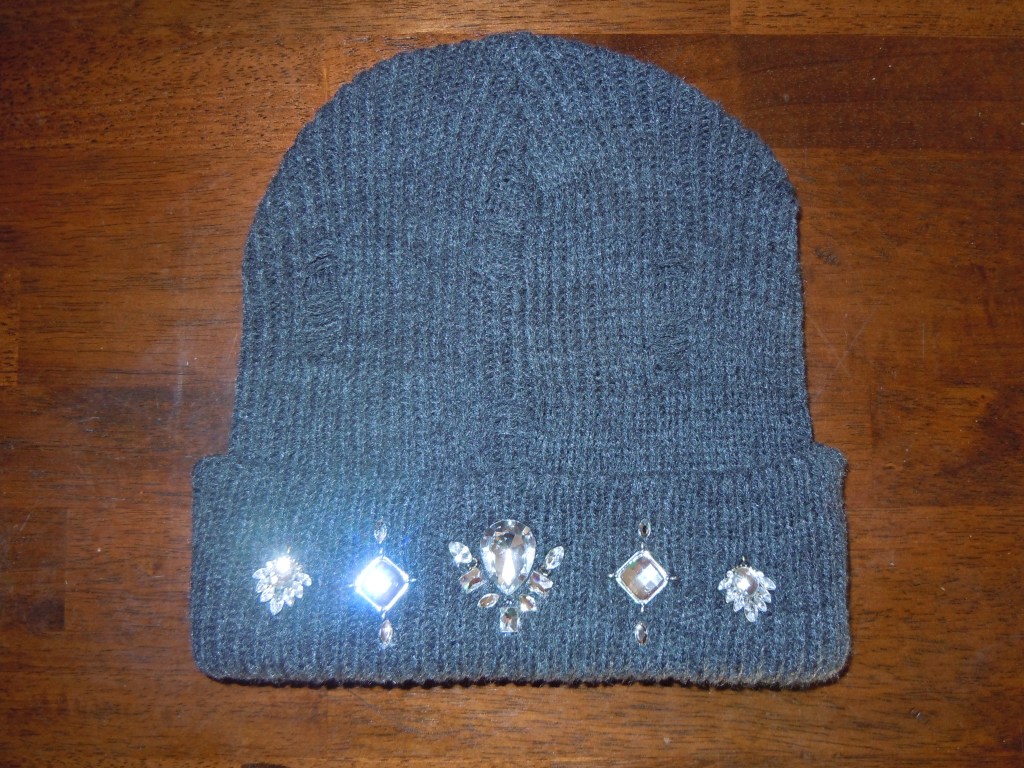
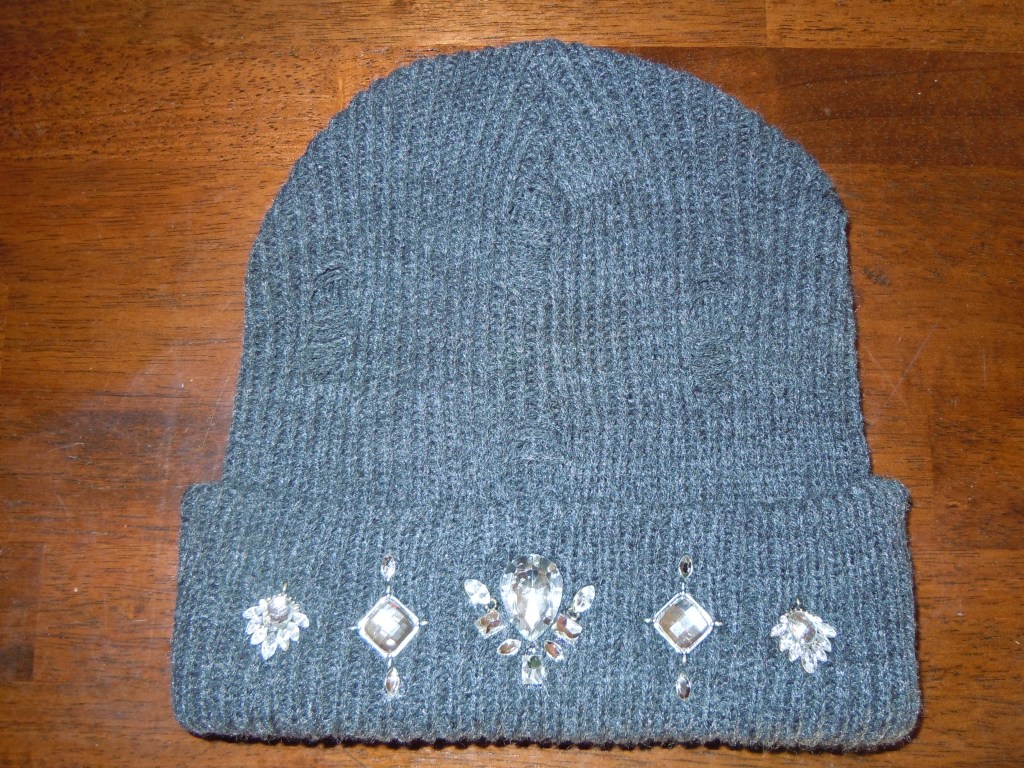
Last week I was doing my usual perusing on Pinterest when this gorgeous designer beanie popped up on my screen. It was a simple beanie but it was adorned in crystals creating a unique head ornament. I clicked on the link to the hat to possibly purchase the item. The item was not only sold out but I was a bit overpriced. I knew that could create something very similar for way less. The craft wheels in my head started turning and I went to work. I must say that I very impressed with my results.
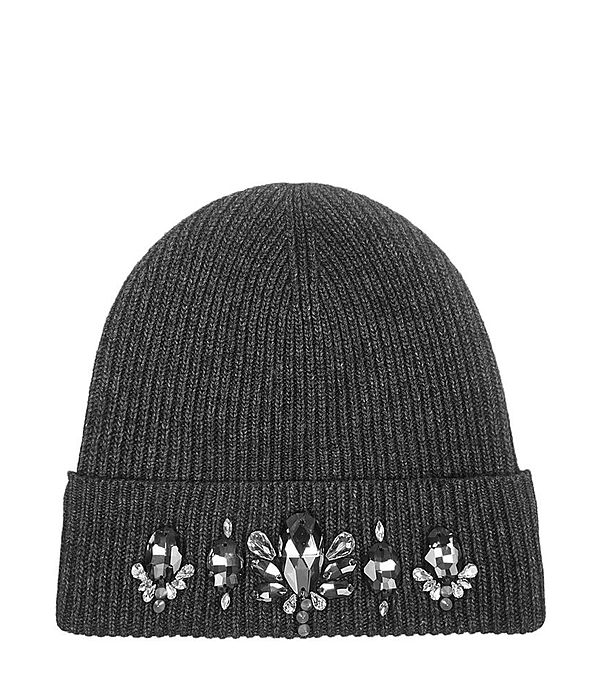
My beanie cost me less than $30 as compared to the $155 designer beanie.
My finished beanie was very easy to create. I am keeping mine but you could easily make several for Christmas or Kwanzaa gifts. Here is how I did it:


Materials
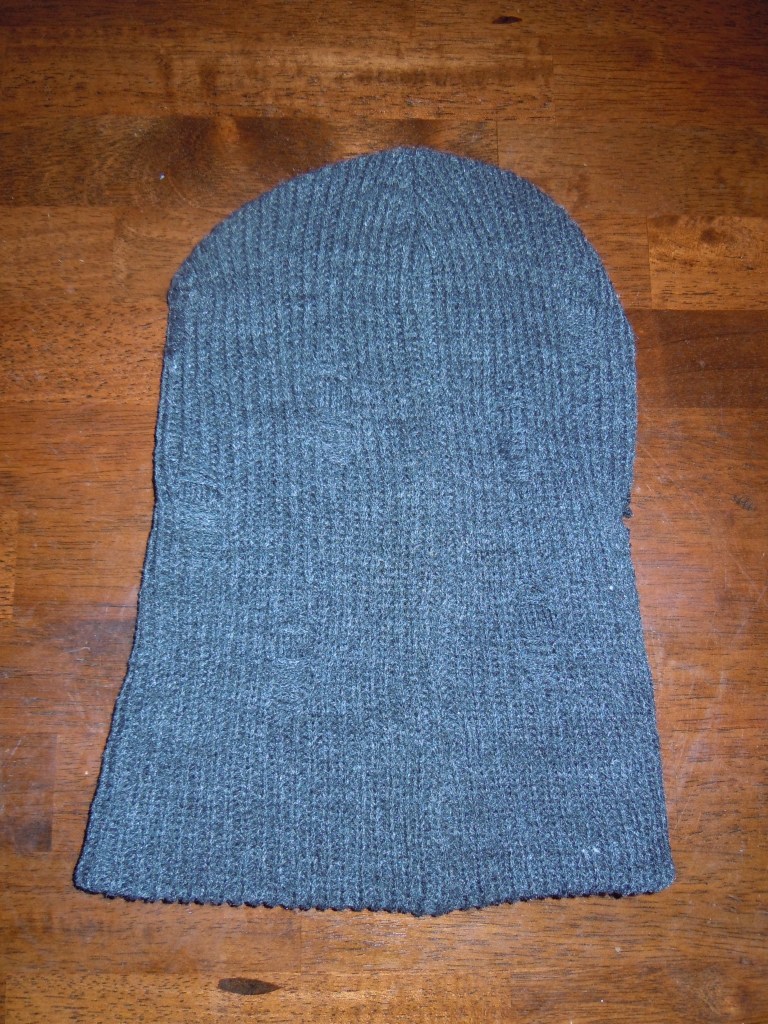
1. Large beanie (large enough to fold over brim)
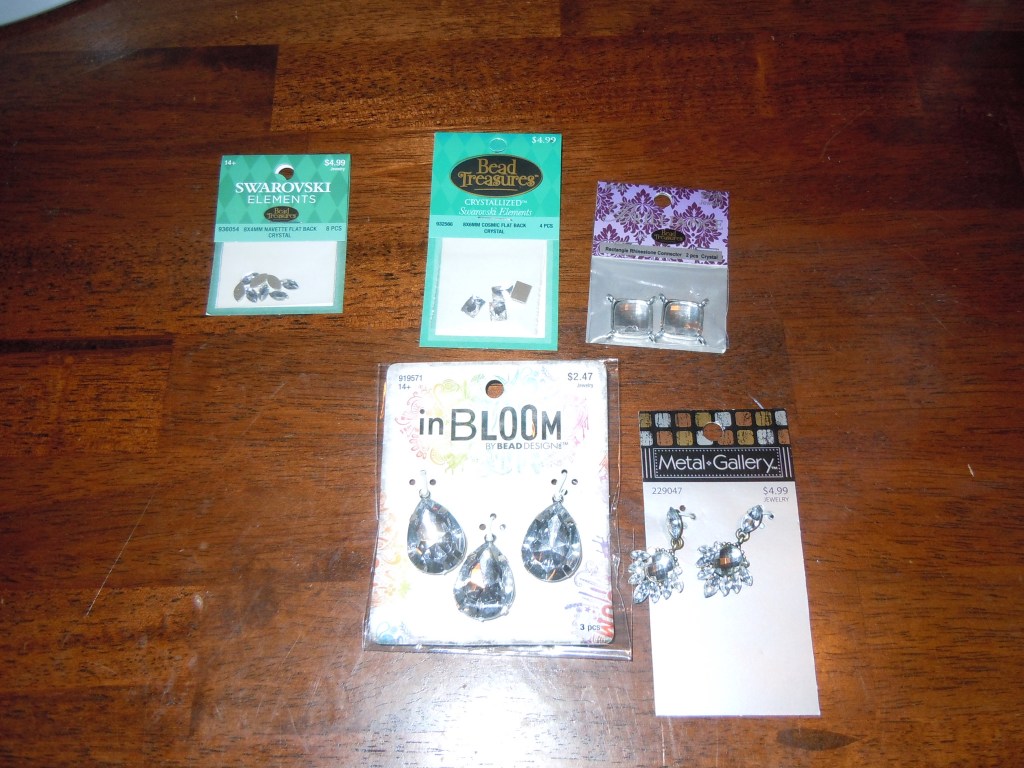
2. crystalized gems (I bought all of mine from Hobby Lobby)
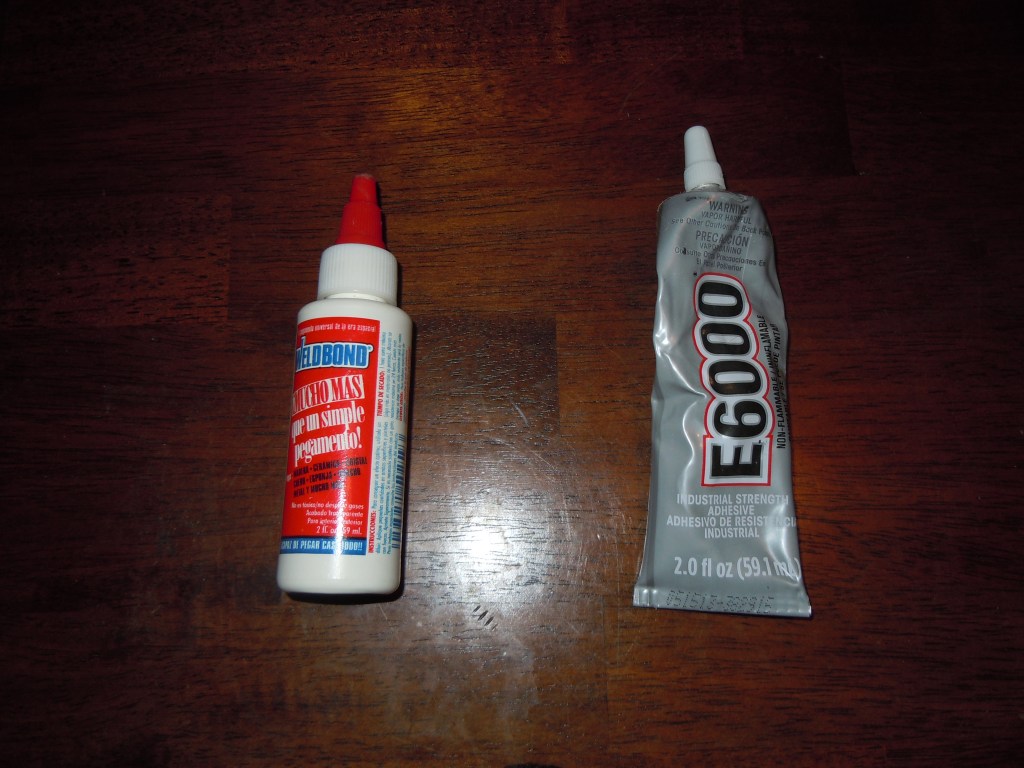
3. Fabric glue (I used E6000, pictured above)
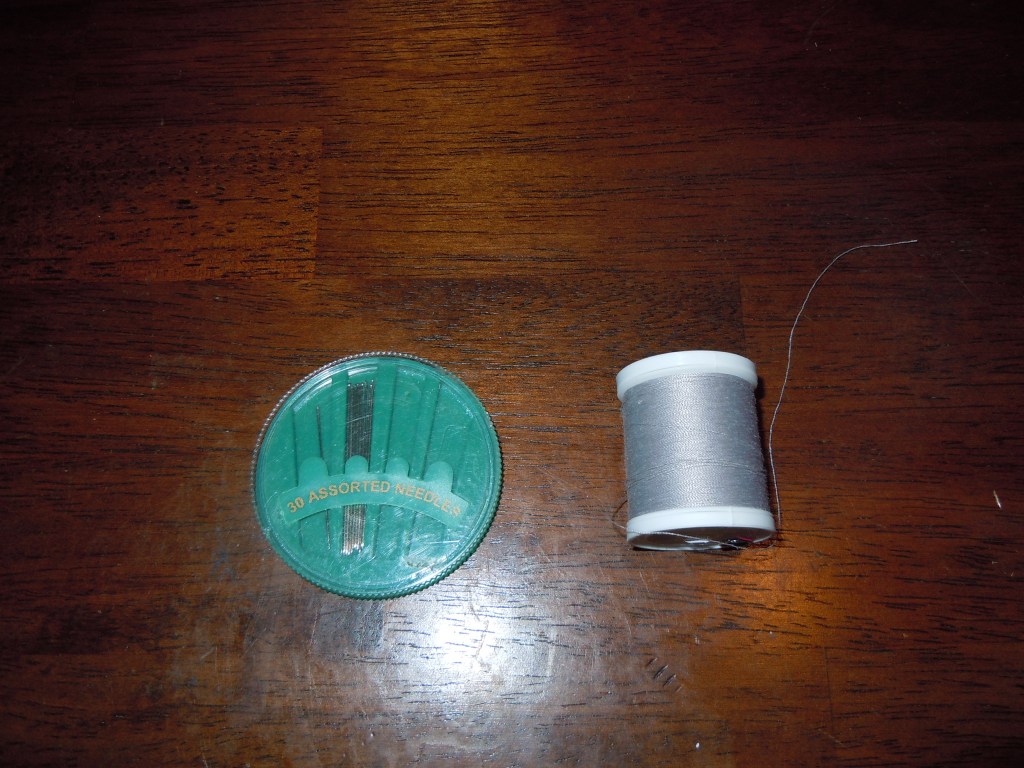
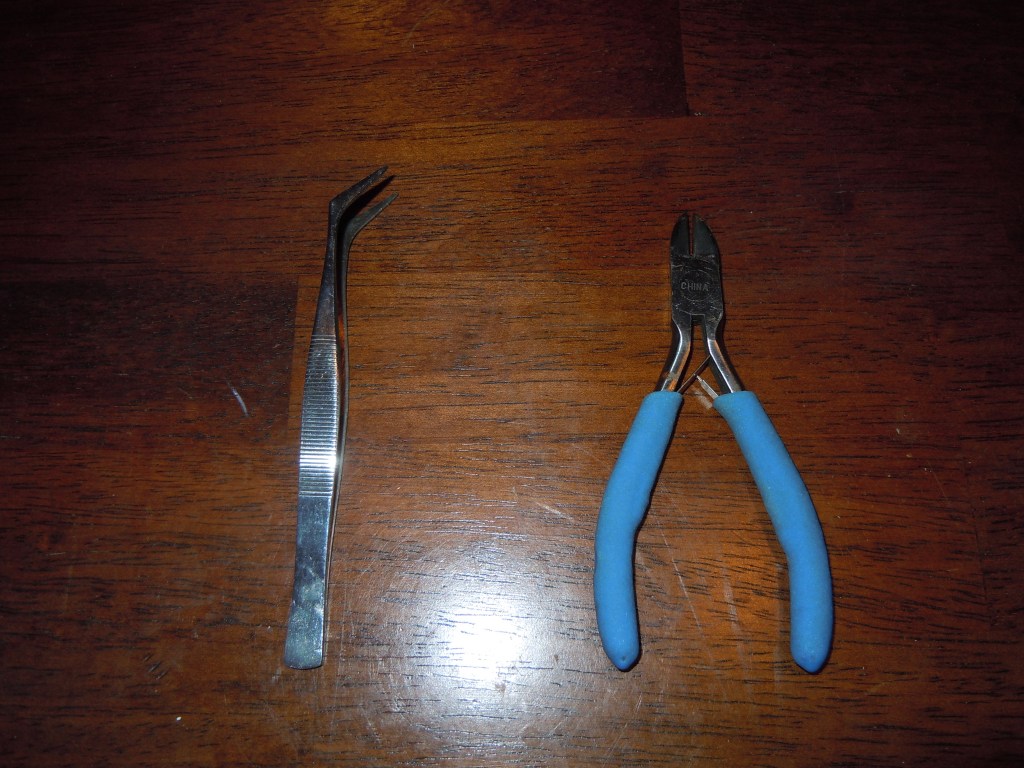
4. Wire Cutters, pictured
5. Tweezers
6. Needle and thread, match sure the color is as close to the hat as possible
Instructions
Try on hat to determine how wide you want your brim on your beanie. (Make sure that brim is at least wide enough to place your gems on. Remove hat. Use needle and thread and loosely sew brim into place, make sure you leave enough thread to allow hat to stretch around your head. Use wire cutters to remove any backing from your gems so they may lie flat against the hat. Place all your gems onto the brim in the approximate desired position. Once you are satisfied with the look of your hat, glue the gems in place. Once everything is glued down, place a large object onto top of your hat to secure gems. Allow glue to dry overnight. Once glue is complete dry, remove heavy object from hat. Take needle and thread and sew gems in place (optional). Put on your beanie and enjoy its fabulousness or give it away as a gift. Believe me, you wont want to because its way too fly!!