As mentioned in my previous post, we are in a 90s fashion renaissance. With 90s fashion comes the influx of America’s favorite clothing material, denim. Apparently Canadians appreciate this widely versatile fabric as they have named an entire ensemble after it. I have never been a fan of the Canadian tuxedo, also known as the “denim on denim” look. My OCD has never settled with different denim colors and layers making up a complete outfit.
With this rebirth of denim fashion I have found better clothing options and an improved way to optimize this choice. The days of only having denim button ups, jeans and those horrible granny looking denim dresses have long gone. Today there are not only retro denim looks to upgrade, but also better fitting and stylish denim fashion options.
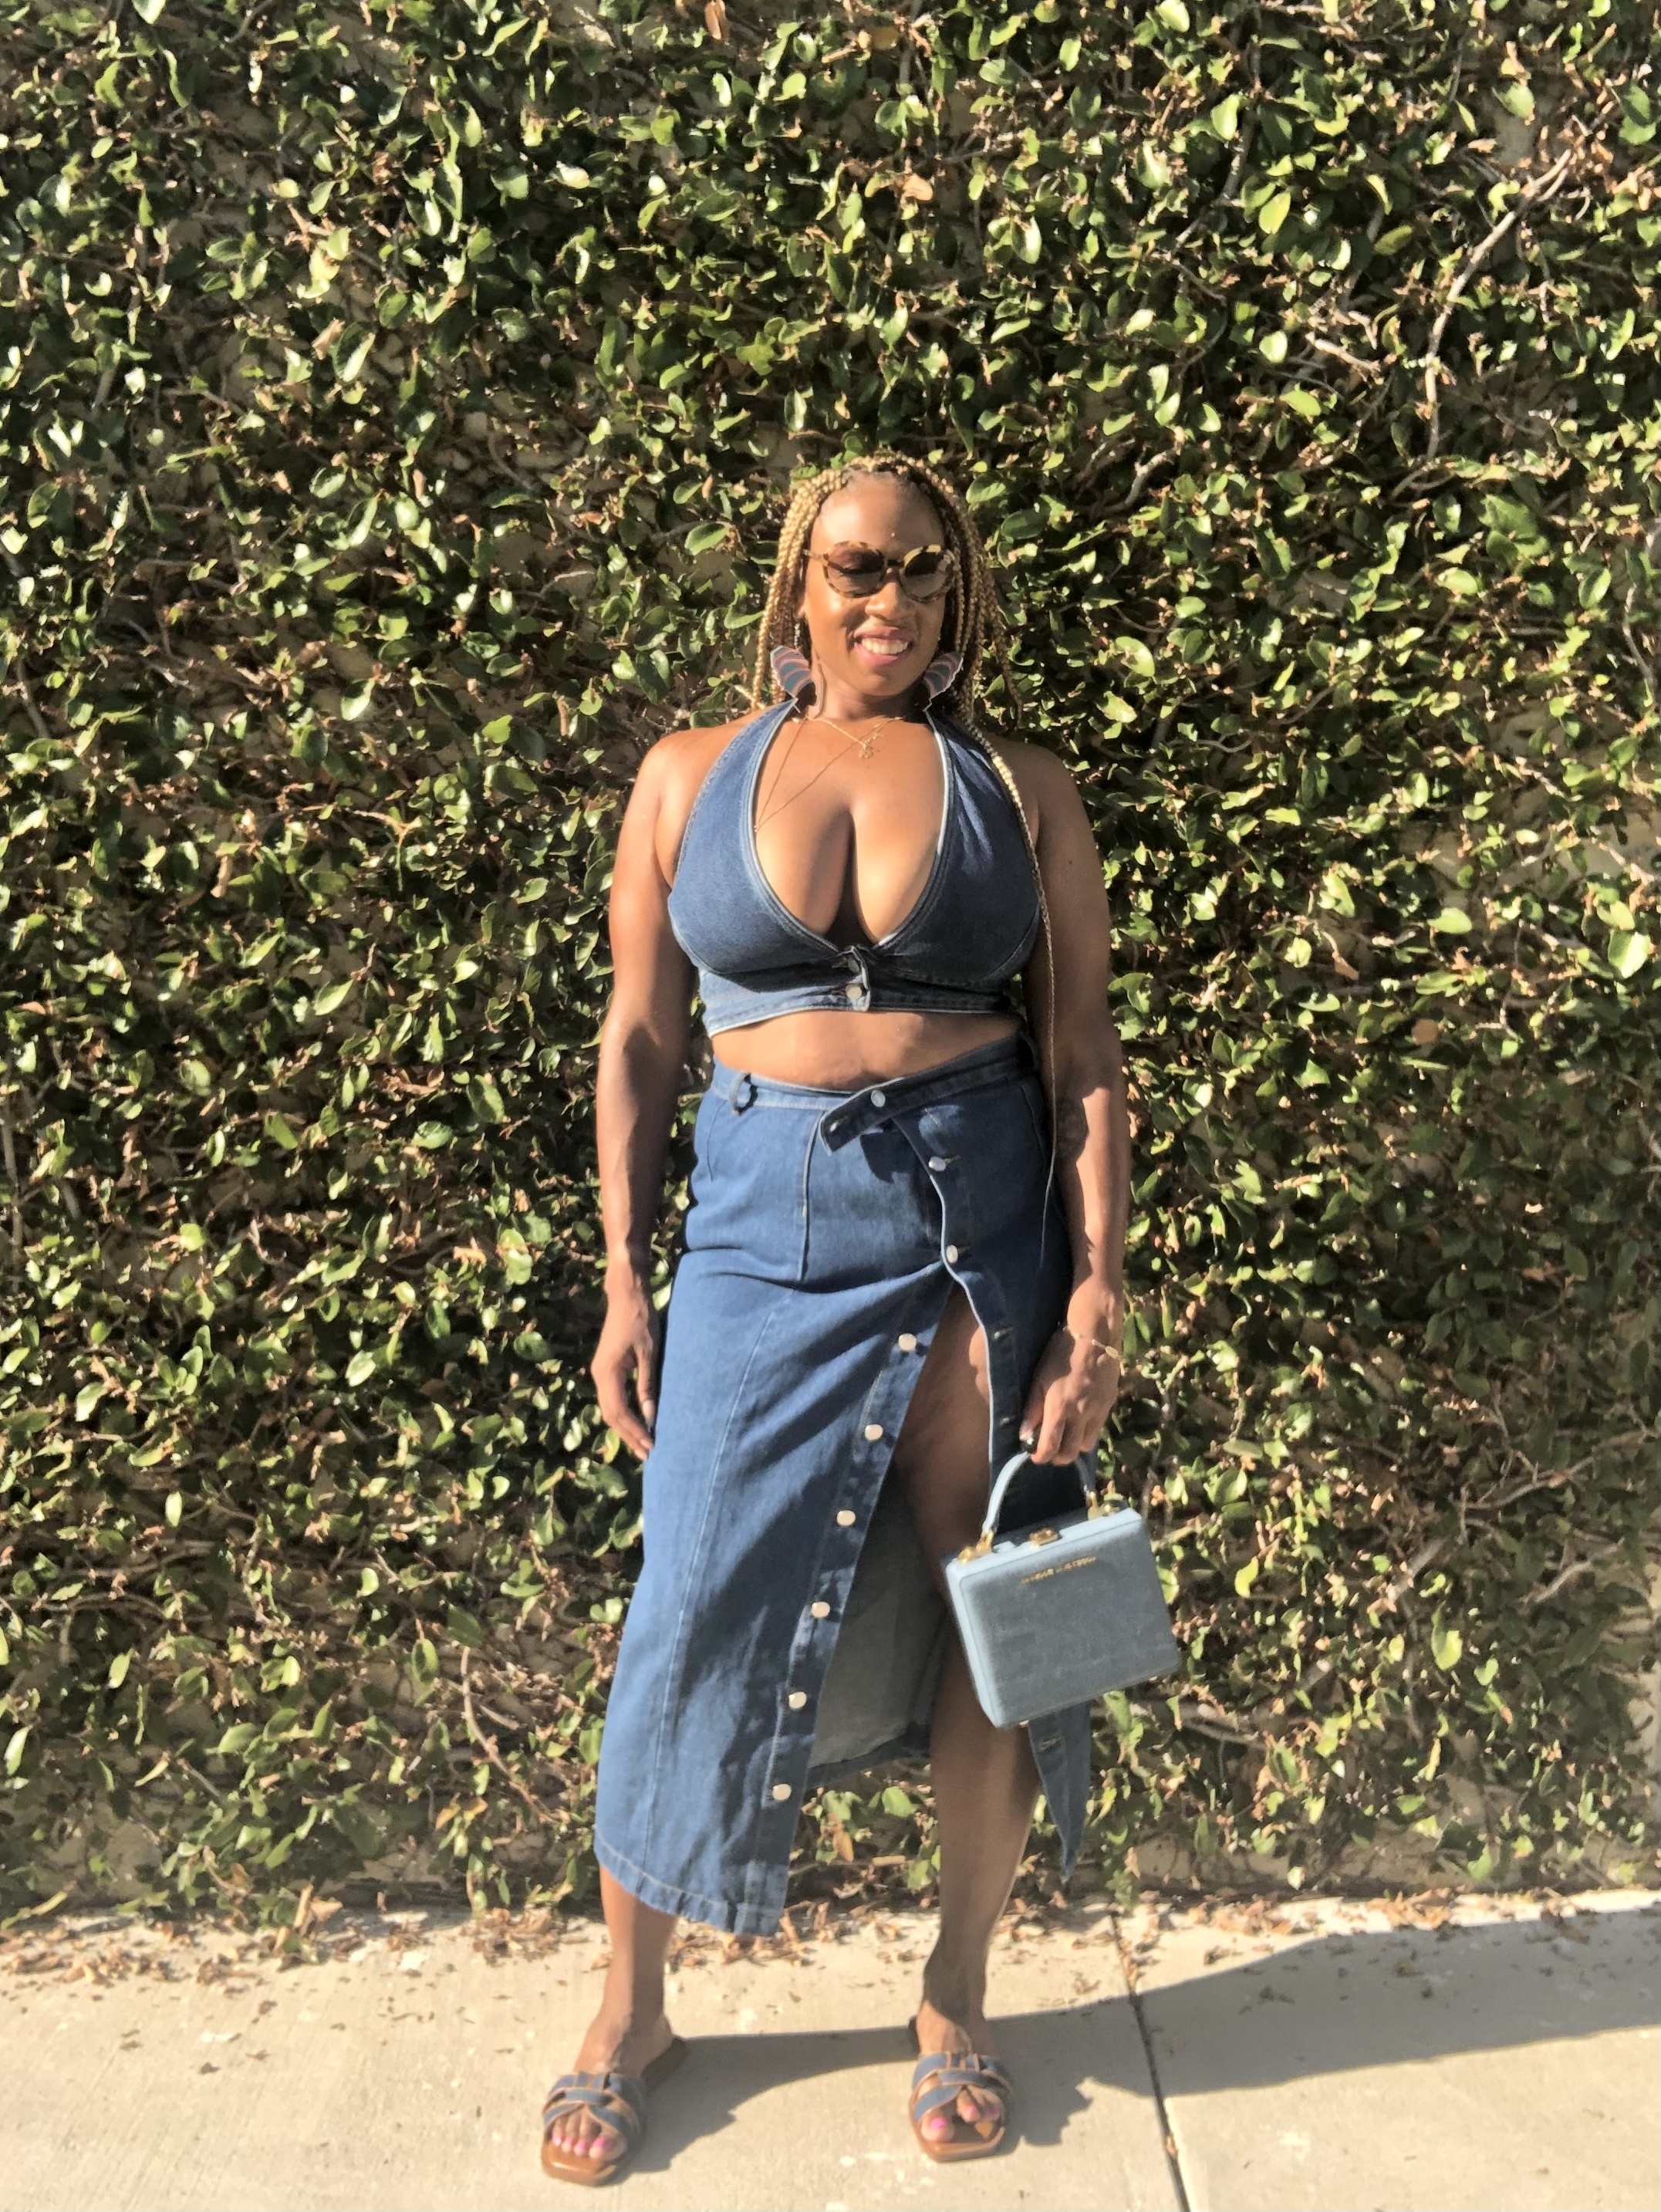
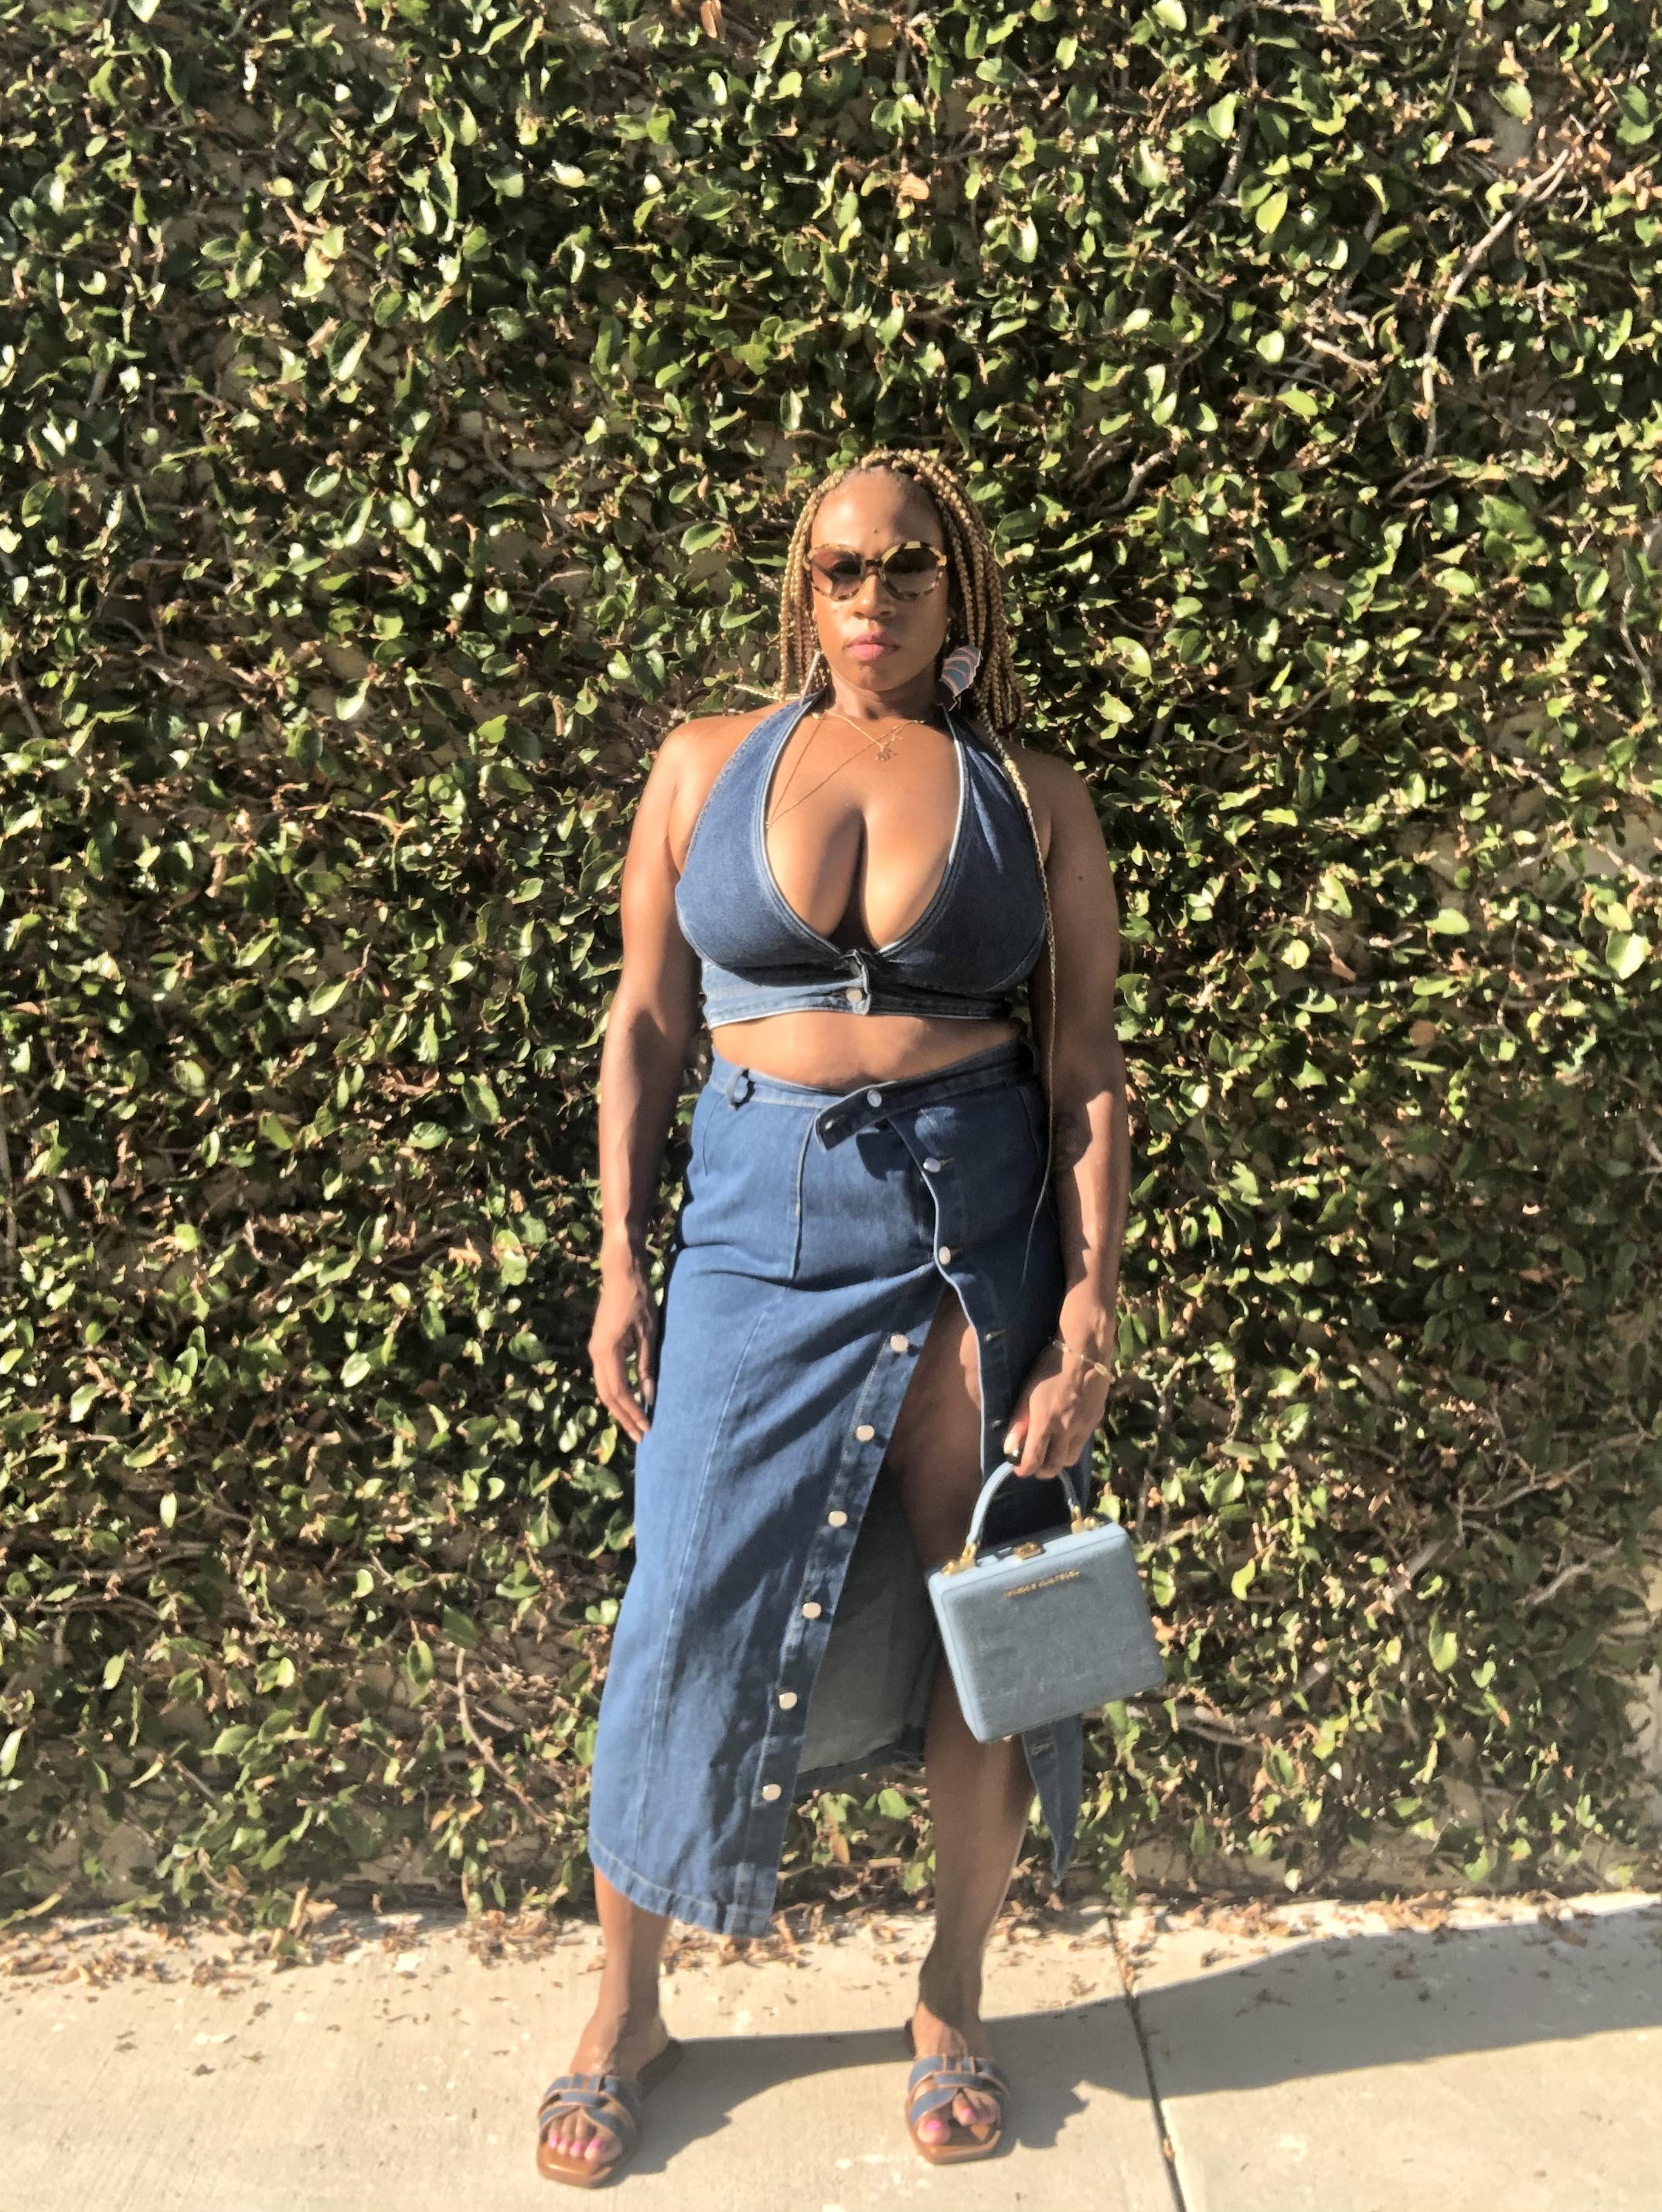
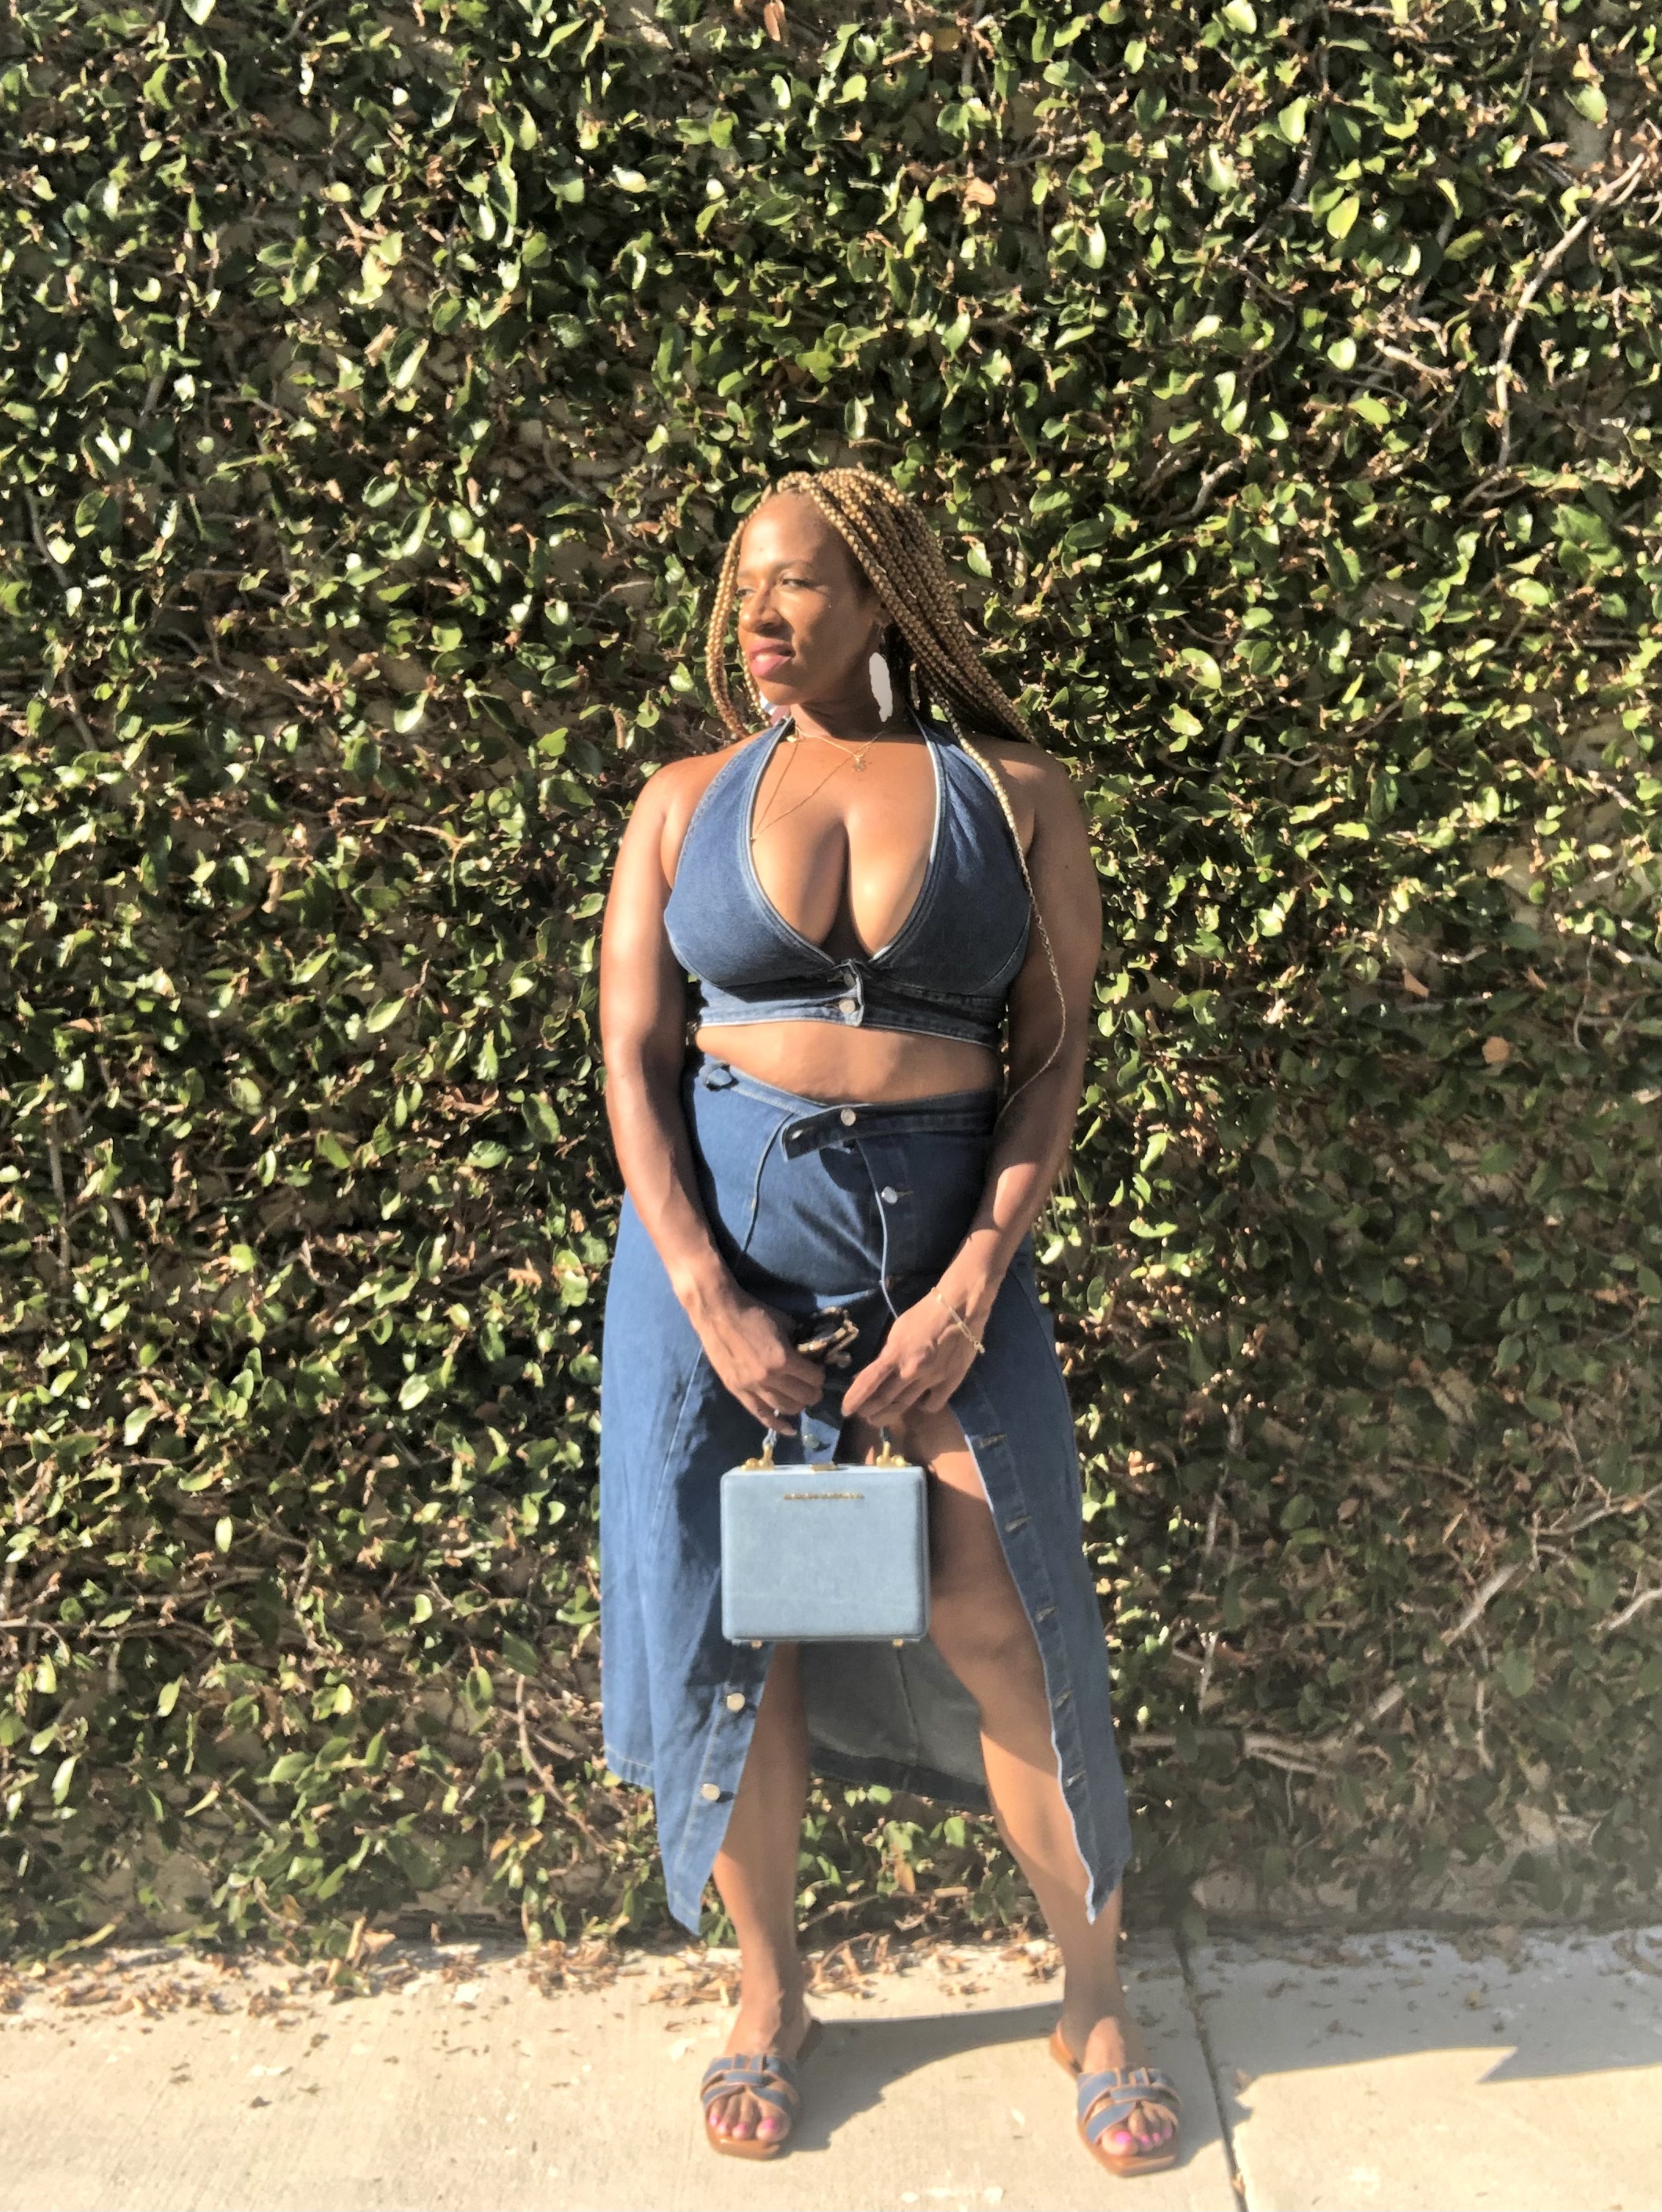
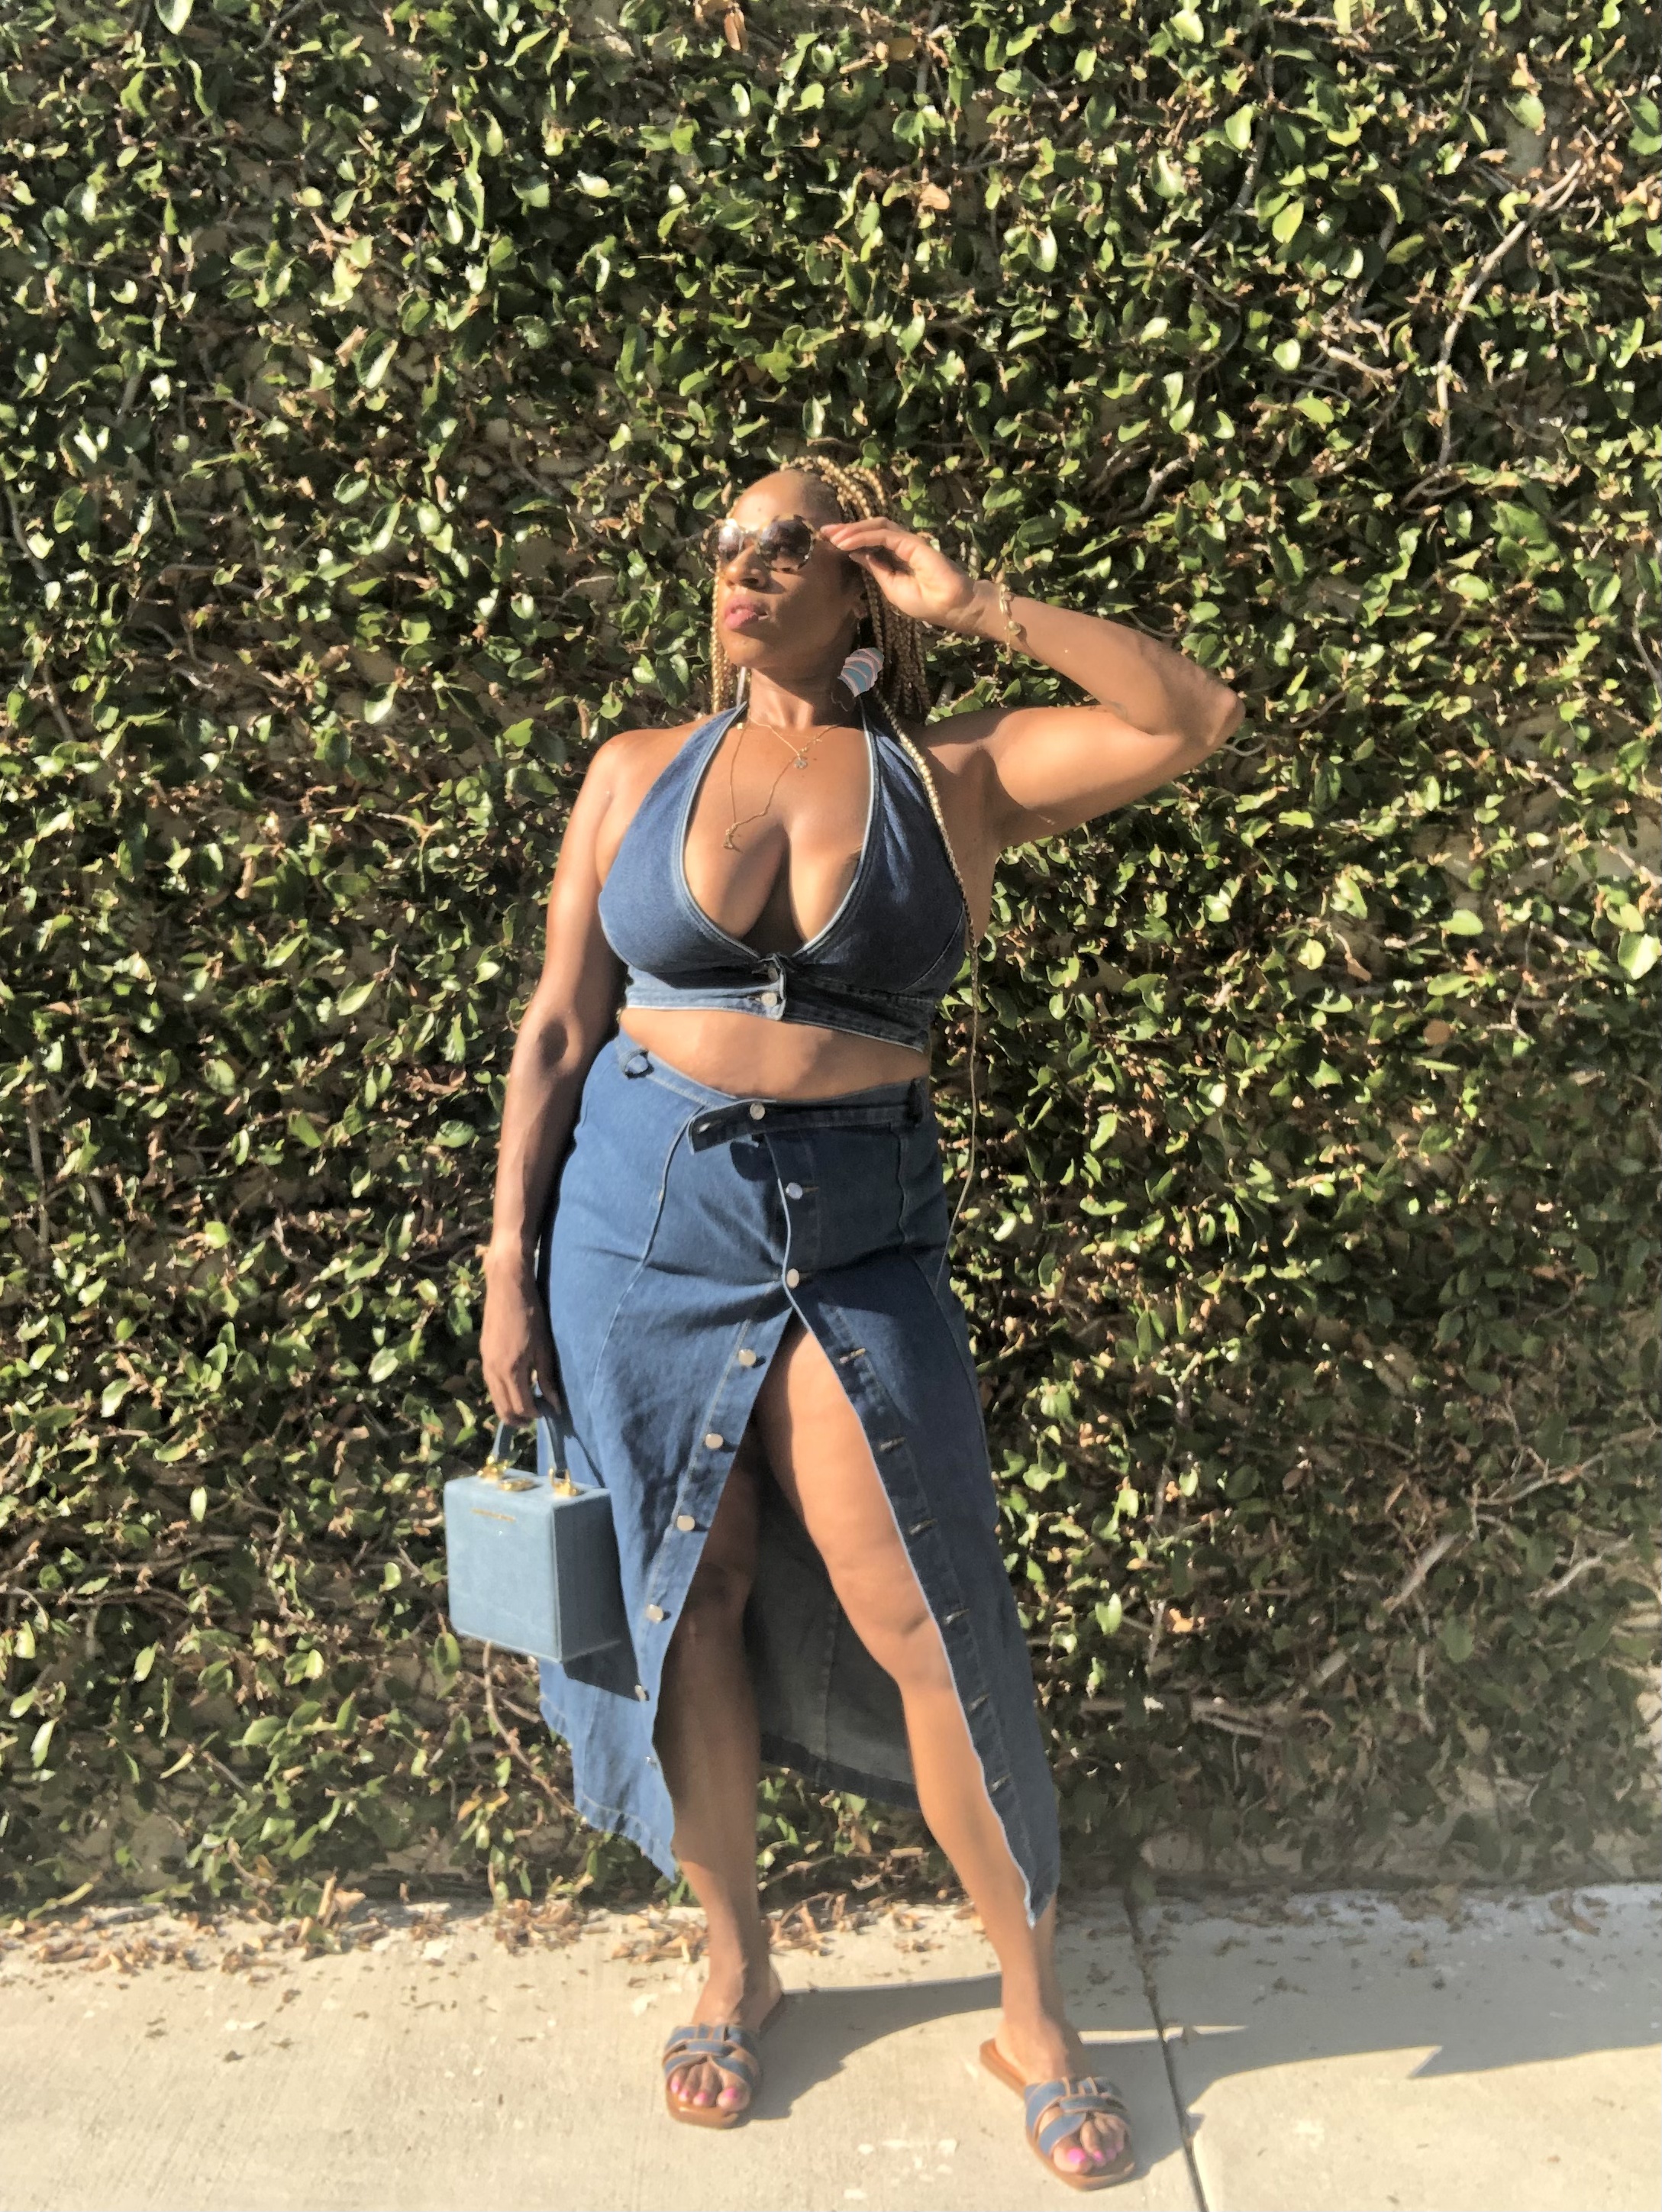
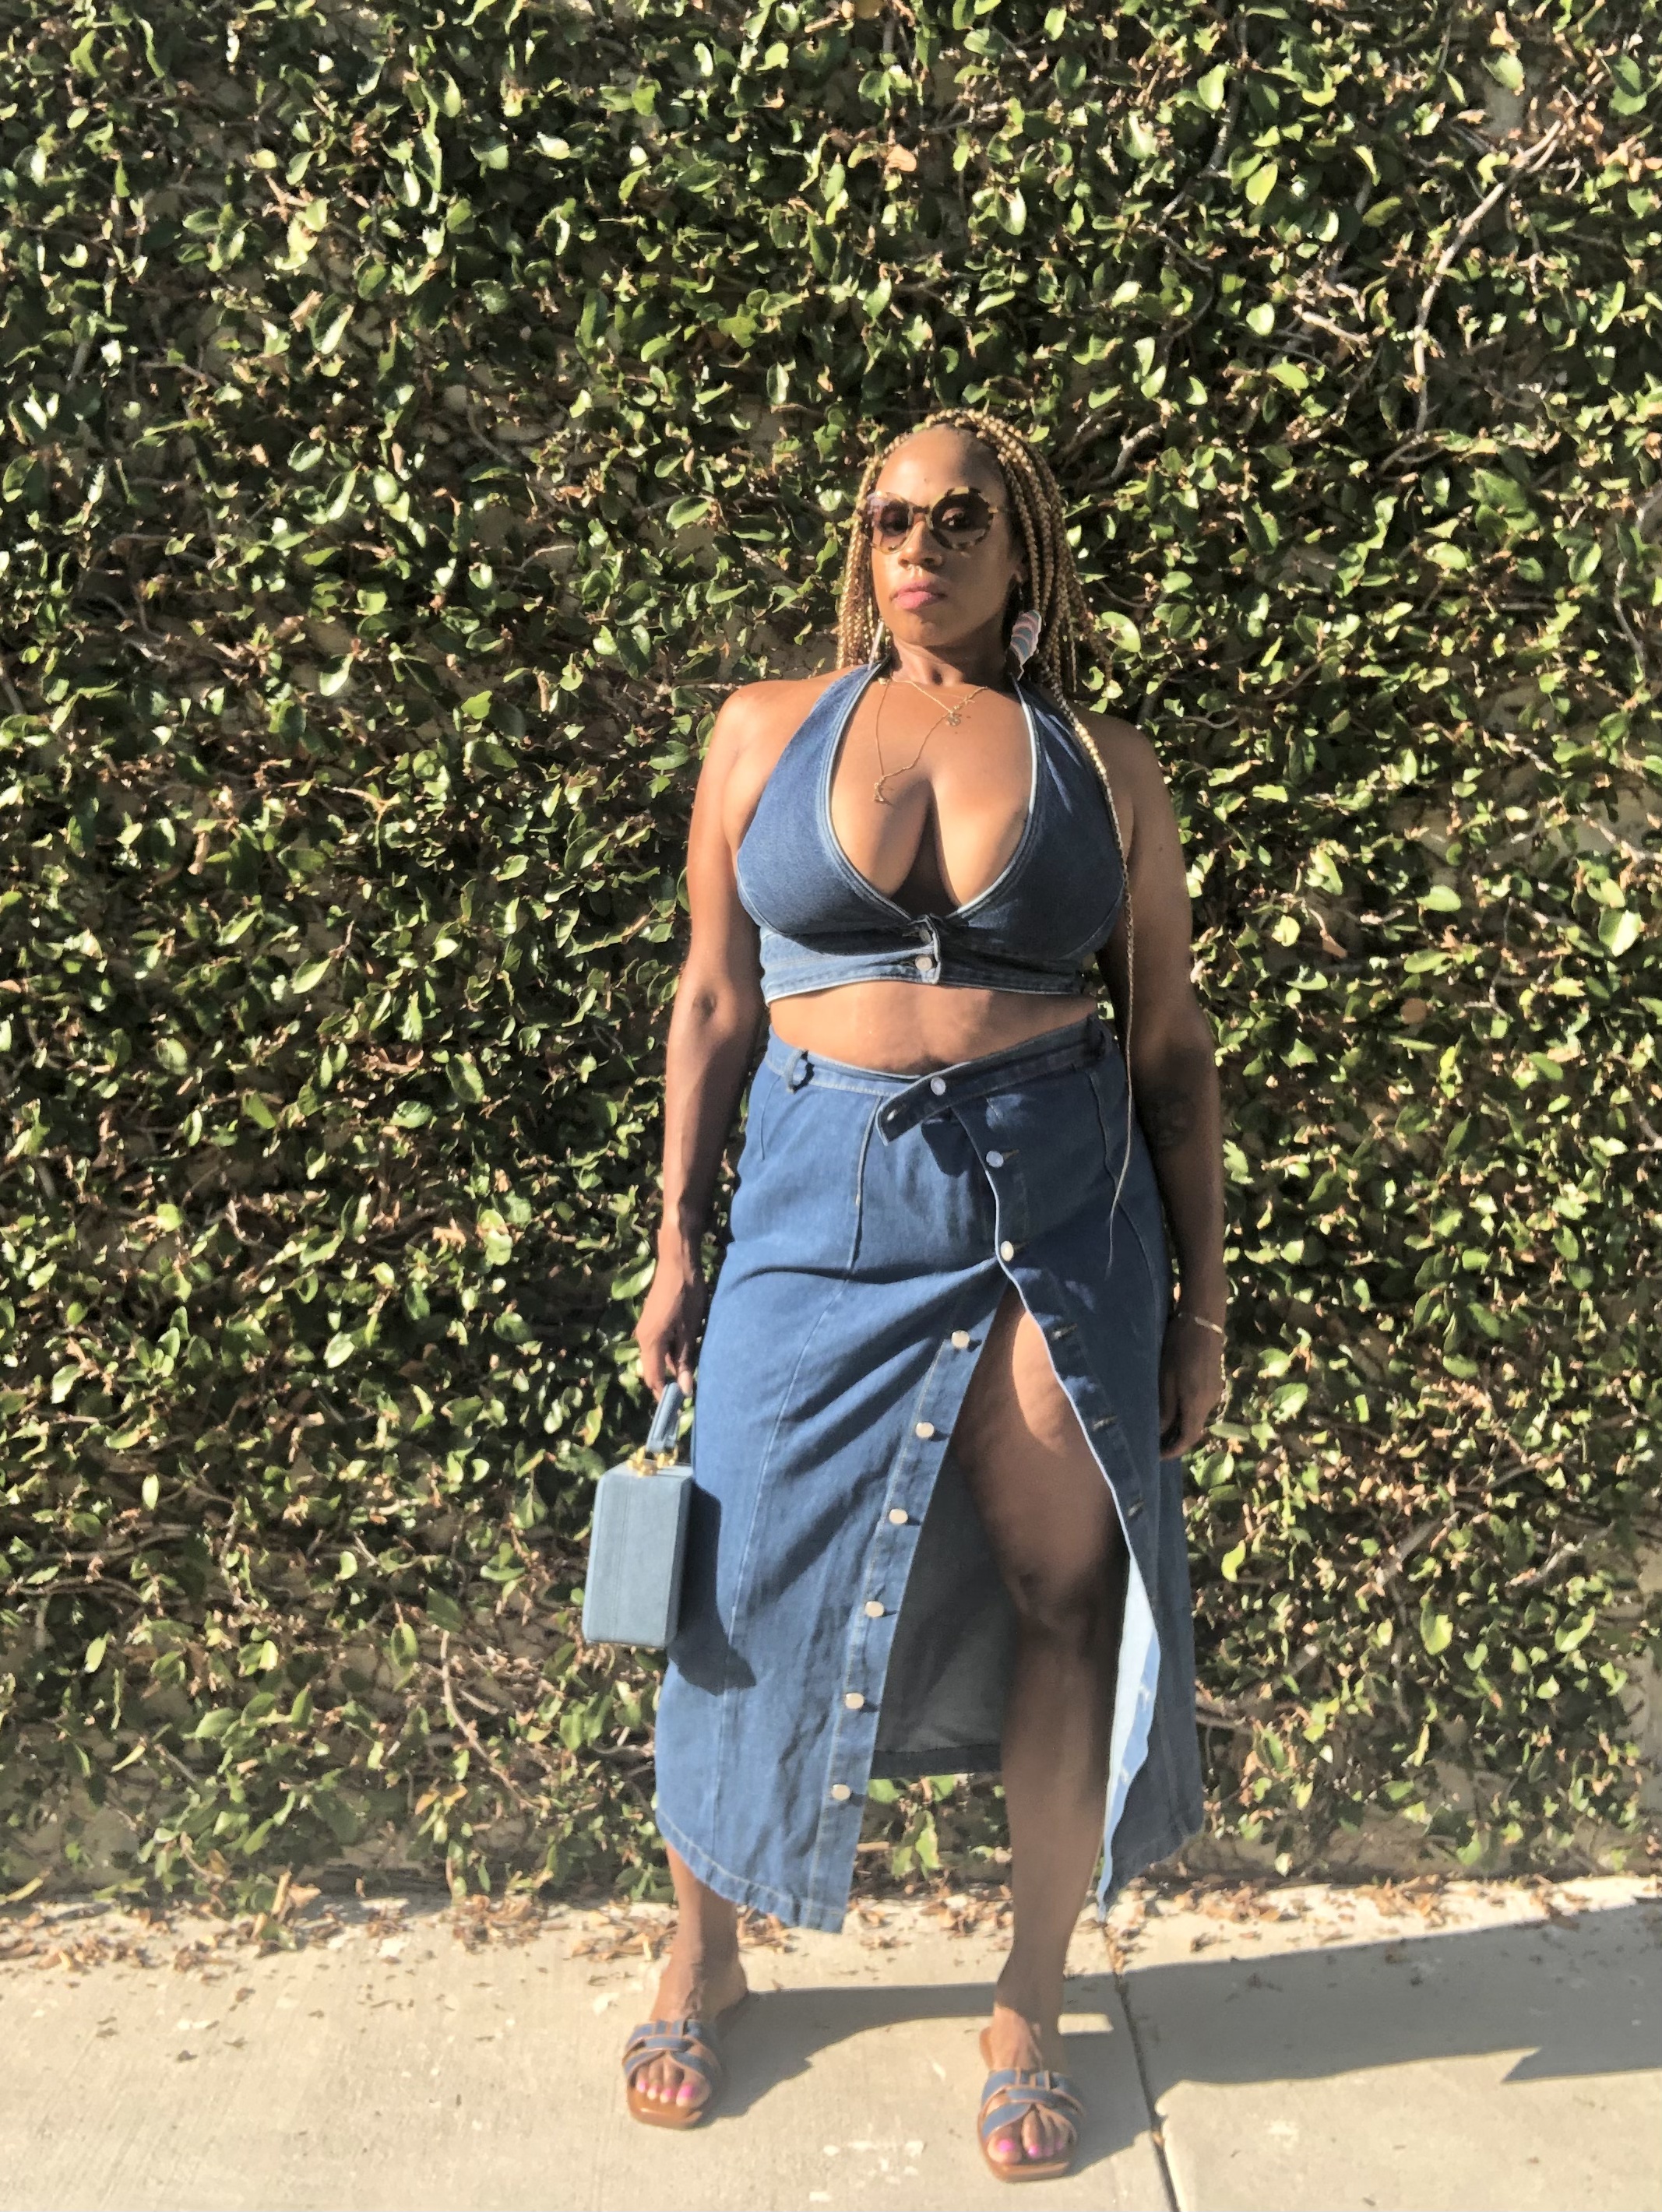
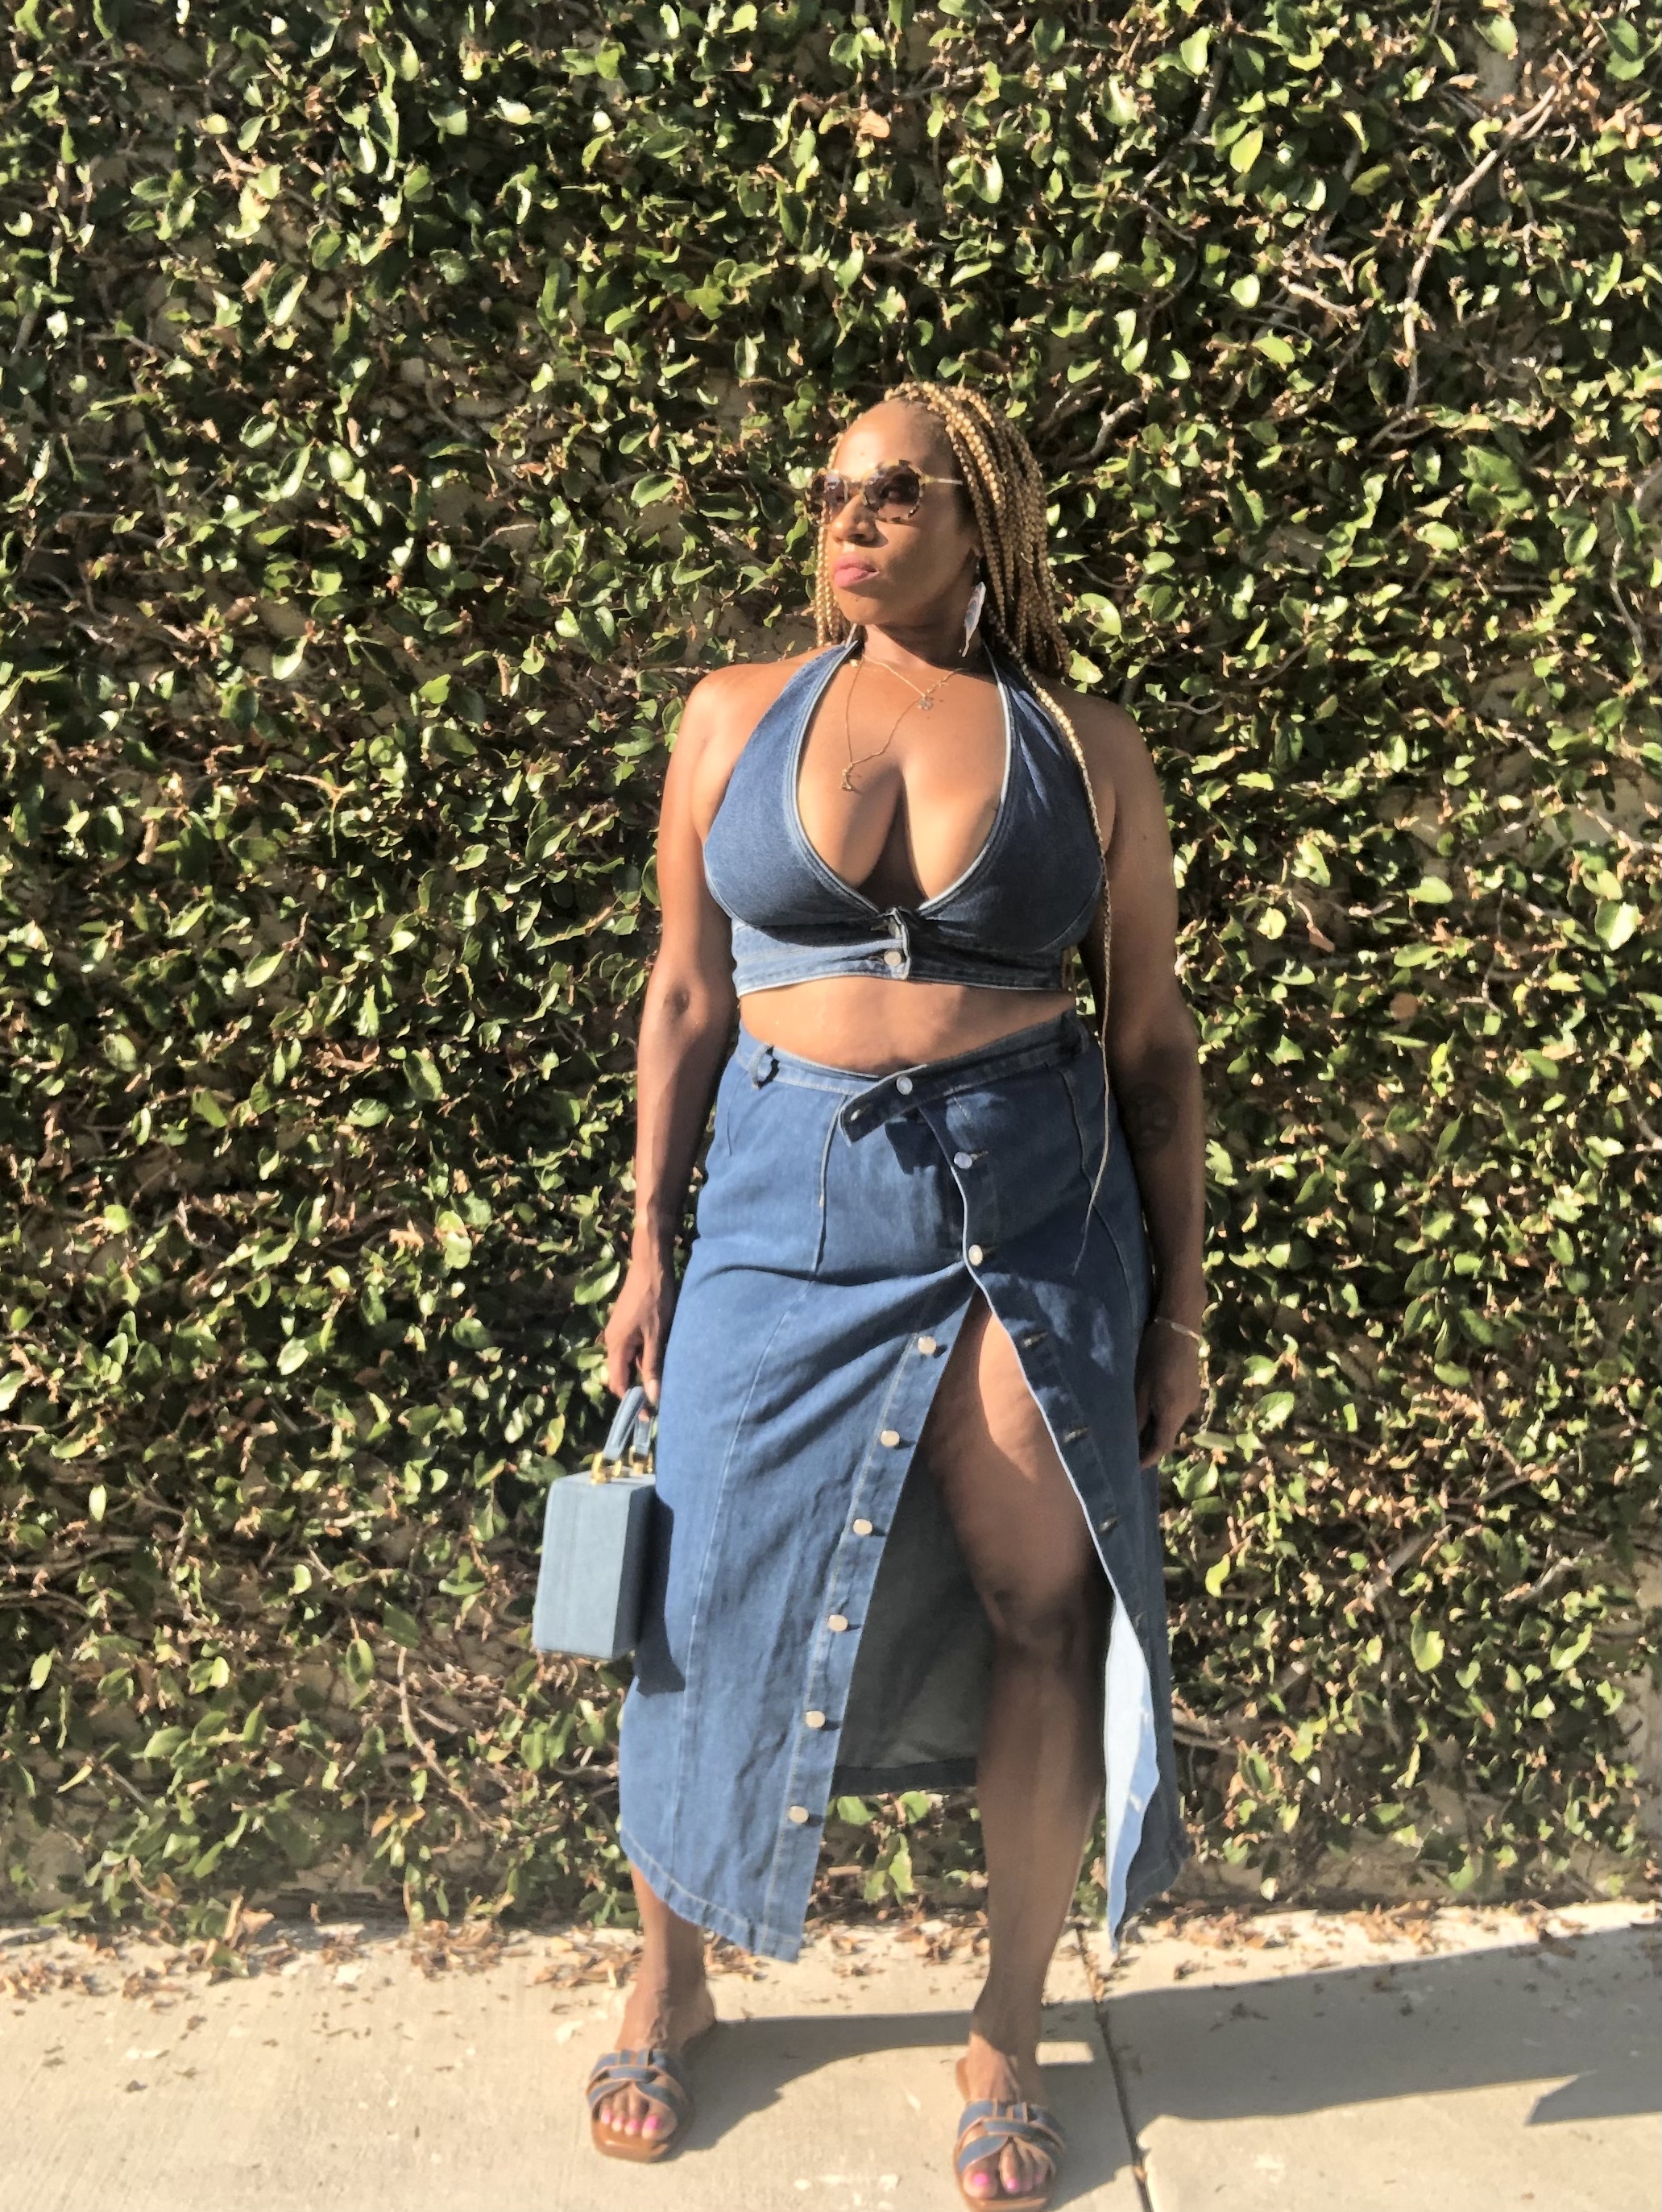
While I was perusing my Amazon wish list during Prime Day, I forgot about some previously saved denim pieces I wanted to add to my shopping cart. Thankfully, I was able to purchase them on sale last month and add some classic clothing options to my collection. I bought a denim halter top, skirt and some classic fitting jeans that I will be wearing until the seams bust.
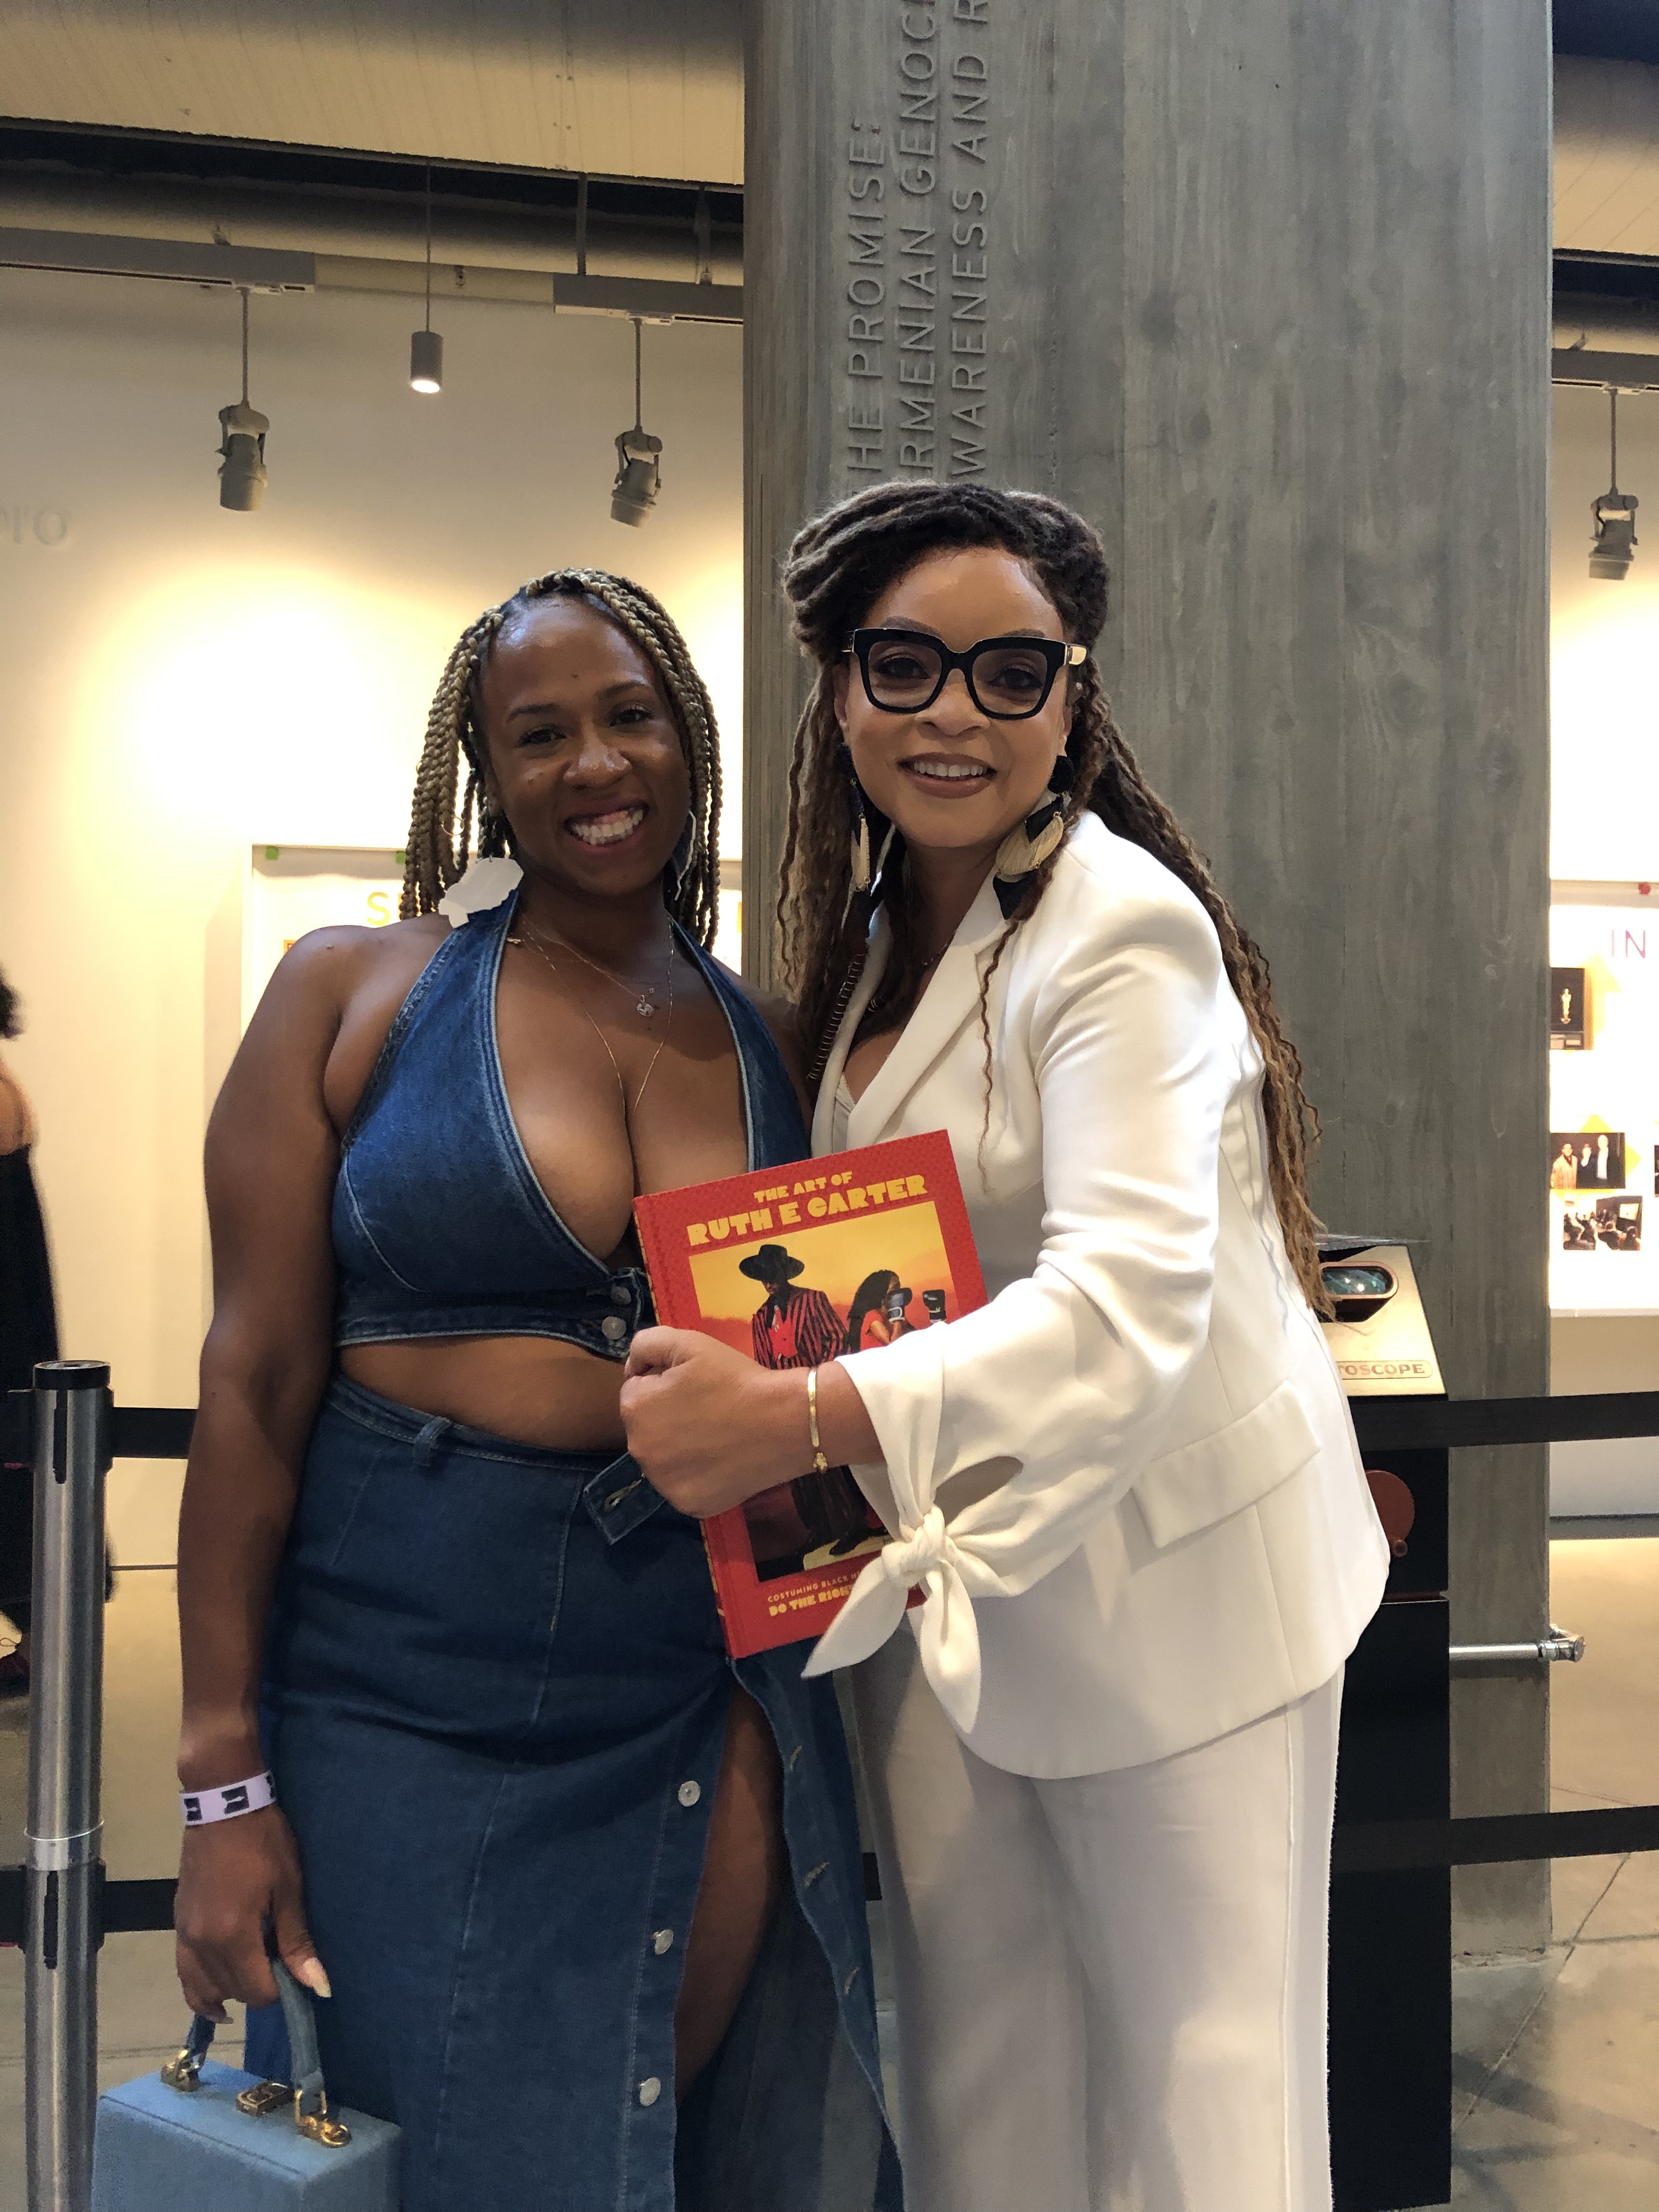
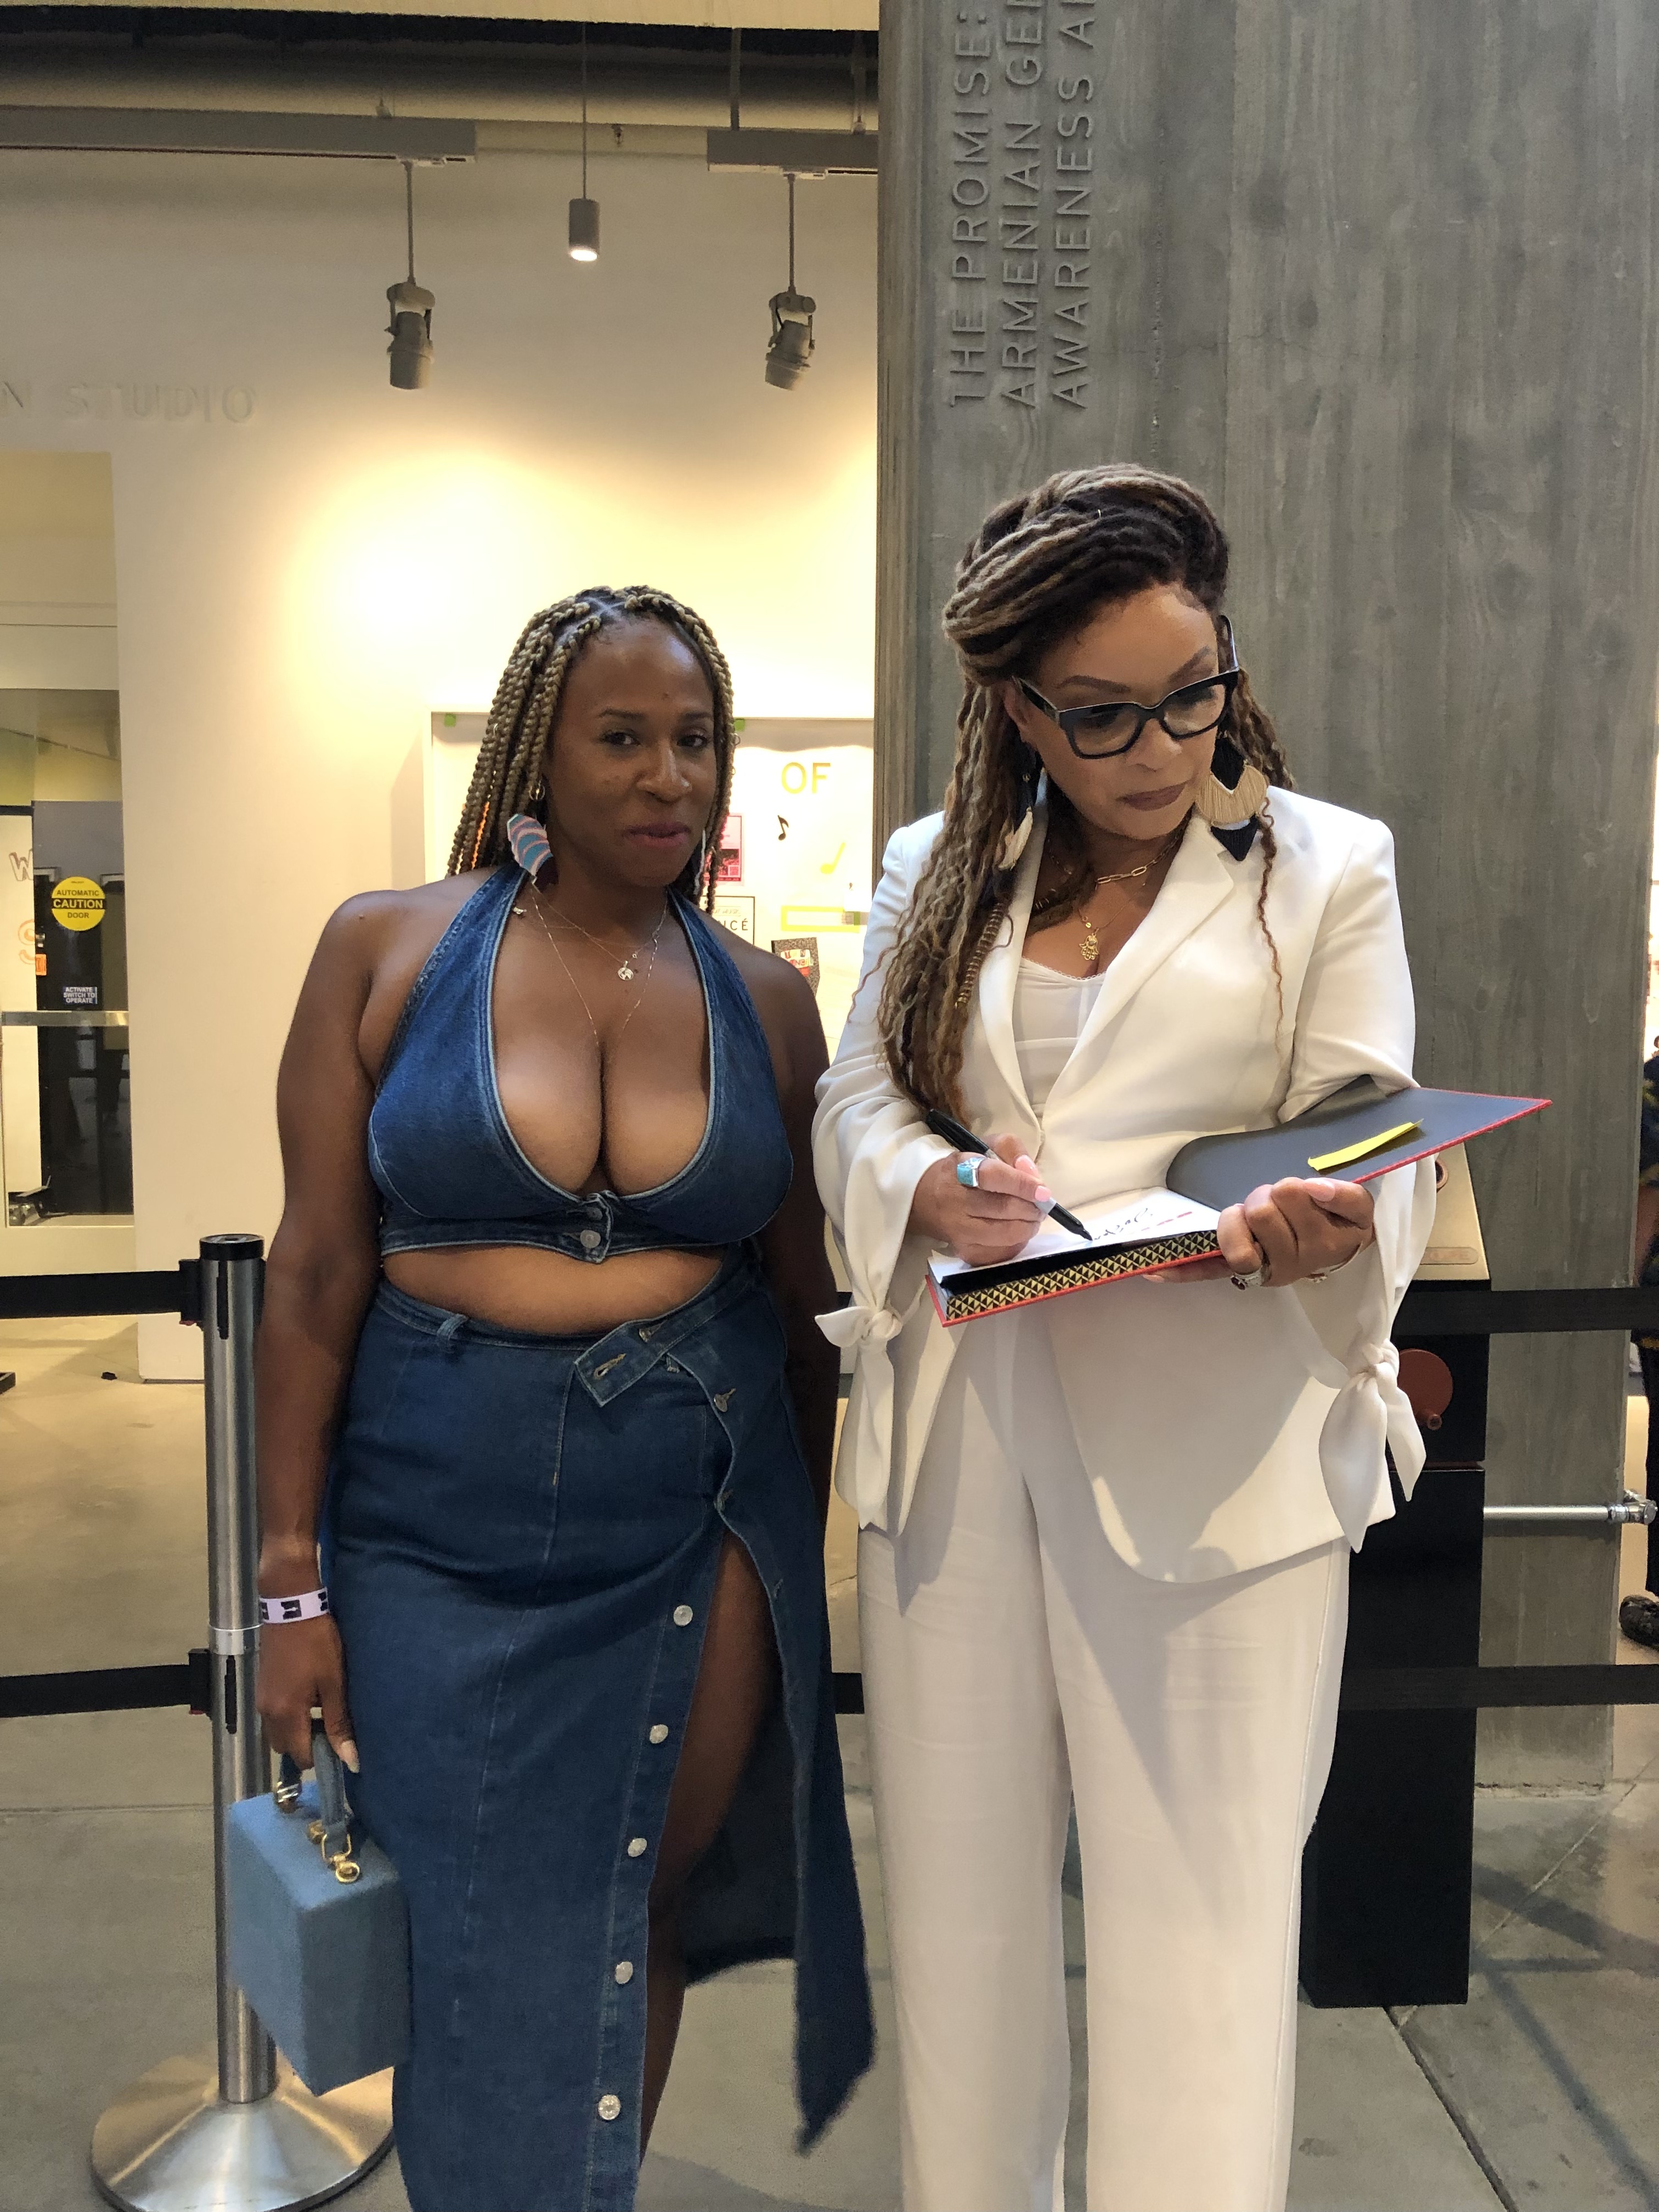
With this sweltering summer heat, I was able to wear my updated Canadian tuxedo and was quite pleased with complete look. What made my look even more incredible was I wore it to meet the iconic Academy Award winning costume designer, Ruth E. Carter, in this look
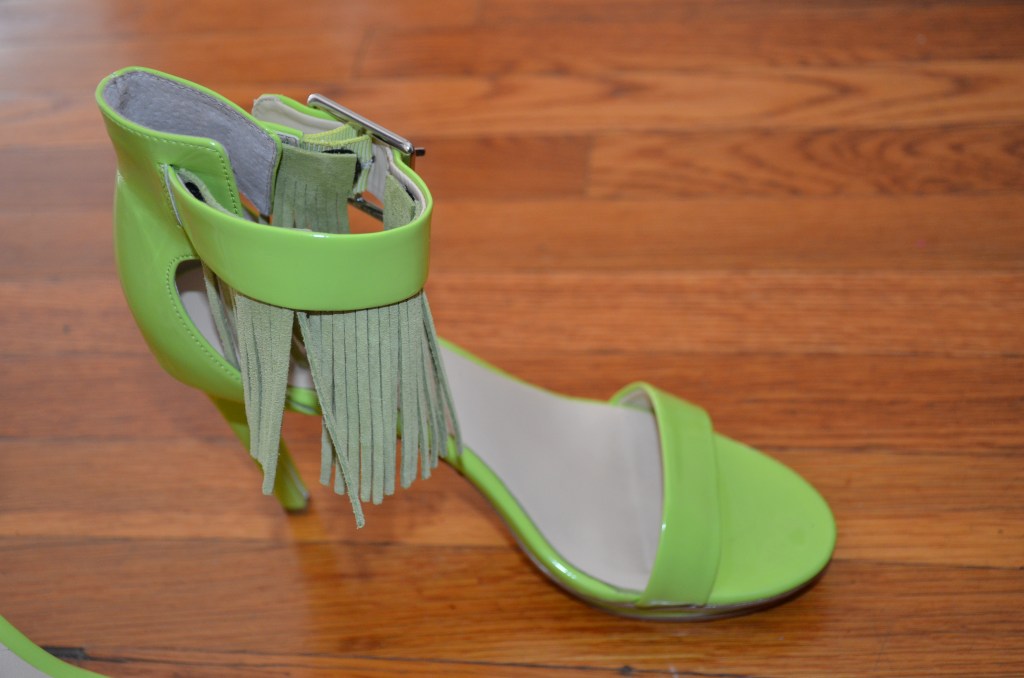
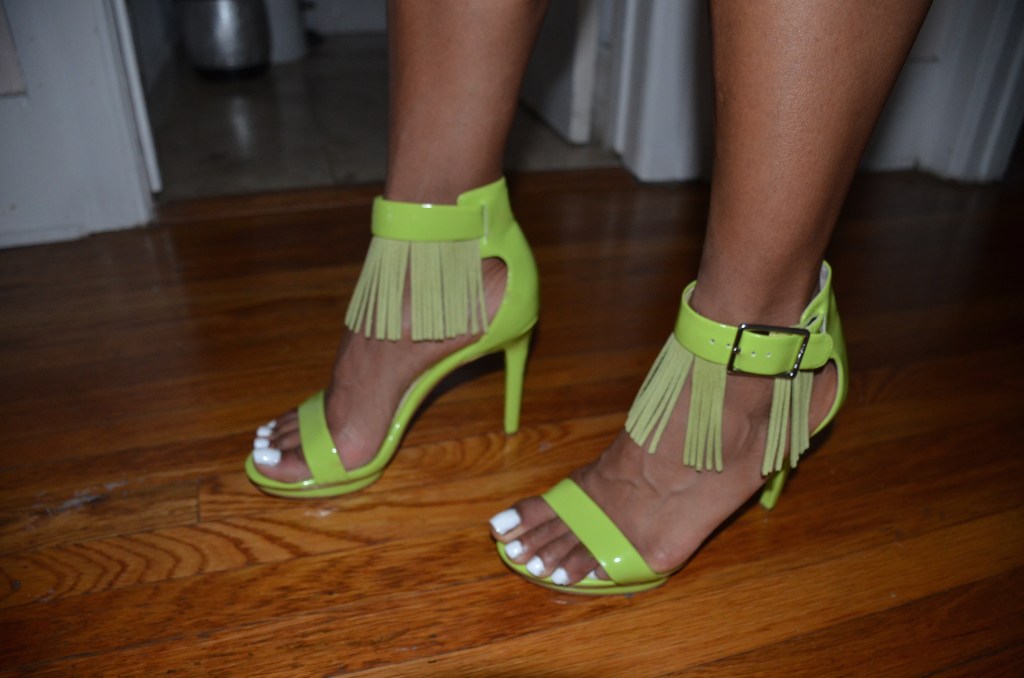
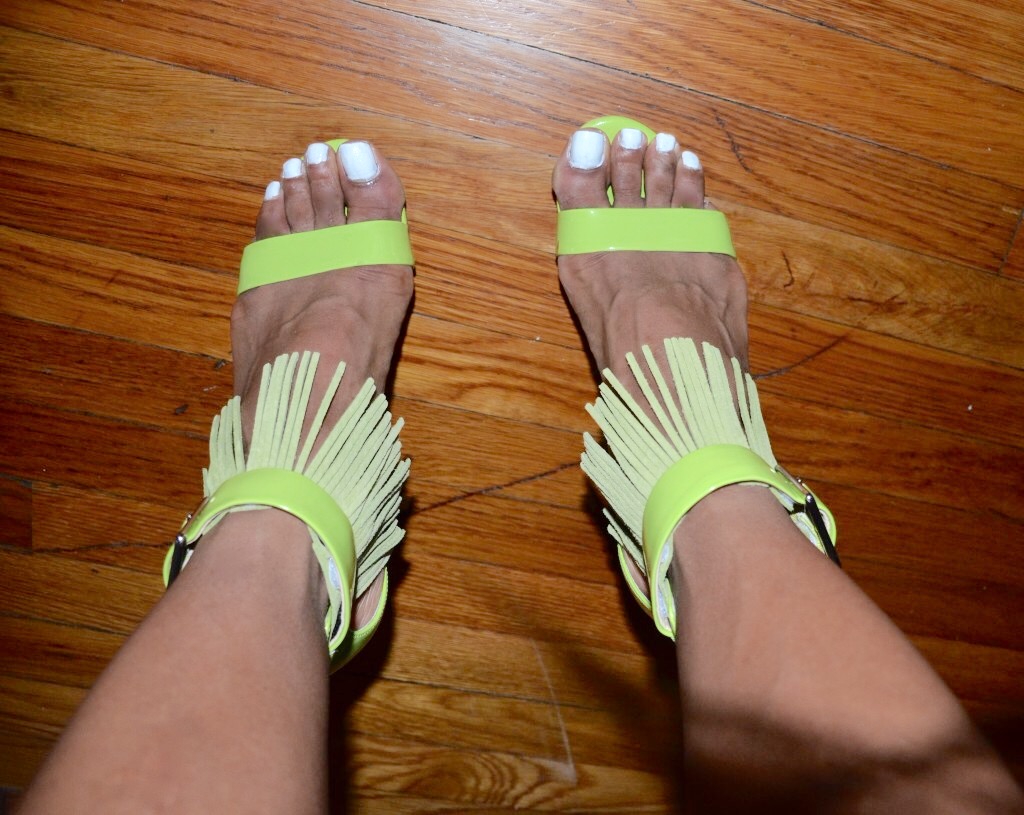
Fringe is definitely in! As it comes to fashion this season, you can find fringe on pretty much anything. This simple feature seems to add an extra layer of pizazz to shoes, clothing, handbags, etc. I especially like that extra element on the different shoes of the season. It makes the shoes seem extra special, but unfortunately also extra expensive. I, of course, thought to myself that this is something that I could tackle as a project. I gave it try and they turned out great. It was super easy to do and took me about 10 minutes total. Lots of compliments. Here’s what I did:
Materials
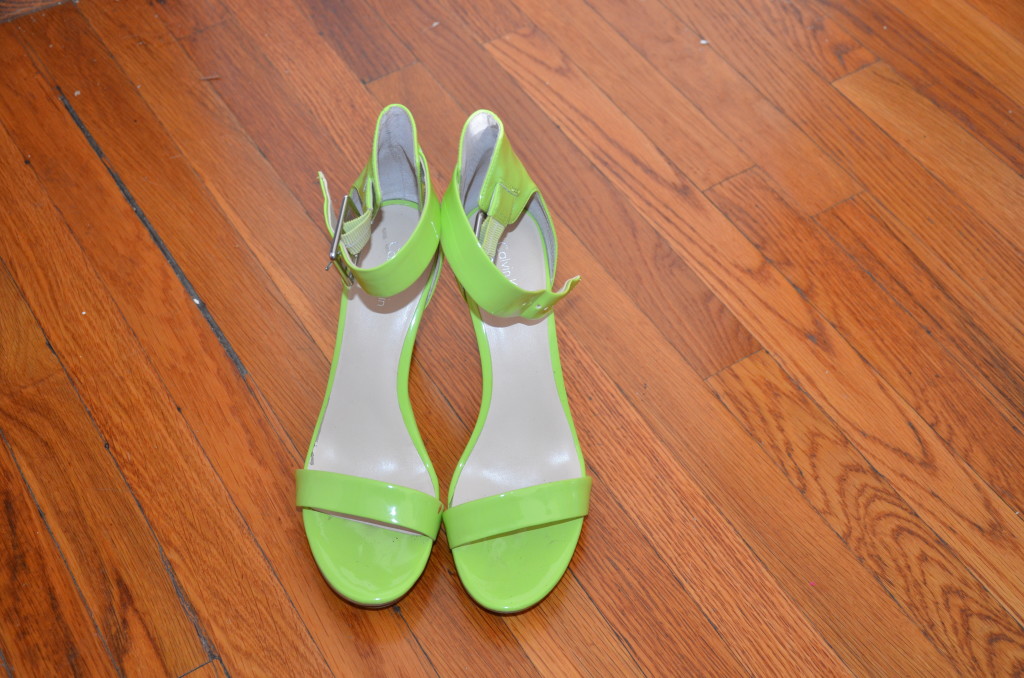
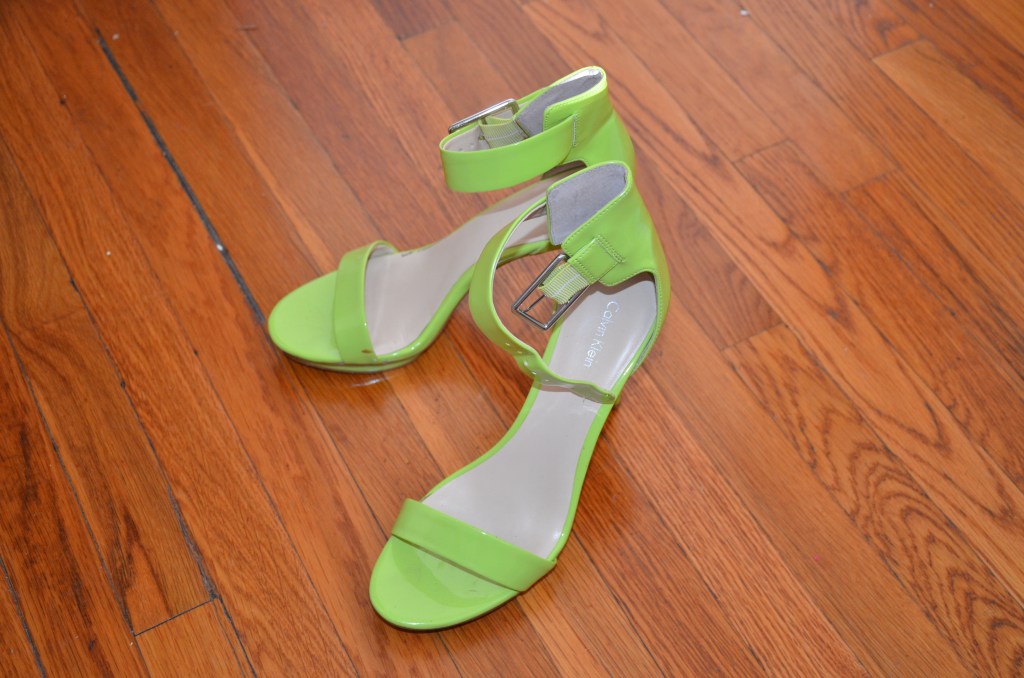
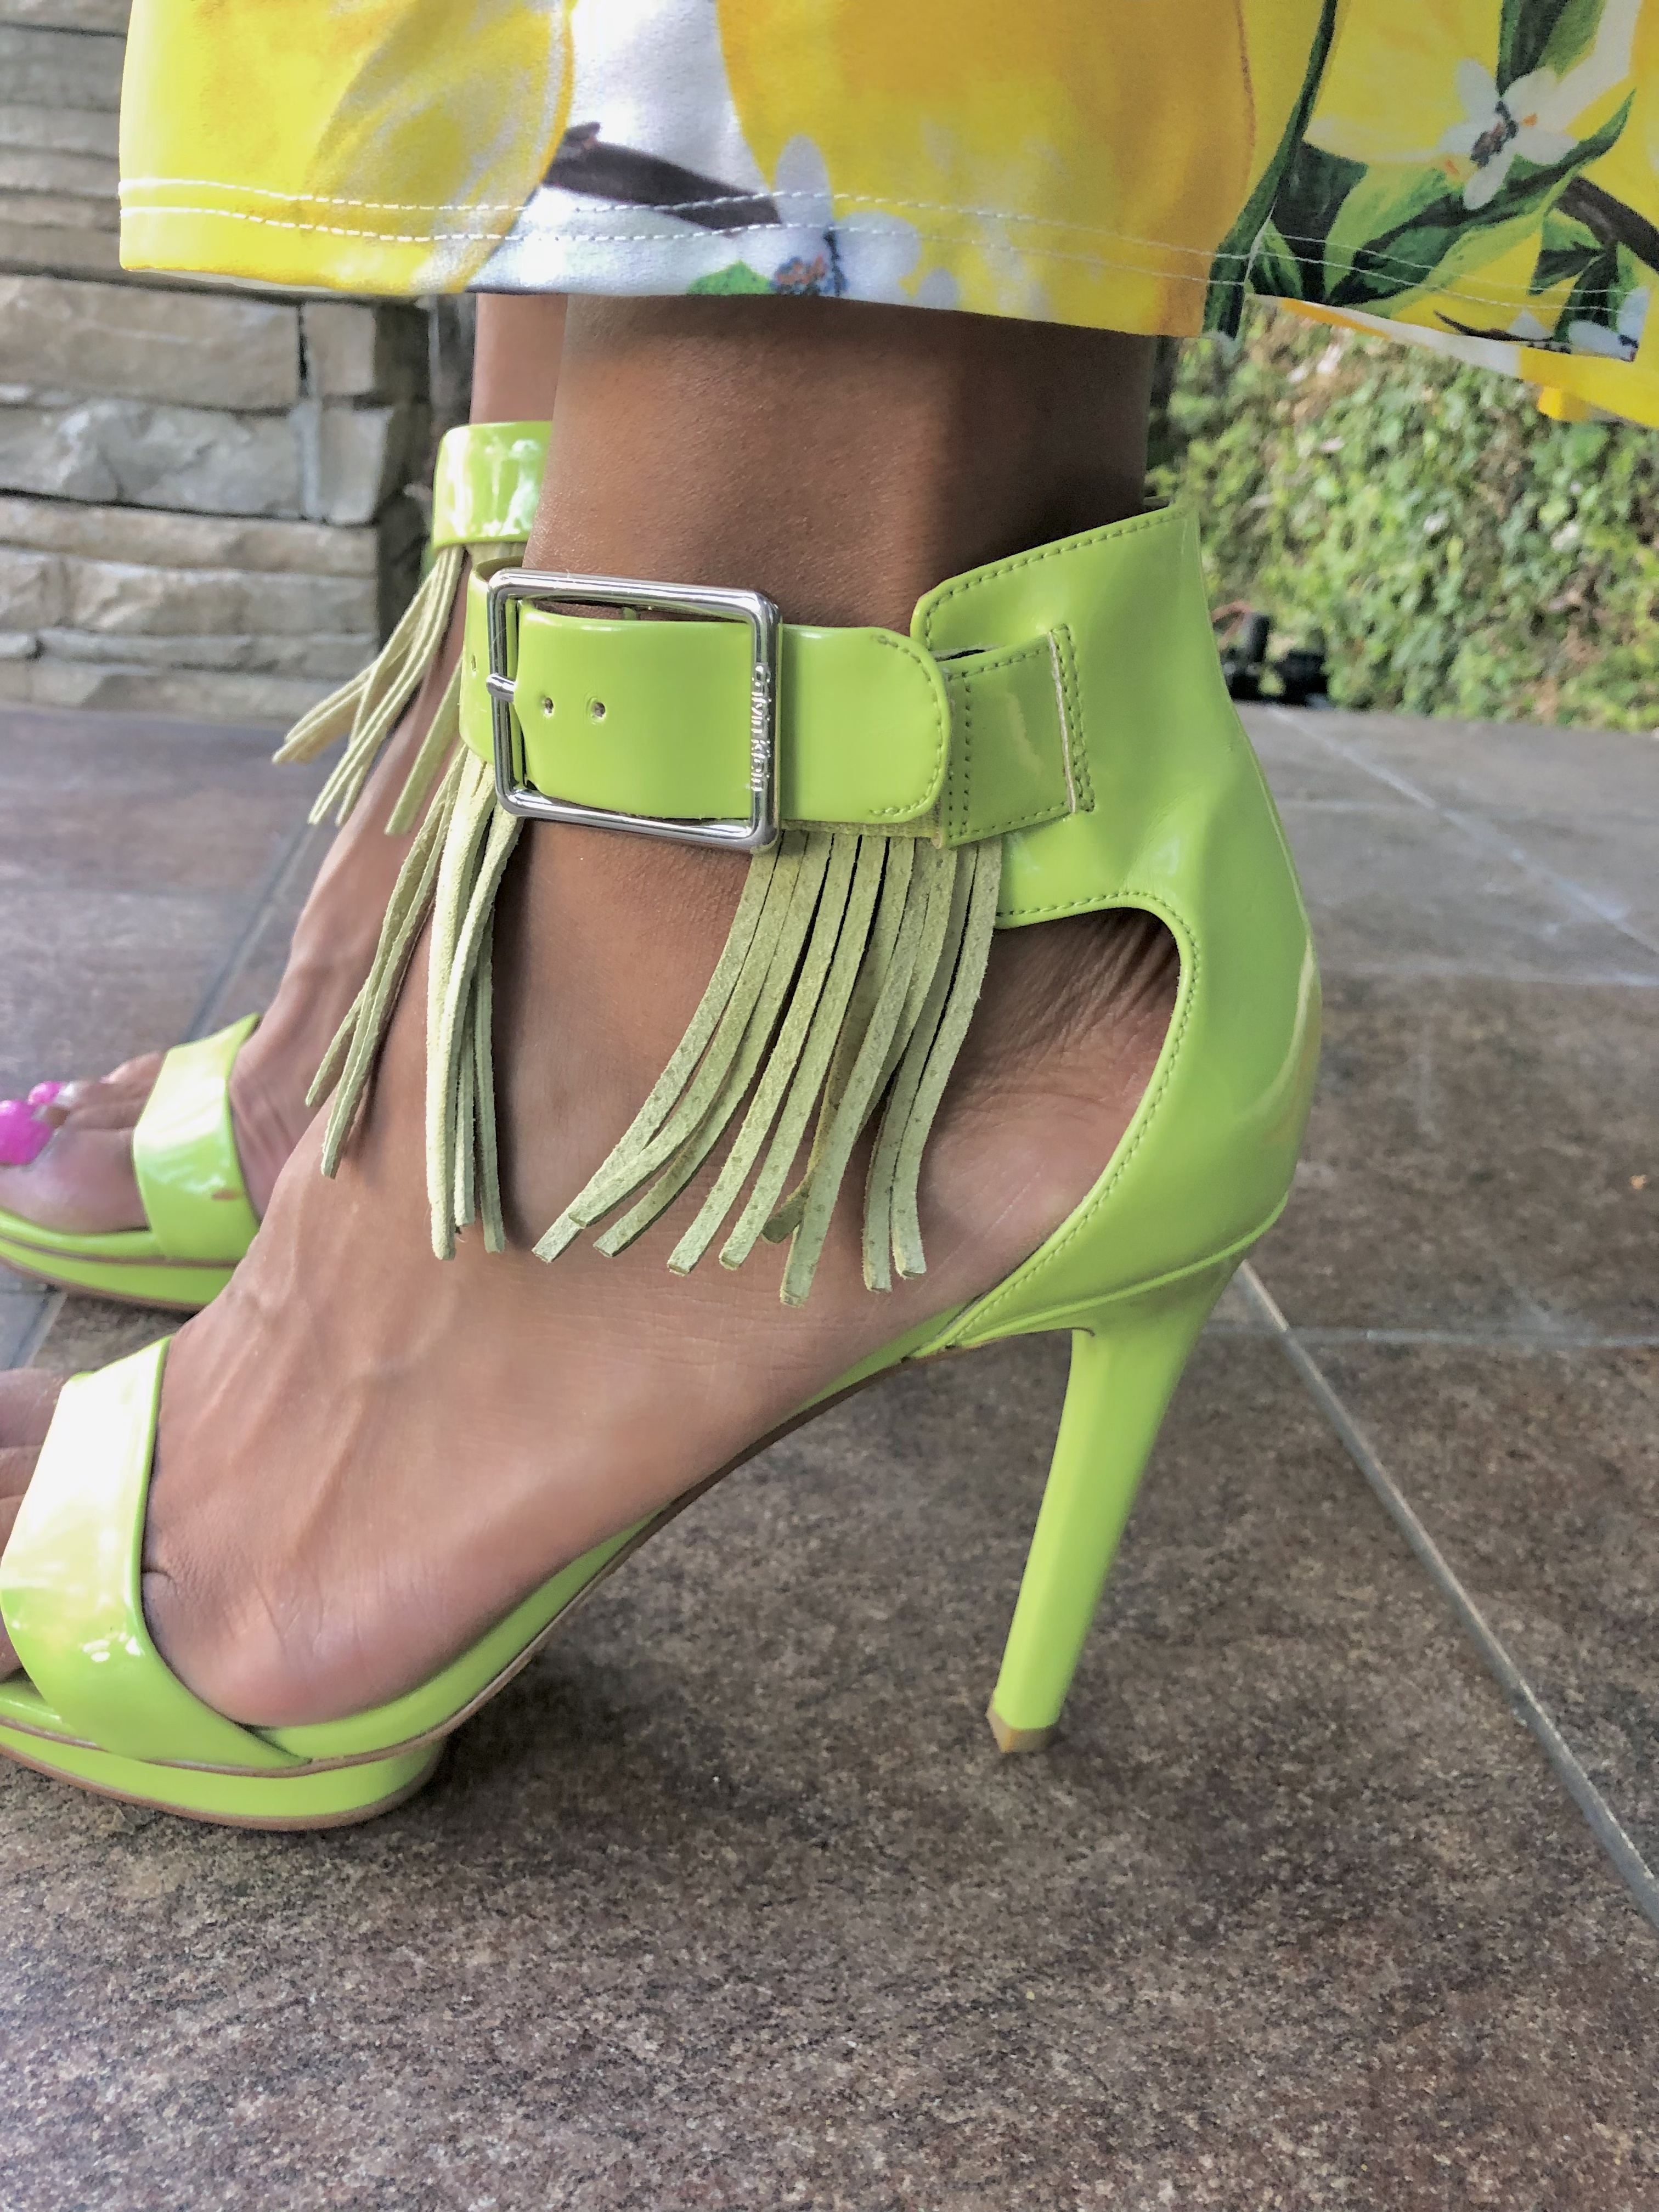
One pair of ankle strapped heels with at least one inch band. (Mine are from Calvin Klein).
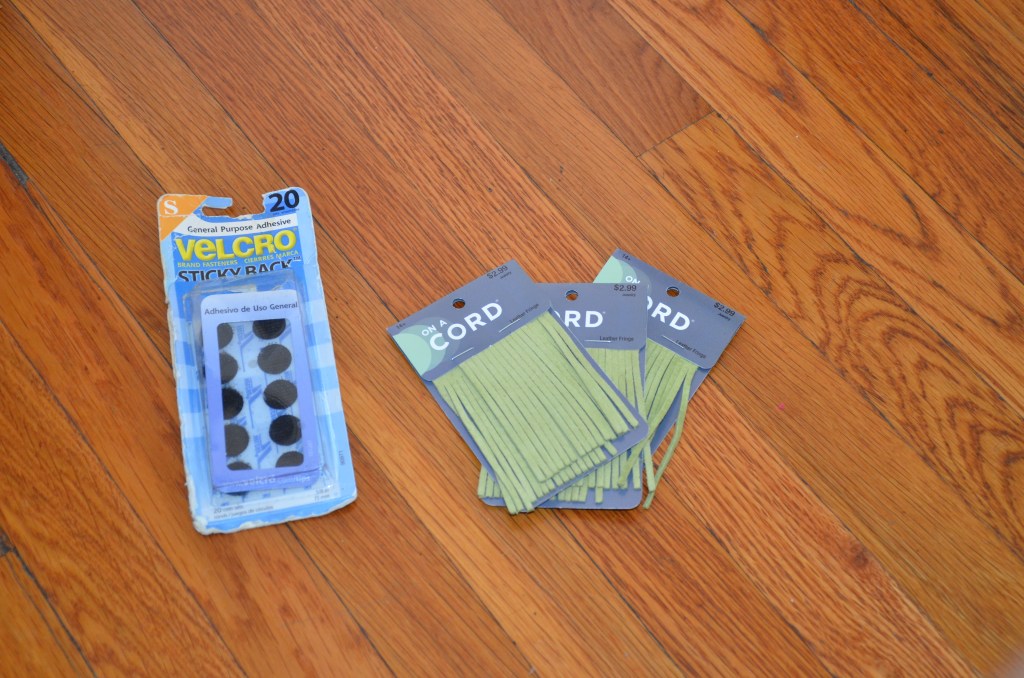
Leather Fringe Sheets (I bought mine from Hobby Lobby)
Velcro coins/stickers , smaller diameter than width of ankle band (also from Hobby Lobby or Jo-anns)
Fabric shears
Fabric tape measure
completed DIY ring heels
Instructions
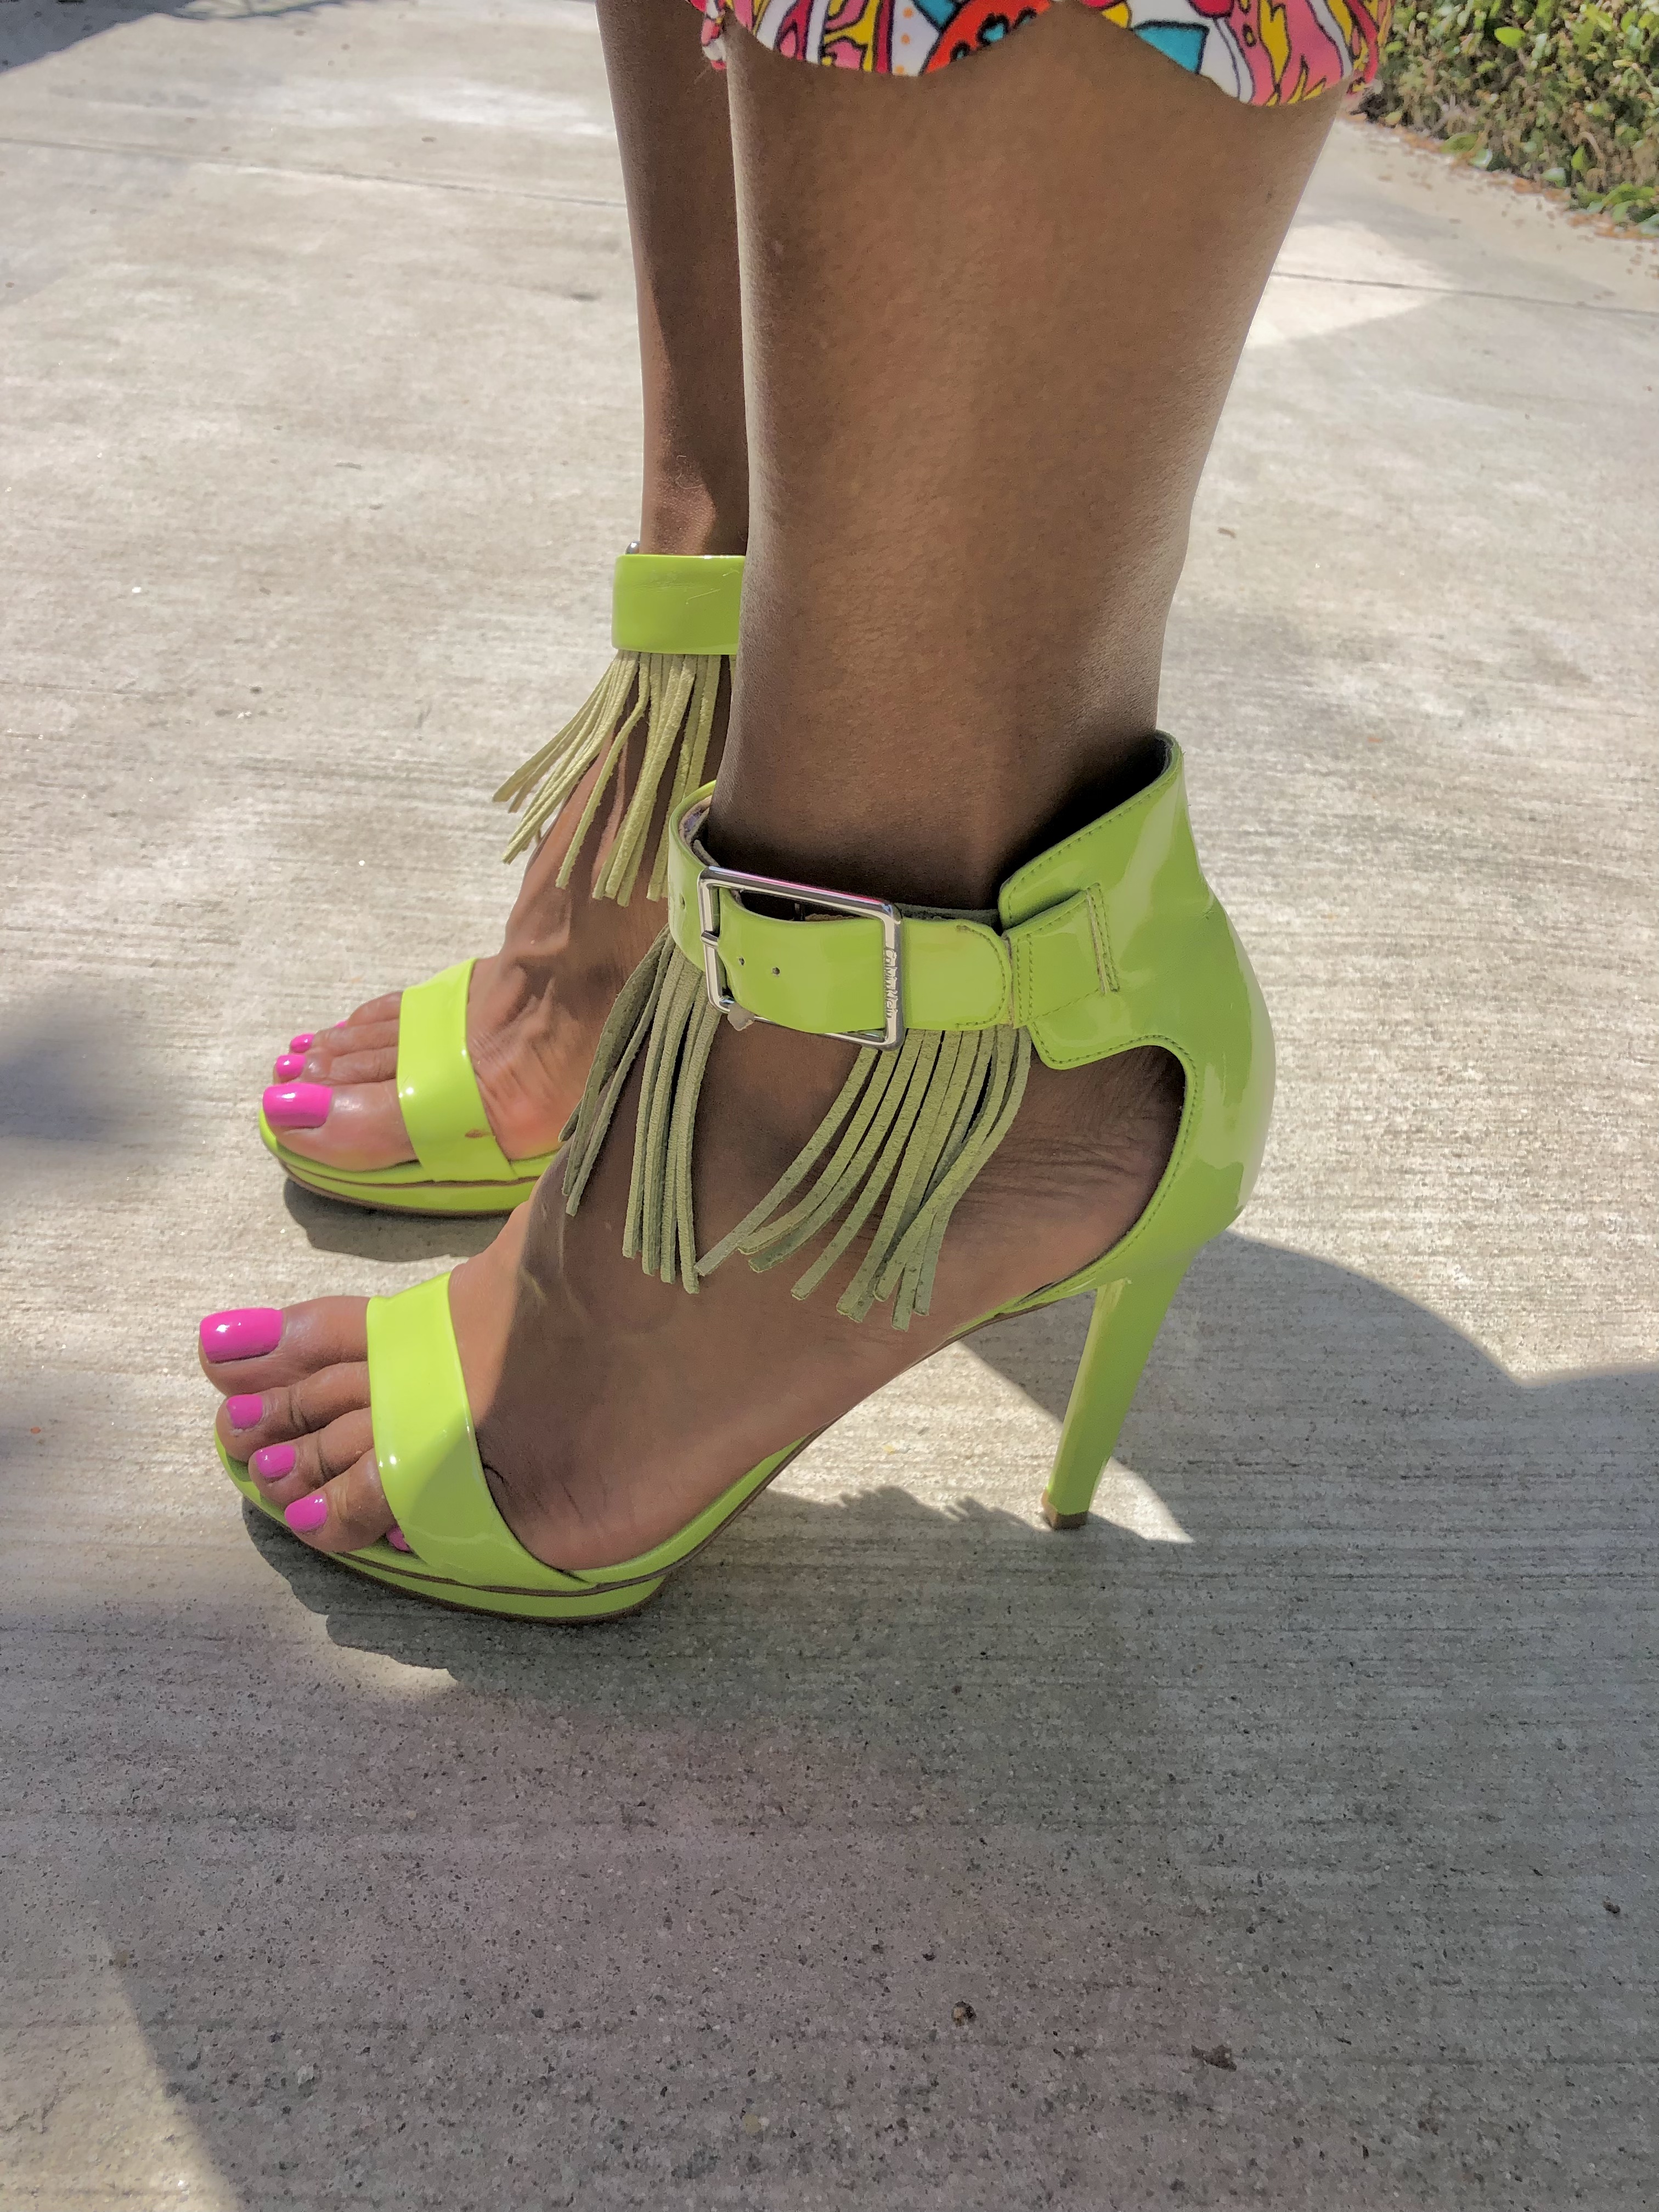
Take your super cute heels and measure the ankle band where you plan to apply the fringe. (Make sure you buy enough fringe to cover the entire area). When measuring, make sure to not measure the area that goes through the buckle (if you have one) since you can not add fringe here. Cut your fringe to match the measurements on each side of the band (buckle and unbuckled side)
Apply the soft side of the velcro stickers to the back of the ankle band. This way if you want to remove the fringe you may still wear your shoes comfortably. Place the opposite piece of the velcor sticker onto the leather fringe making sure that the stickers will match when you place the fringe onto the shoes.
Apply your fringe onto shoe with the velcro stickers.
Let the shoes sit overnight to maximize the velcro adhesive. Your shoes are now super fabulous and ready to rock. Nobody will know you made your own shoes and saved yourself hundreds of dollars as well.
I’m sure it comes as no surprise that I love a good charcuterie board. Charcuterie has been my go to snack when I entertain others or sometimes just myself for years. This now popular fancy French delicacy has always appealed to me. Charcuterie simply consist of a snack board with cooked or processed meats together with a variety of supporting food items. If I’m making a charcuterie board for myself, I technically make something on the line of a cheese board and skip the meat. As a fan of French cheese, I stuff my face with a variety of my favorite dairy products with delicious nuts, vegetables, fruits and my favorite snacks. I usually then pair my enticing bites with some rosé and I’m in my happy place.
Charcuterie boards have been around since the fifteenth century. The reason I believe charcuteries have been able to stand the test of time is their simplicity and style. During the Middle Ages charcuterie shop owners would place their finest cured meats and cuisine together in stylized arrangements of food, which became a significant part of French culinary culture. When a charcuterie board is made correctly it becomes a personalized edible work of art. I adore mixing all the colors, flavors and textures together. The French are known for art and museums, so charcuterie is a great representation of that savoir-faire.
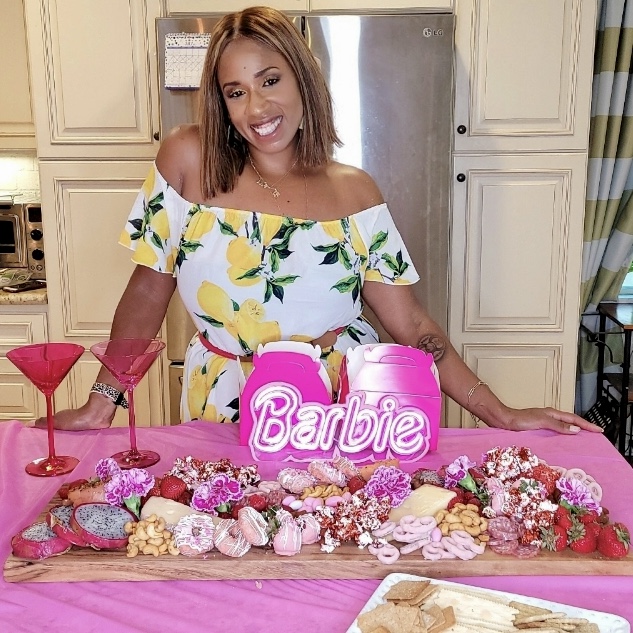
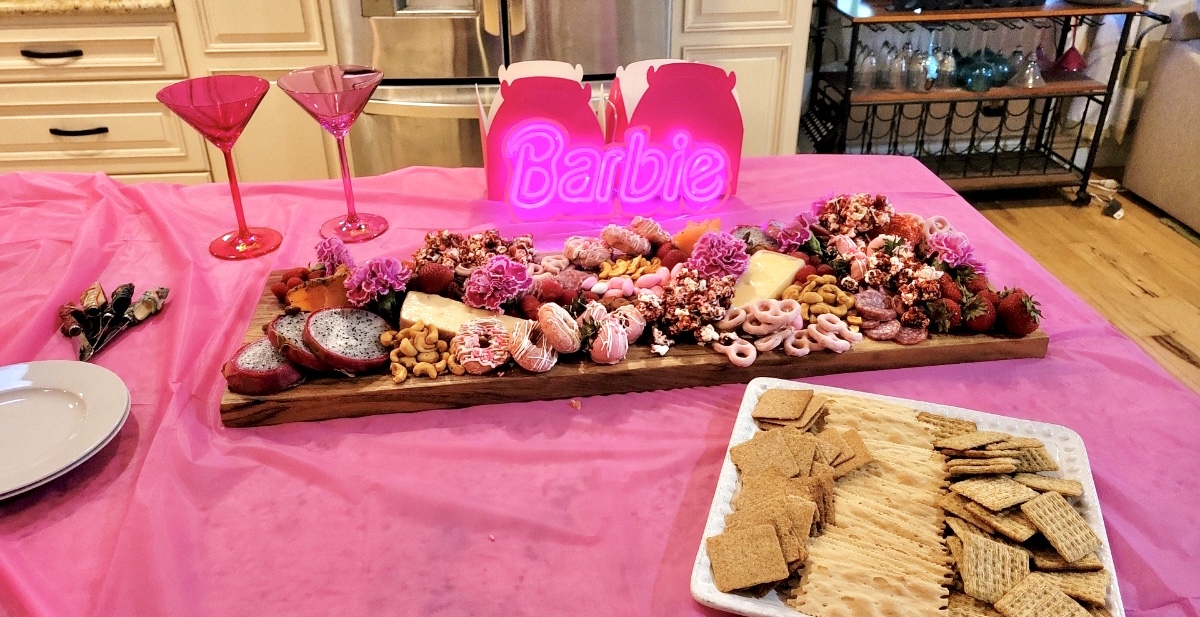
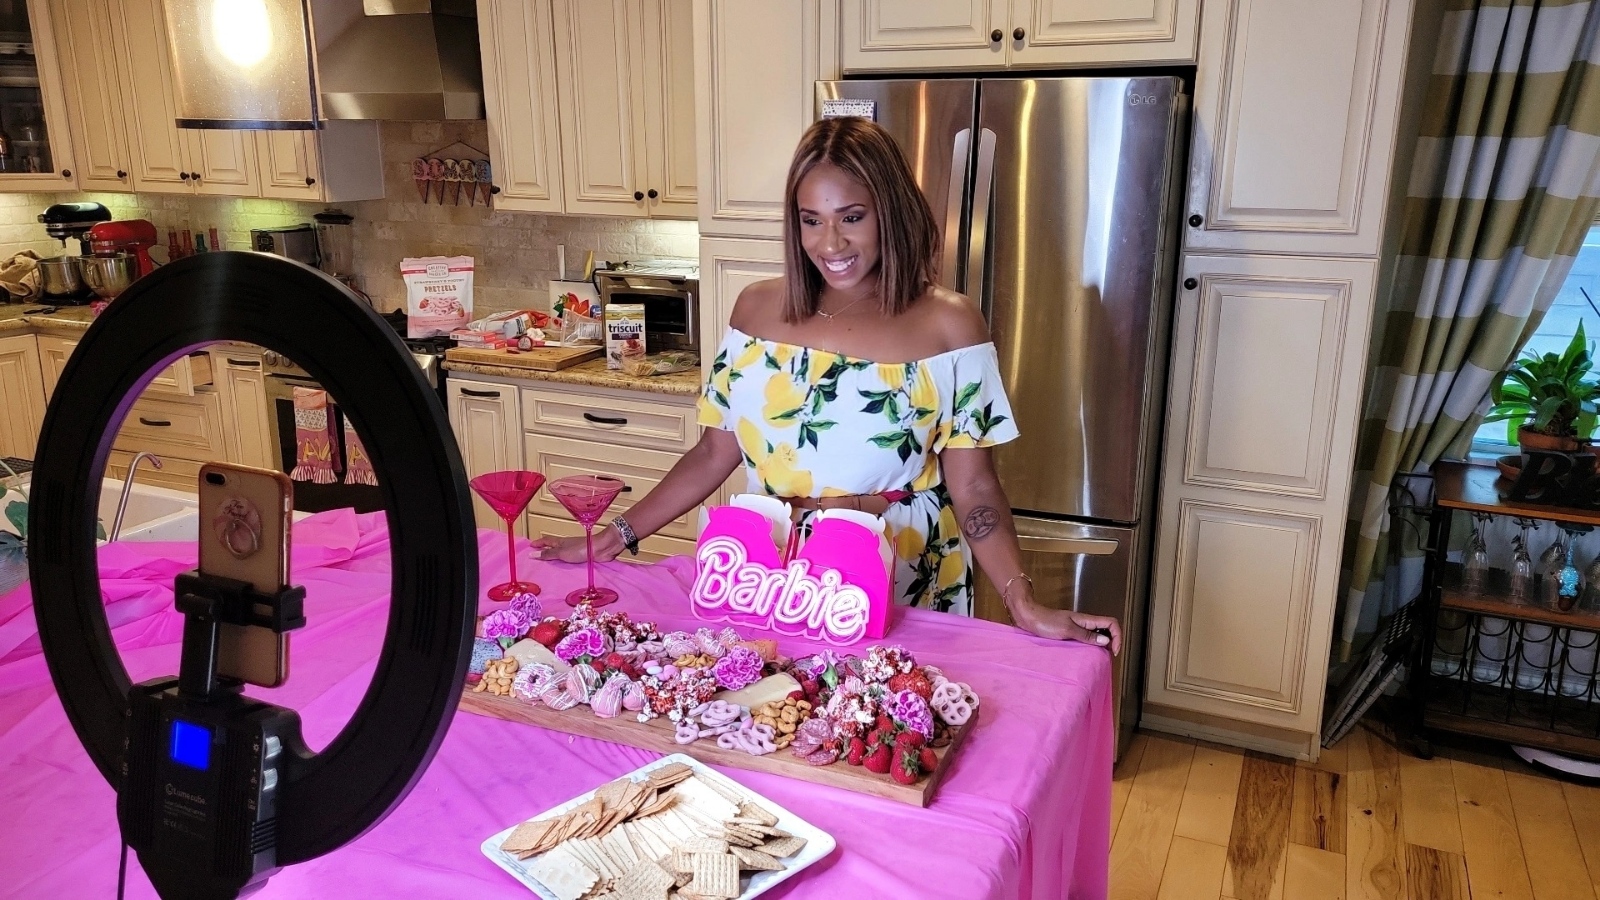
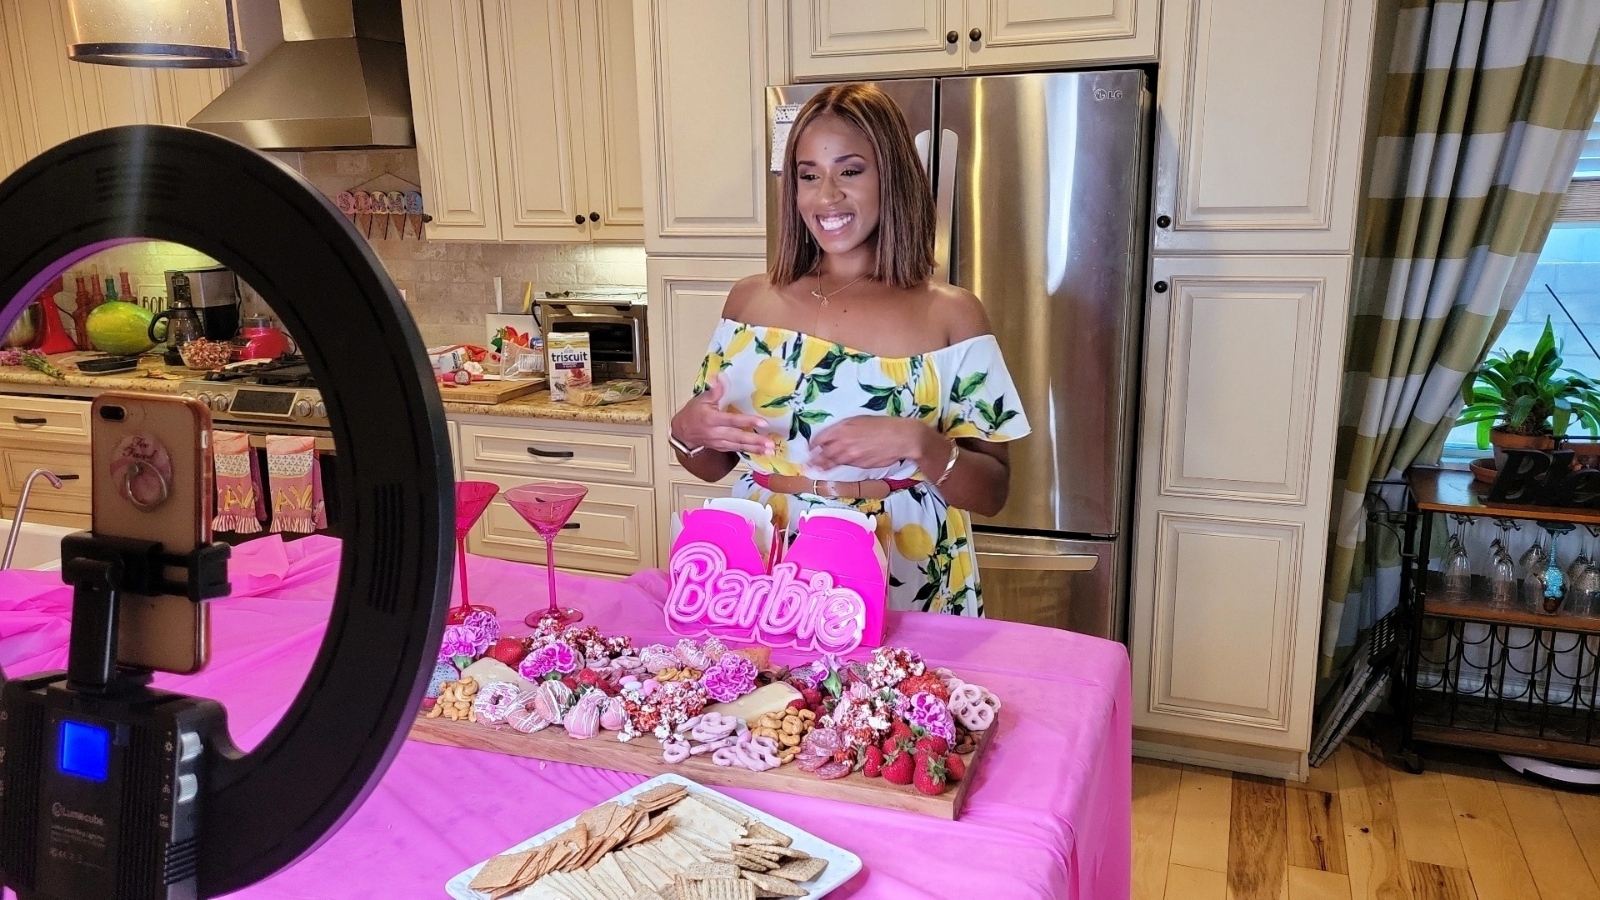
Still on a high from the release of Barbie the Movie, Parisian Barbie thought it would be a wonderful idea to create a Barbie themed charcuterie board. This plenary pink picking platter is great for pre-gaming before heading to the movie theater. It is full of flavorful food and is fast and easy to put together. I made my Barbie charcuterie board with all my favorite things including some scrumptious Barbie Popcorn. I even packed some snacks to go with me to watch the movie.
I decided to share instructions on how easy it is to make a Barbie or any type of charcuterie board below.
Also keep scrolling below for a SPECIAL TREAT!
Barbie Board
How to make a Barbie charcuterie board:
Start off with a large, fabulous board. Need help finding a board for your charcuterie? Grab an acacia wood cutting board from your local kitchen supply store or try an upgraded customized board for even more pizzazz.
Add your pink proteins to your board. I chose some small salami with deep pink colors and smoked salmon in rosettes.
Add your pink themed cheeses to your board. At my local grocery store I was able find some merlot infused and raspberry infused deluxe cheddar cheese. At my local grocery store I was also able to find some strawberry goat cheese. I then decided to roll the goat cheese log in ground freeze dried strawberries for even more pink color and flavor.
Add your fresh fruits. It’s summer so I used some fresh in season pink hued strawberries and raspberries. I dipped some of my strawberries in pink candy melts (the same ones I used for my Barbie Popcorn) for more variety. I also sliced up some dragon fruit I bought at a specialty grocery store. Dragon fruit peel is a bright pink and provides a great pop of color.
Add your favorite pink pickings (snacks). I added a variety of nuts including flavored almonds, pink/ white Jordan almonds and cashews. I also added some pink strawberry yogurt coated pretzels, mini pink strawberry donuts and of course, Barbie Popcorn.
Add your favorite florals. I found some bright fuchsia colored carnations to cut and place on my board. Fresh flowers just add another layer of color and texture to the board and provide a completely finished look.
Serve with your favorite crackers or toasted bread and beverages.
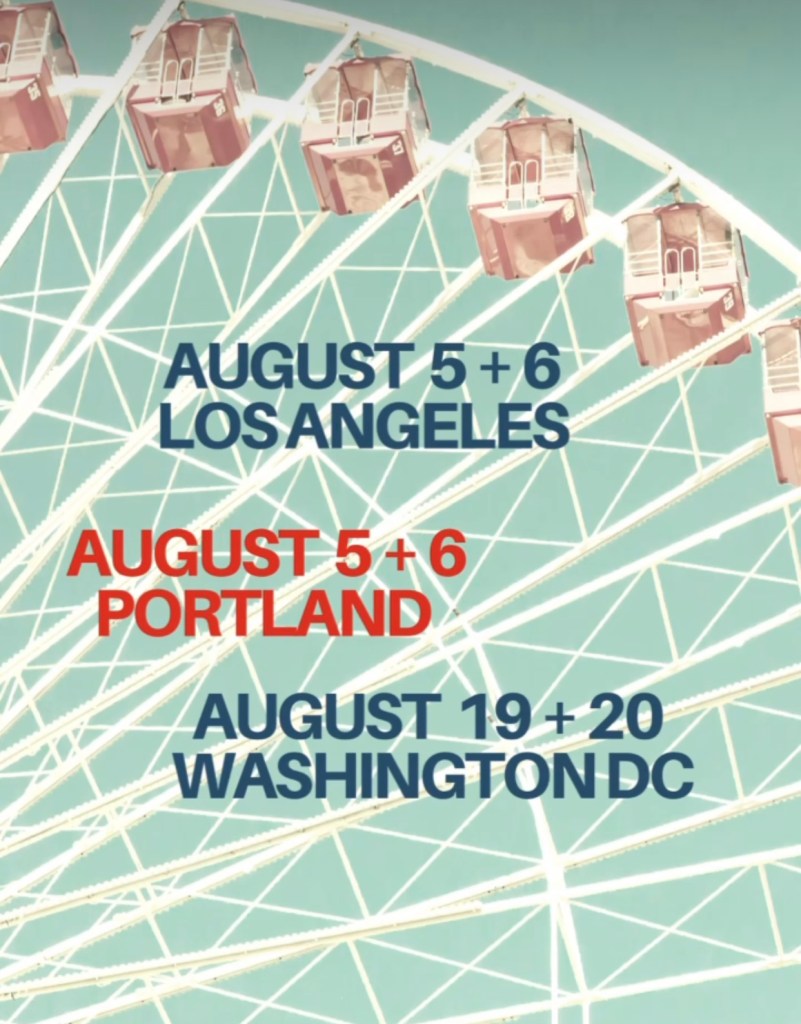
As you can see from my other posts and my personalized charcuterie board (pictured), I love quality handcrafted gifts and products. As a small business owner, I also love to promote other small businesses and their products. This summer I have teamed up with Unique Markets to GIVEAWAY tickets to their upcoming summer markets, so my friends and followers can score some amazing finds.
Please head to my latest Instagram post below to see CONTEST details and how to ENTER.
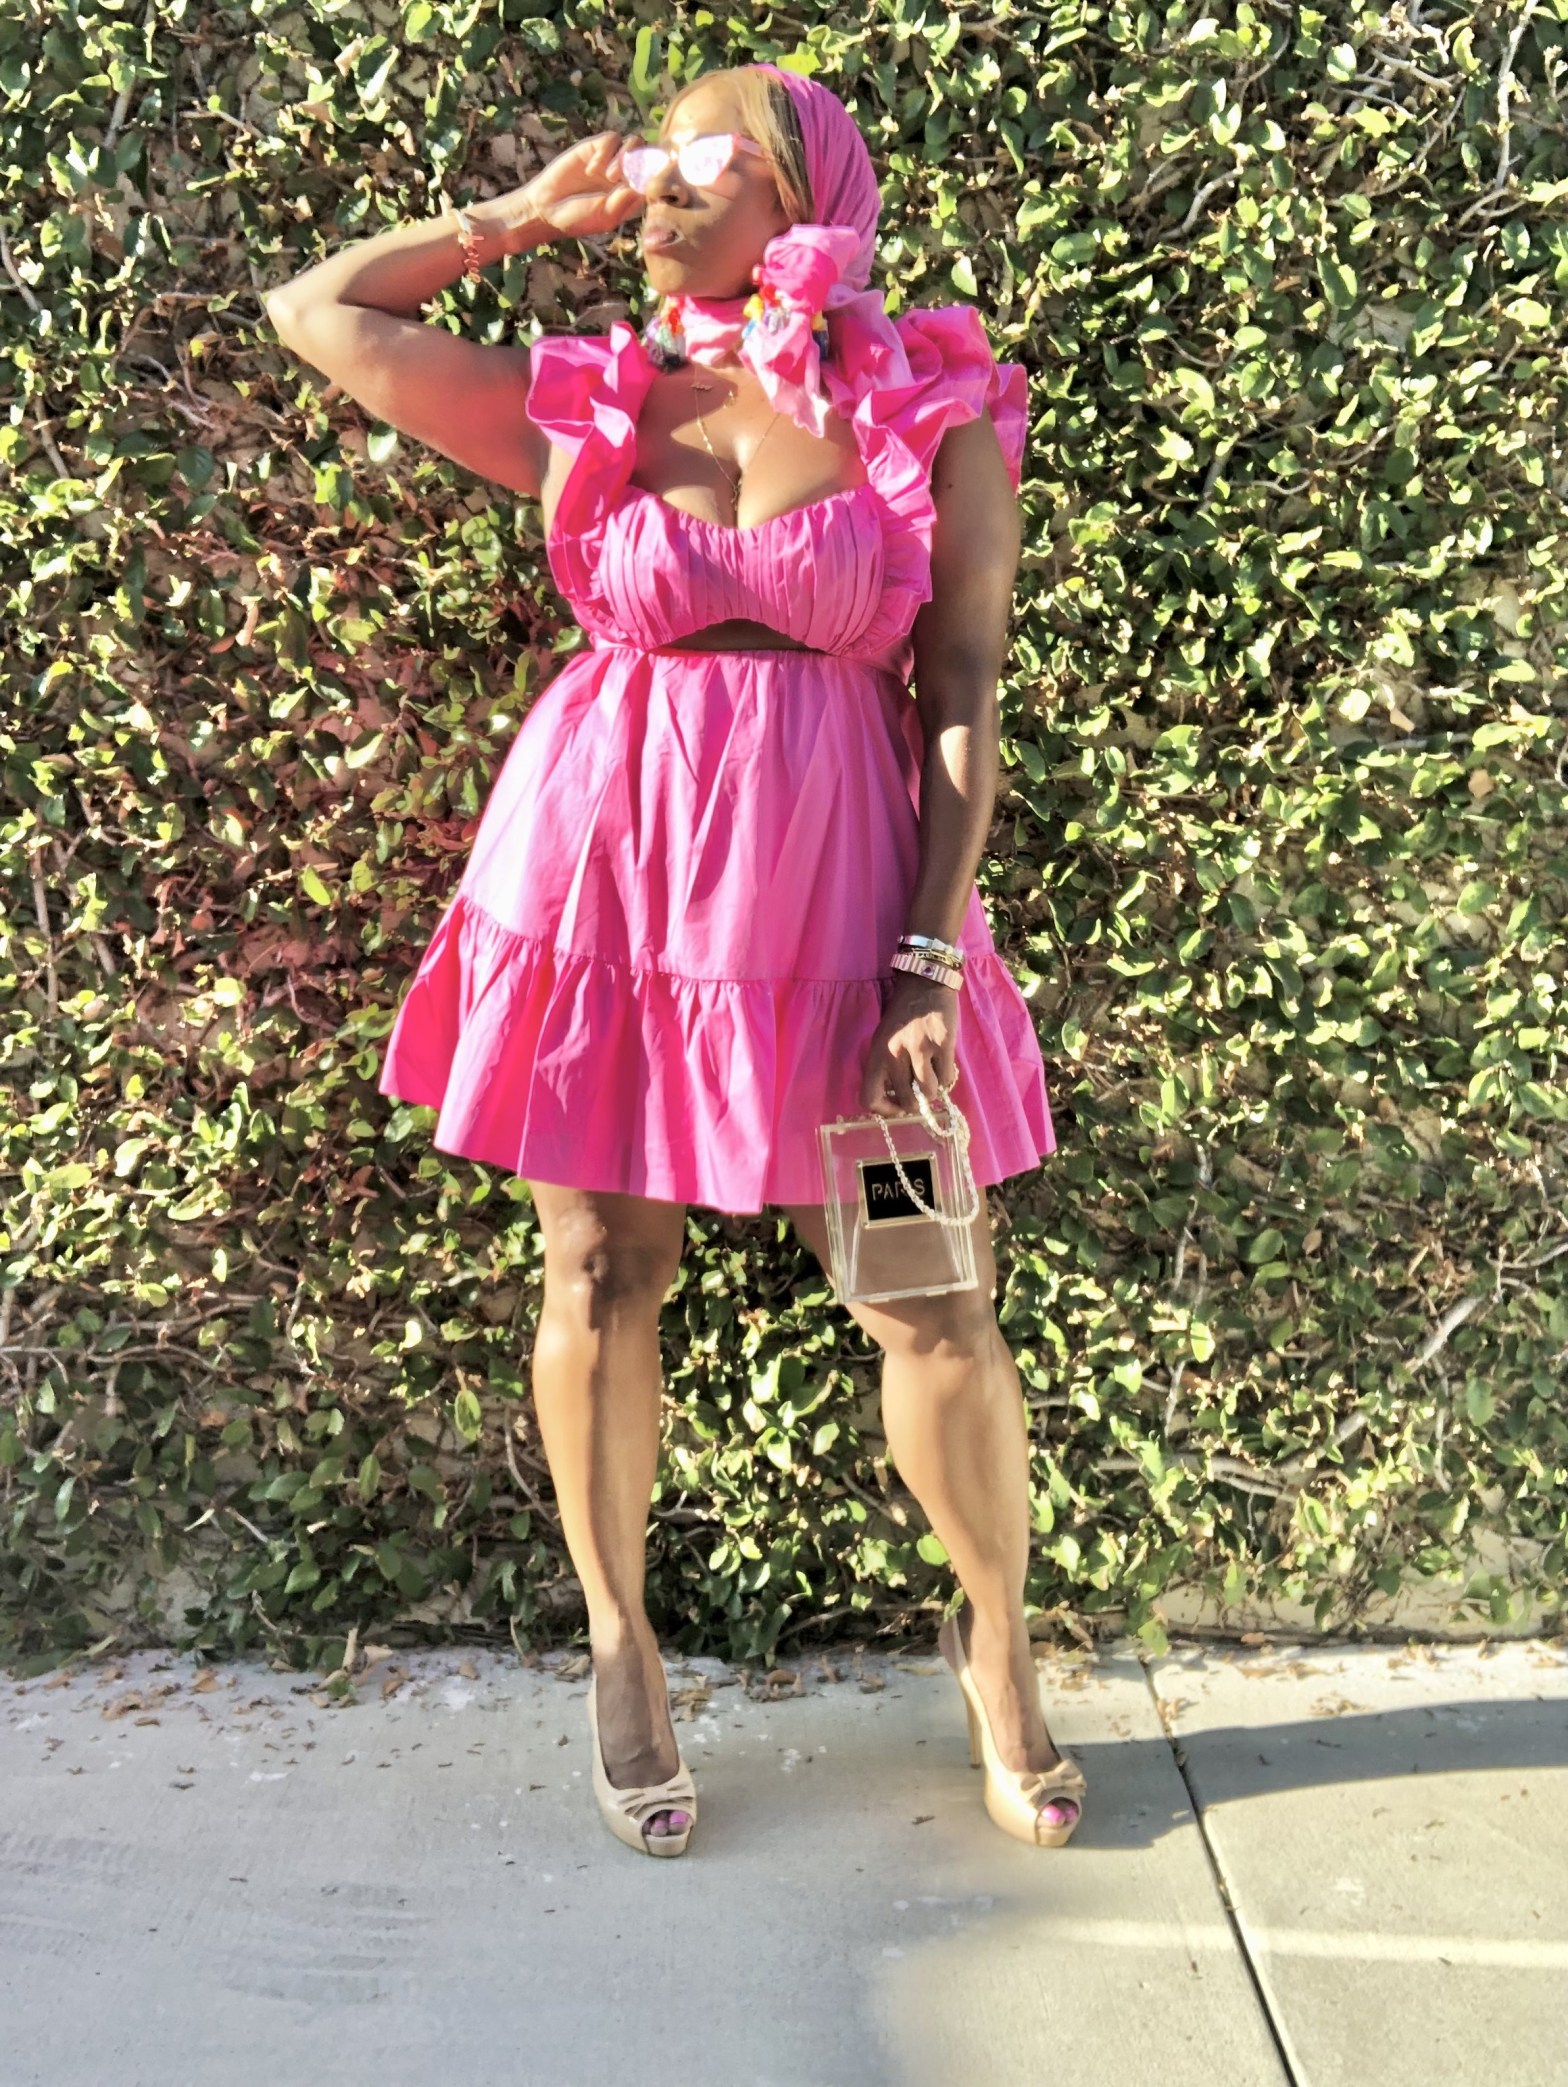
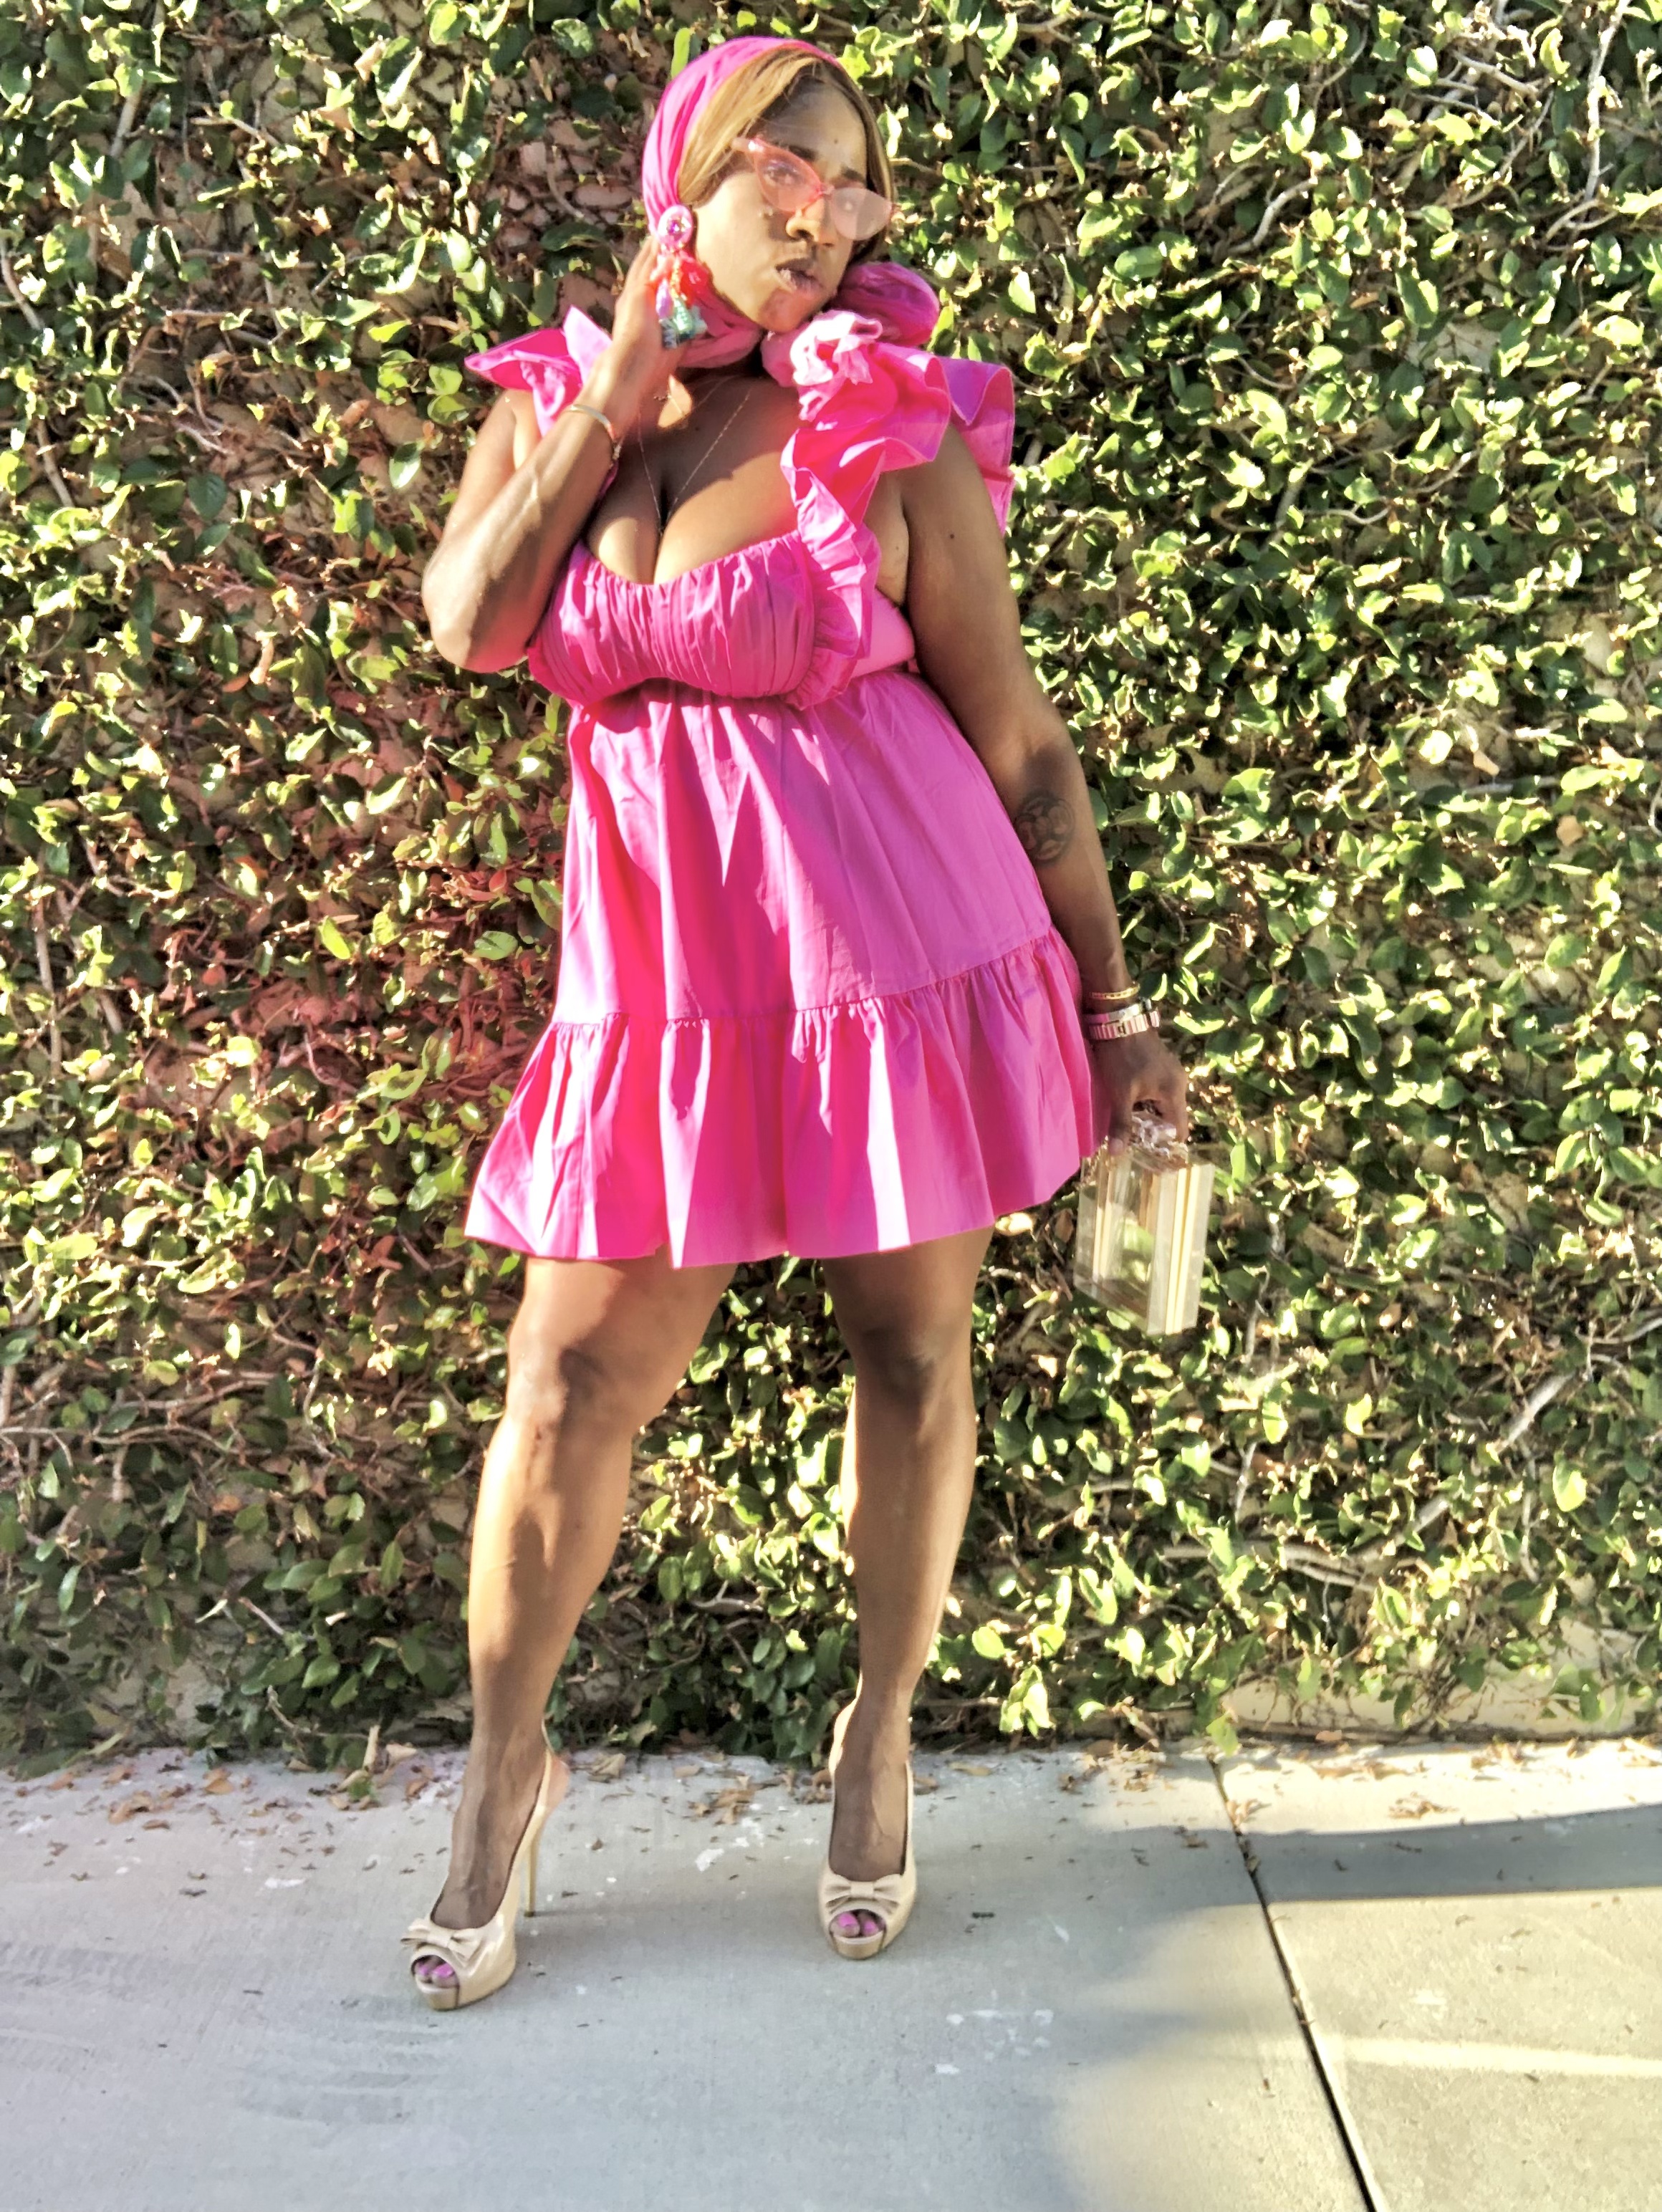
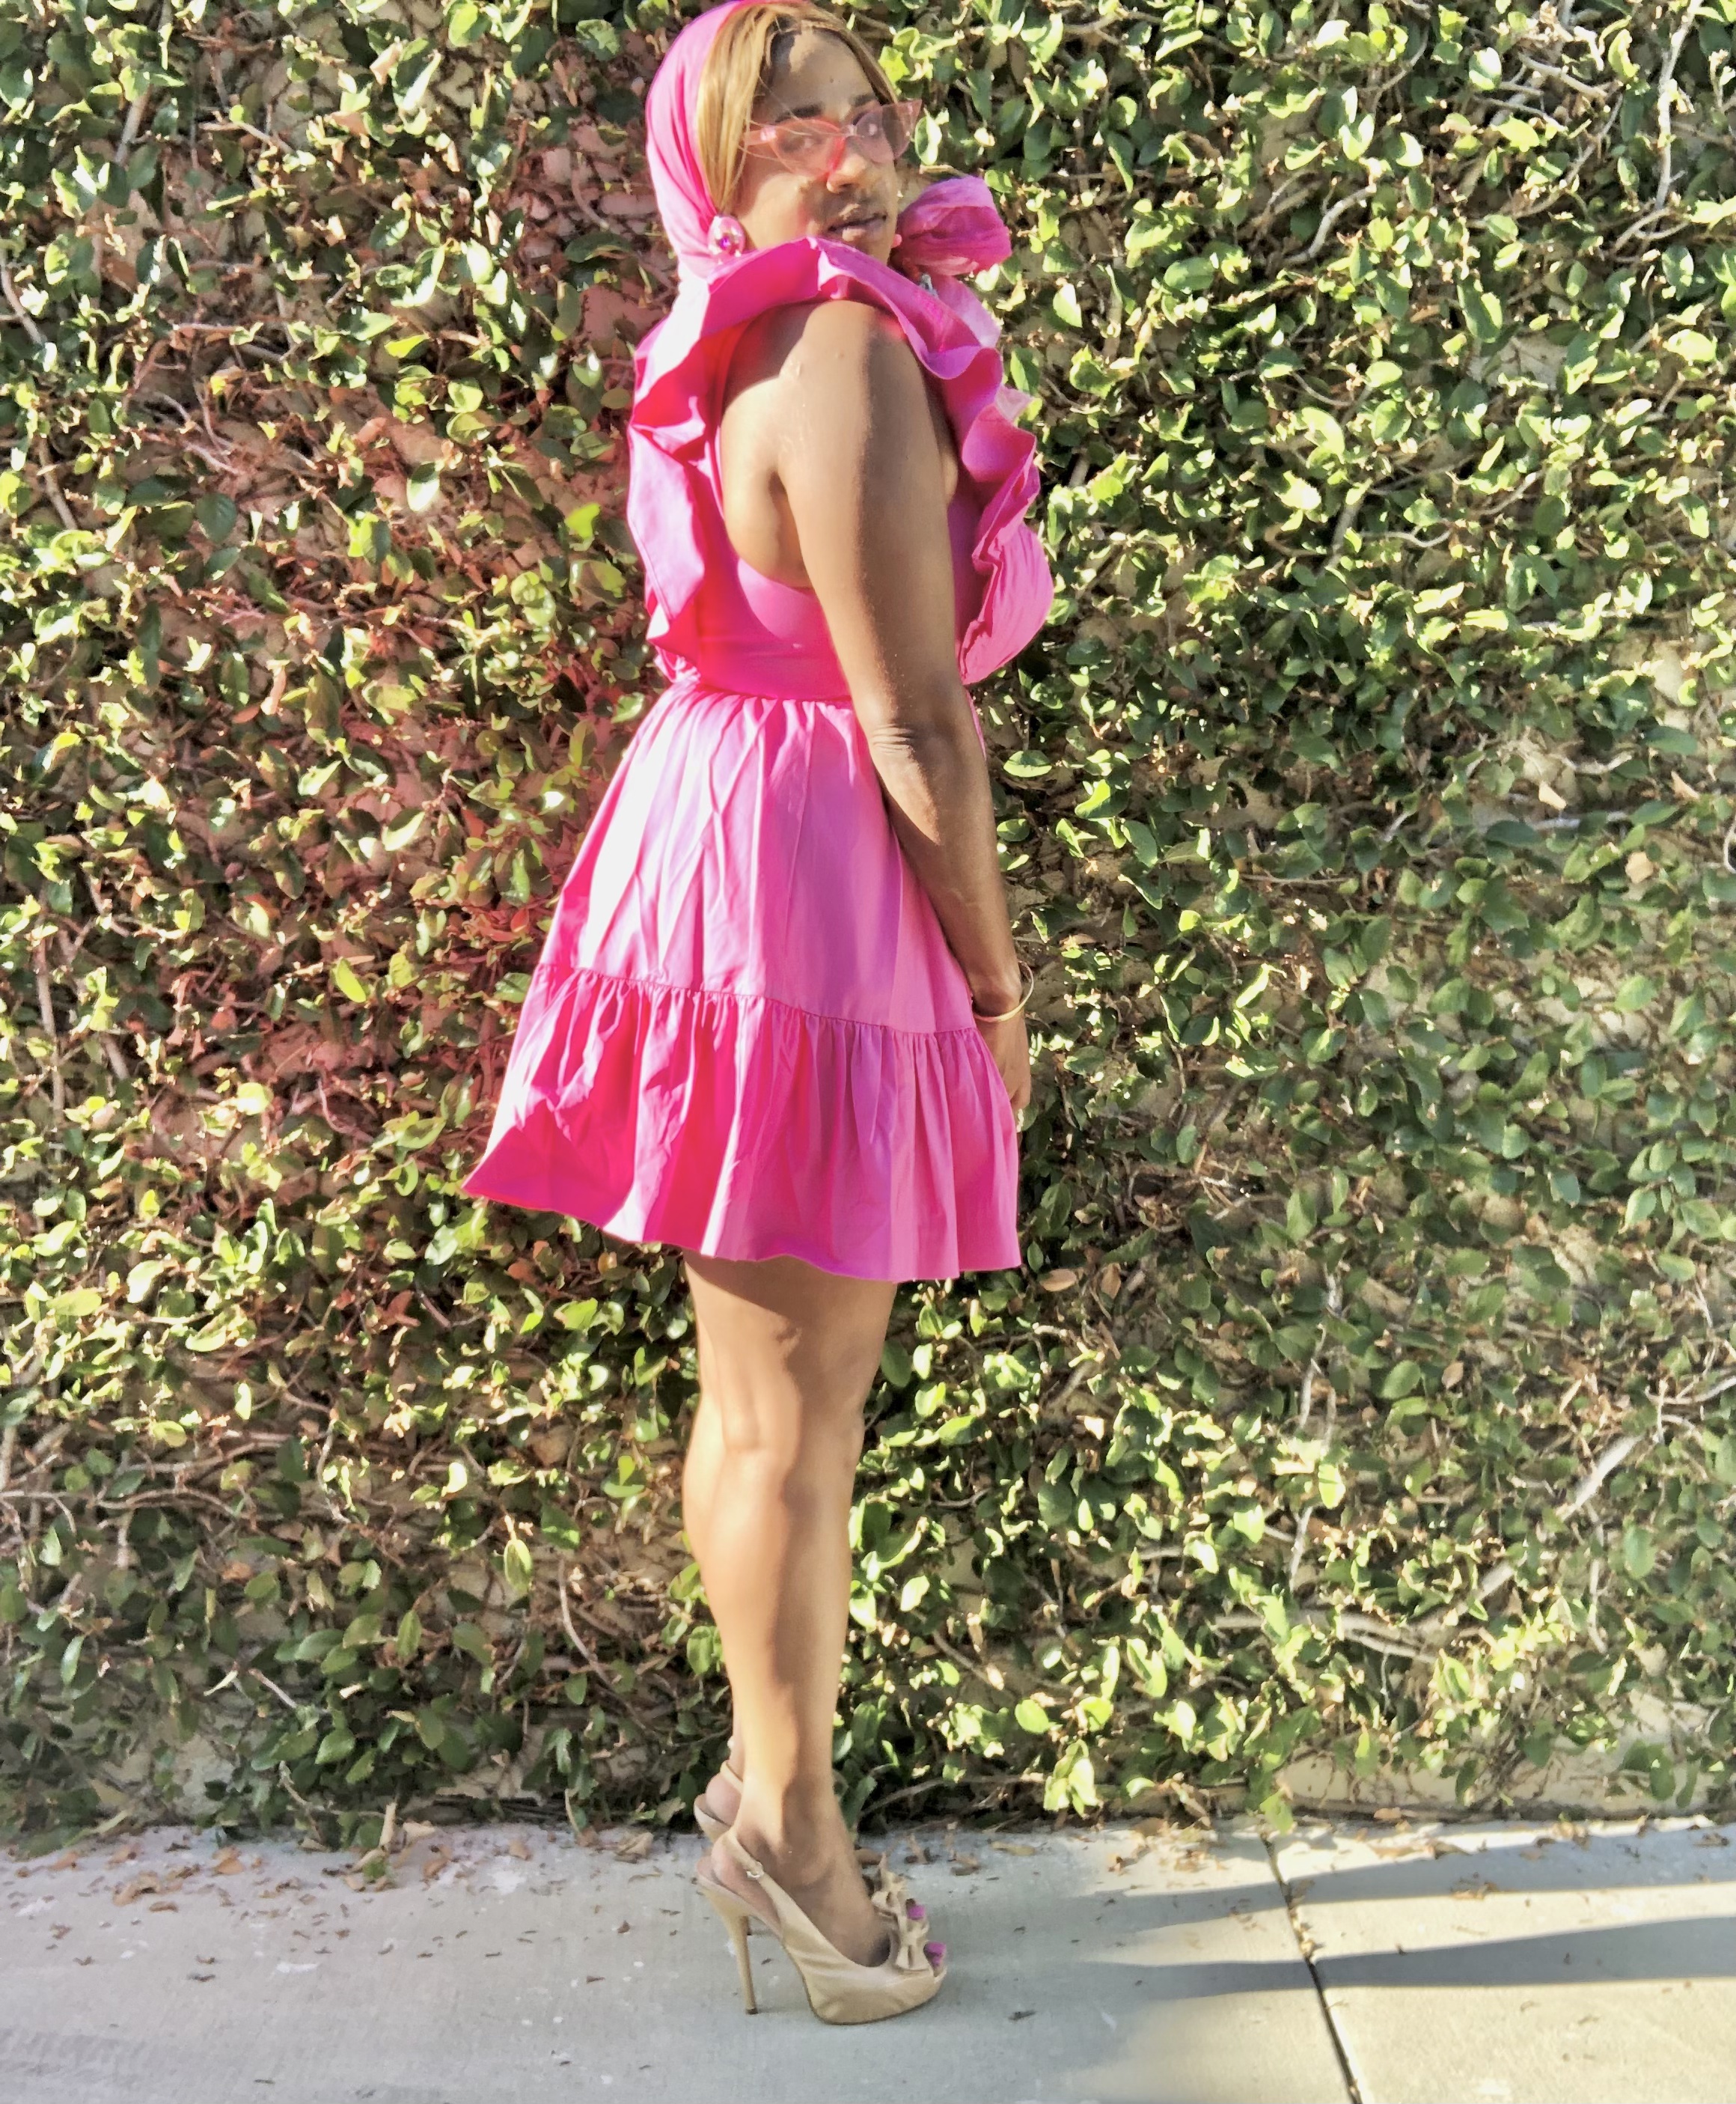
I have been preparing for this moment for quite some time. I first heard there was going to be a Barbie movie headed to the cinema sometime last year. Honestly, I didn’t have to adjust my mind for the movie as I am already Parisian Barbie in my head. My closet and my home is already full of pink decor. I even recently updated my wine bar last year to official Barbie stemware. As the movie approached what I needed to assemble was my Barbie ensemble.
Parisian Barbie has been busy with so much Barbie activity going on with the anticipation of the movie. A few months ago the World of Barbie was definitely a wonderful experience and so was the outfit.
Barbie the Movie is even more magical. I cannot wait to see Issa Rae and all the other Barbie characters on the big screen. I am ready for the show with my Barbie Popcorn and my complete outfit. My dress and accoutrements are giving all the Parisian doll vibes possible.
Please see my GRWM (Get Ready With Me) video and outfit details below
I am the self proclaimed Parisian Barbie. I happily gave myself this title because I thoroughly enjoy most things French, super girly and colored bright pink. I didn’t realize how much stuff that I accumulated full of that rose hue. I love pink because it’s such a lively and joyful color. I can’t help but smile on the inside when I see the color pink.
In my World of Barbie post, I explained my connection and adoration for Barbie. The Christie Barbie, a black Barbie, as a child gave me the aspiration to succeed in anything I wanted. Barbie’s fashion also was something to aspire for. Barbie is anything she wants to be and she absolutely owns everything! Barbie remains a huge influence on my daily transcendence and taste.
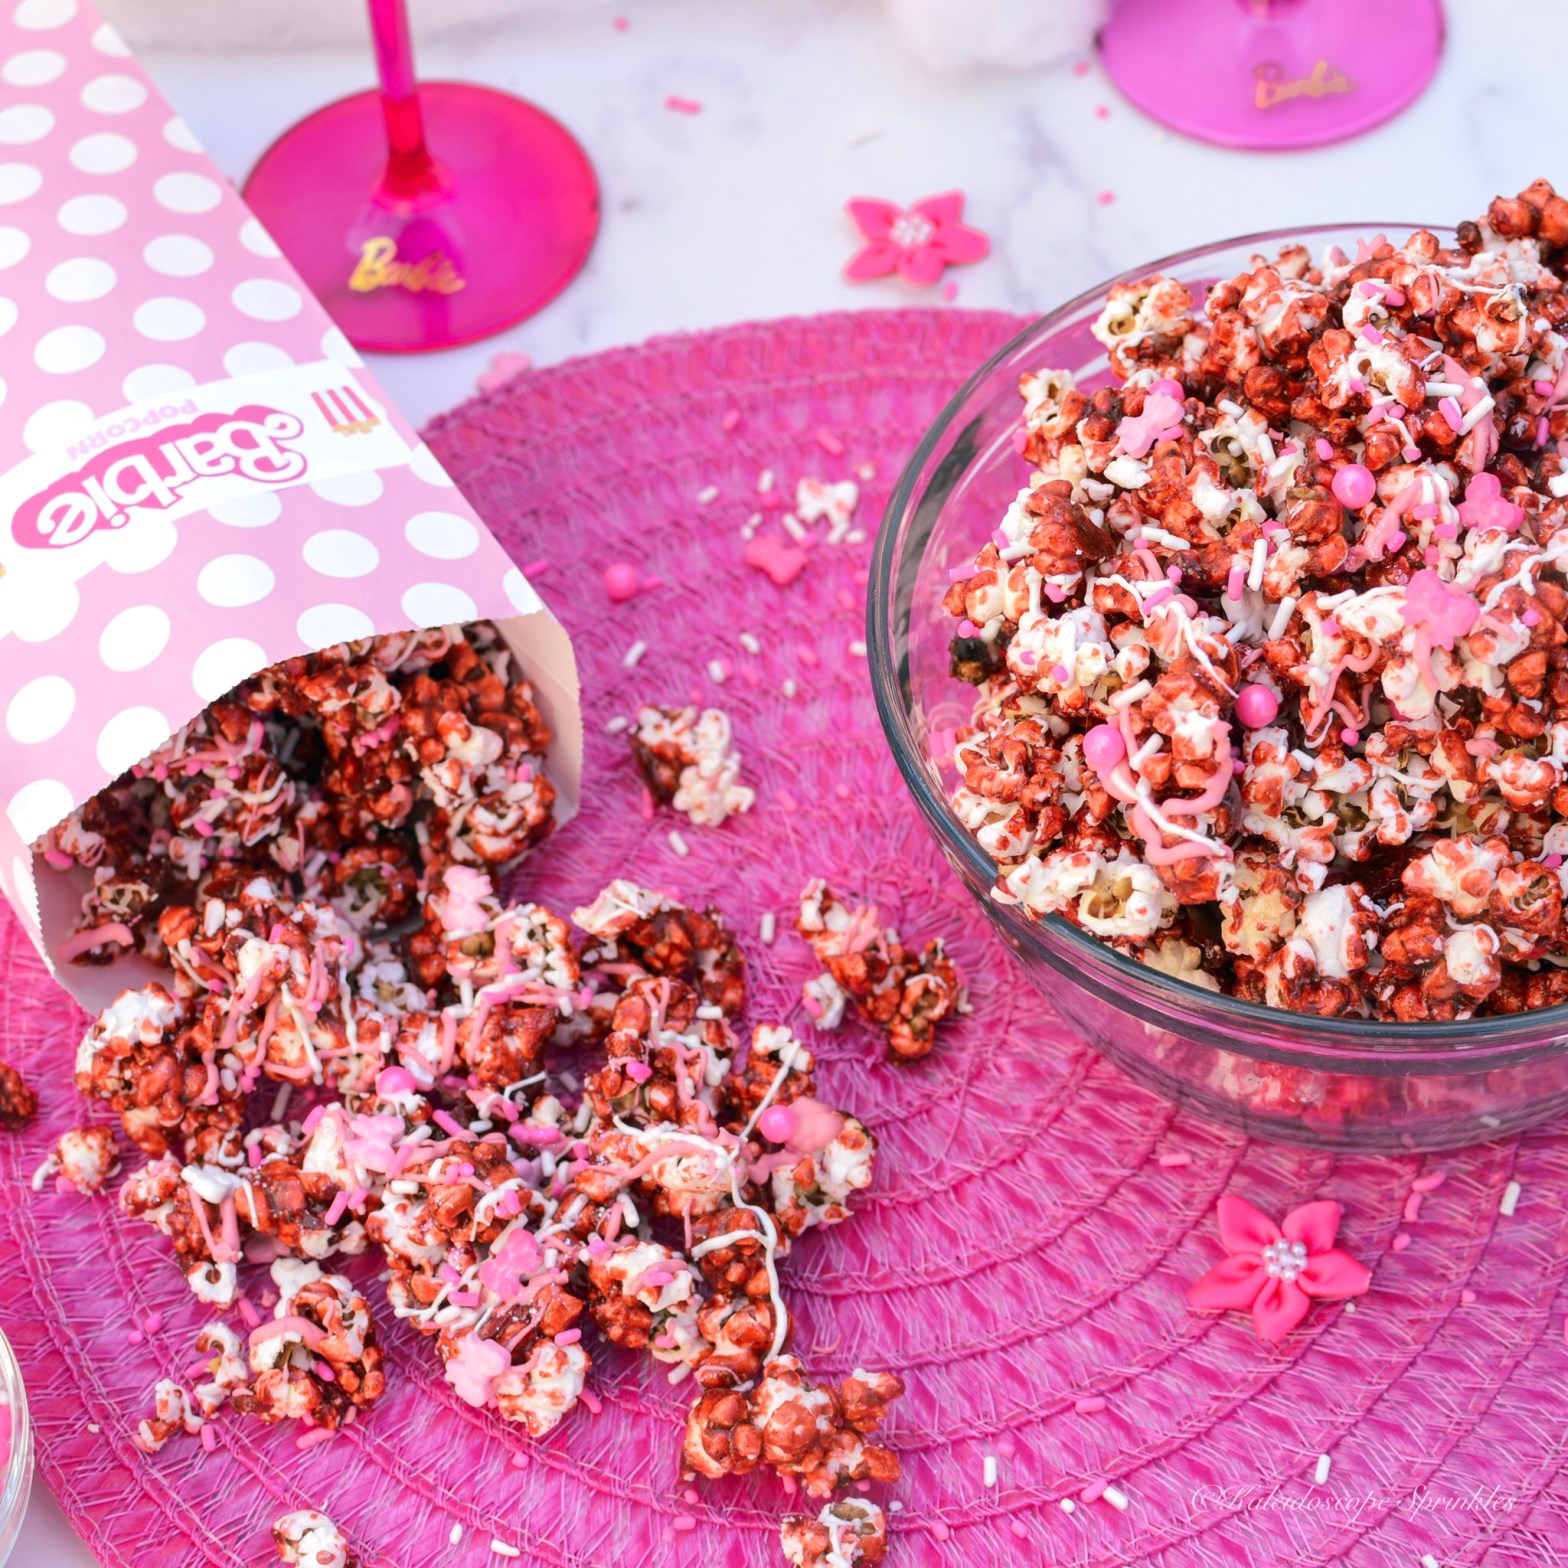
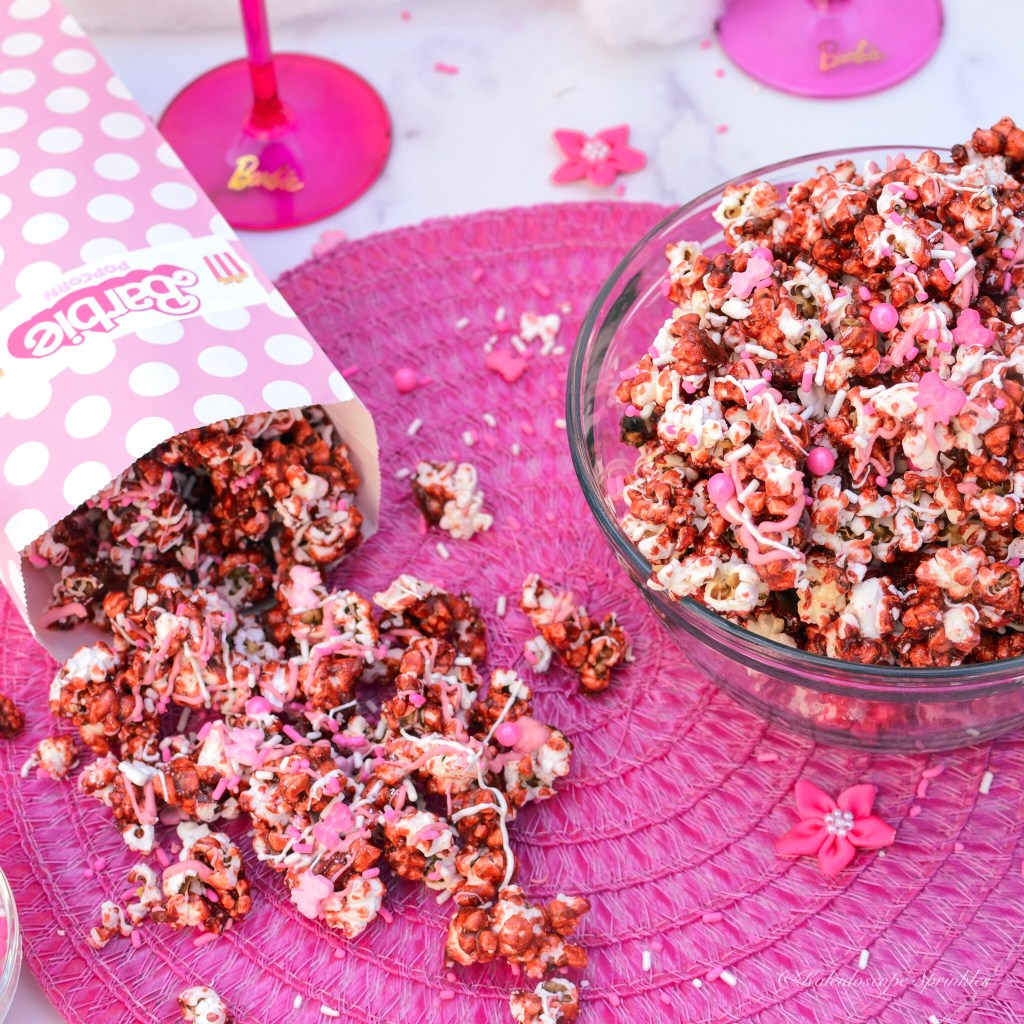
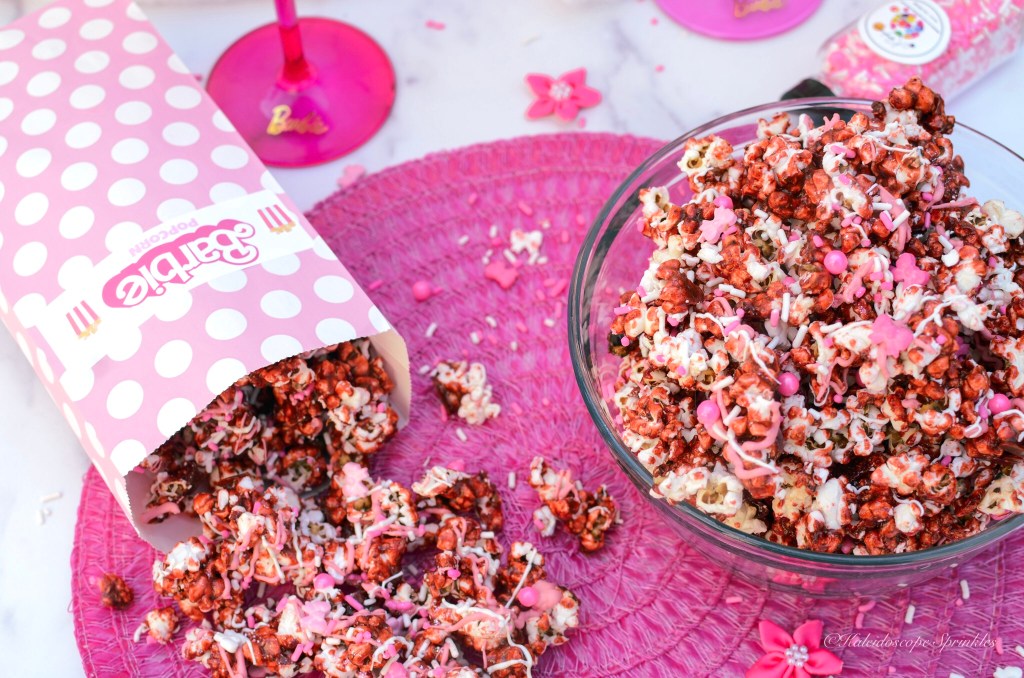
The anticipation of the Barbie Movie has me eagerly excited for more pink and plastic. I have already planned my ensemble for my personal movie premiere from head to toe. I couldn’t just show up to the official Barbie Movie as Parisian Barbie with just an outfit. I had to take this special day one cute little tip top step further. I decided to make own special Barbie popcorn to match the feature film as well as my fashion.
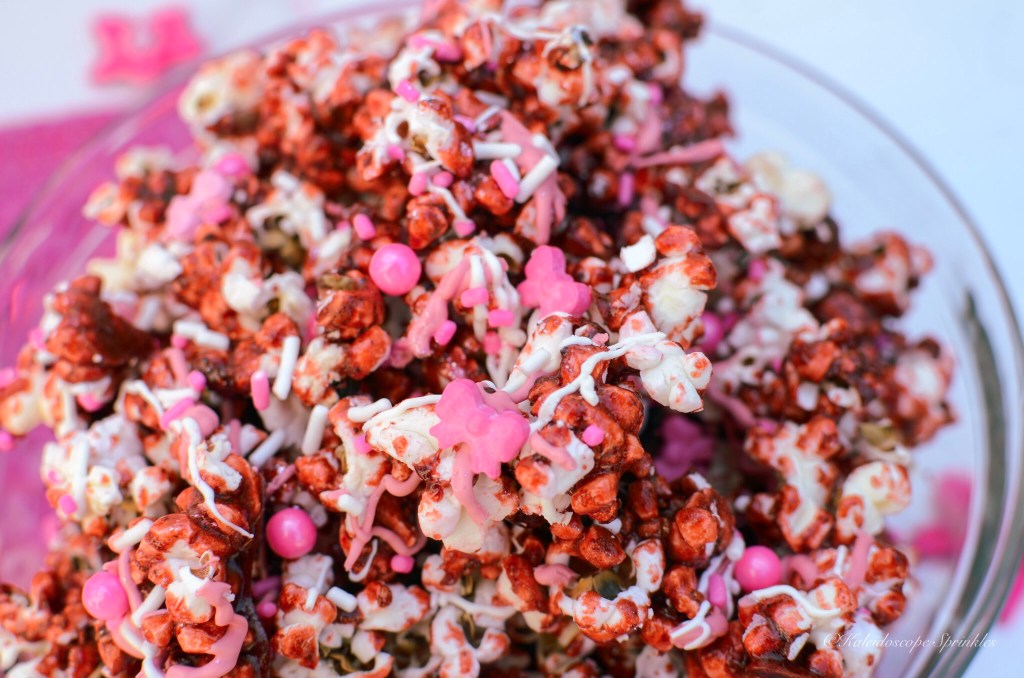
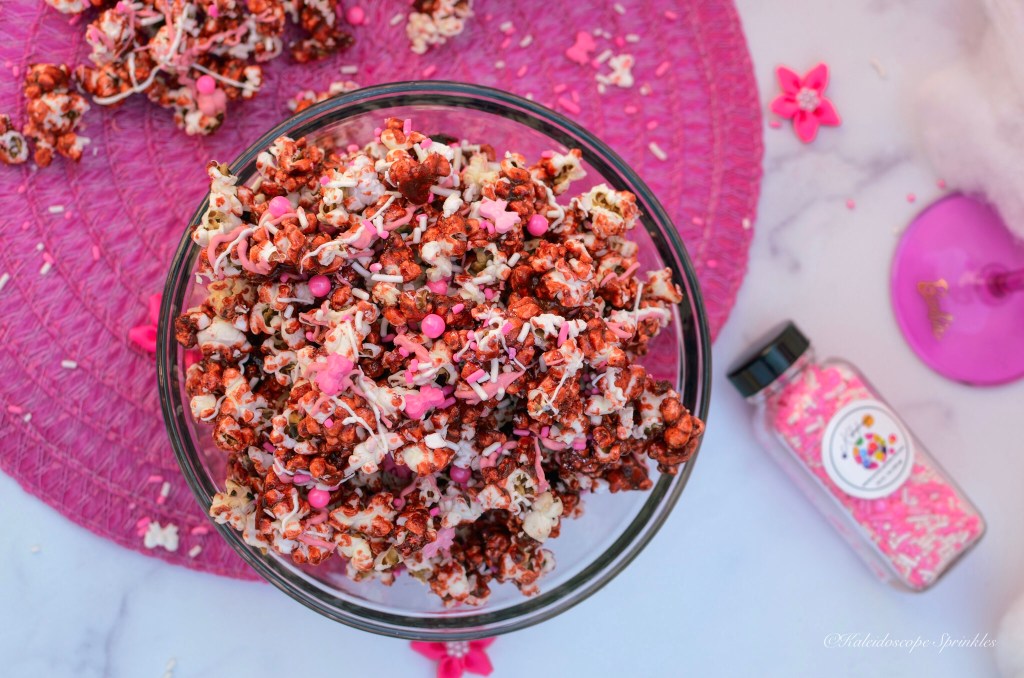
Barbie popcorn is a very tasty snack and is covered with magenta raspberry caramel. The colorful corn is then topped with flamingo pink and white candy melts for even more pink protrusion. If that wasn’t enough I added a custom Perfectly Pink Sprinkle Mix from Kaleidoscope Sprinkles with even more Barbie behavior. I loved how the popcorn came out when I finished. It’s definitely thee snack for Barbie, myself and everyone else to enjoy.
Please see my Barbie Popcorn recipe below. I hope you get a chance to make some for yourself for your Barbie movie celebration.
See the complete video and recipe below
Ingredients
1 cup popcorn kernels, 6 quarts popped popcorn
1 cup (8 ounces) unsalted butter
1 1/2 cups granulated sugar
1.25 oz (½ cup finely grounded) freeze dried raspberries (or strawberries)
½ cup light corn syrup
1 tsp. baking soda
1 tsp. kosher salt
Pink and white candy melts, for decoration (optional)
Pop popcorn kernels using your style preference. ( I used my StirCrazy popper but stovetop works as well)
Preheat oven to 250-degrees F.
Add popped popcorn to a large bowl and set aside.
For the caramel: Place the freeze dried raspberries in a food processor and grind into a course powder.
In a large saucepan, add butter, granulated sugar, raspberries and corn syrup. Stir ingredients together on medium heat until butter has melted. Allow caramel to boil 5 minutes without stirring. Remove from heat.
Carefully stir in salt and baking soda.
Pour mixture over popcorn and fold to coat and combine. Divide popcorn onto two large baking sheets and spread evenly into single layers on sheets. Bake at 250 F for 30 minutes, rotating pan and mixing popcorn halfway.
Allow popcorn to cool completely. Use your hands and break up popcorn kernels.
Drizzle candy melts on top. Immediately sprinkle pink sprinkles on top along with pink edible glitter.
Break apart popcorn again. Serve right away or store in airtight containers for up to one week.
Happy National Ice Cream Day! Here we are in the middle of July and Los Angeles is finally starting to feel like summertime. This week has been extra warm and I have been throughly enjoying basking in the sun. Ice cream is a great way to cool down during this time of the year, when the hot days are consecutive and a break is needed. I honestly though eat as much ice cream as you would think.
Let me be clear, I enjoy that creamy confection that is gobbled up by the gallons by millions of fans. My favorite flavor of ice cream is actually cookies n cream to be clear, it’s just not featured much on my palate . This may come off as bougie, but I try not to eat ice cream here in the US because is just not that good. US ice cream, if not premium quality, is usually filled with chemicals and unknown substances that I dare not know. When it comes to food we all know fresh is best, so I try and save my ice cream experiences for overseas.
Last month while I was in Belize enjoying my birthday vacation, I decided not only to enjoy some ice cream but to make some as well. I actually made ice cream out of bananas, also known as ‘nice cream.’ This idea came to me while in Belize after receiving too many ripe bananas from our lodging accommodations to eat for breakfast. The kitchen where I stayed was equipped with a blender, so I tossed the bananas in with some previously purchased coffee creamer. After letting the nice cream freeze for a few hours, dessert was done. The nice cream came out delicious and tasted just like frozen banana pudding. The only thing missing were some Kaleidoscope Sprinkles to make it pop.
This was my first time making nice cream, but I definitely will be enjoying this recipe again this summer. If you’re looking for another cool treat to enjoy this summer I suggest giving this simple enjoyable recipe a try. It’s super light, refreshing and so easy to make.
See recipe and ice cream from all over the world below.
Banana Pudding Nice Cream
Ingredients
5-6 medium ripe bananas
¼ cup of Vanilla Cannoli flavor or your favorite coffee creamer
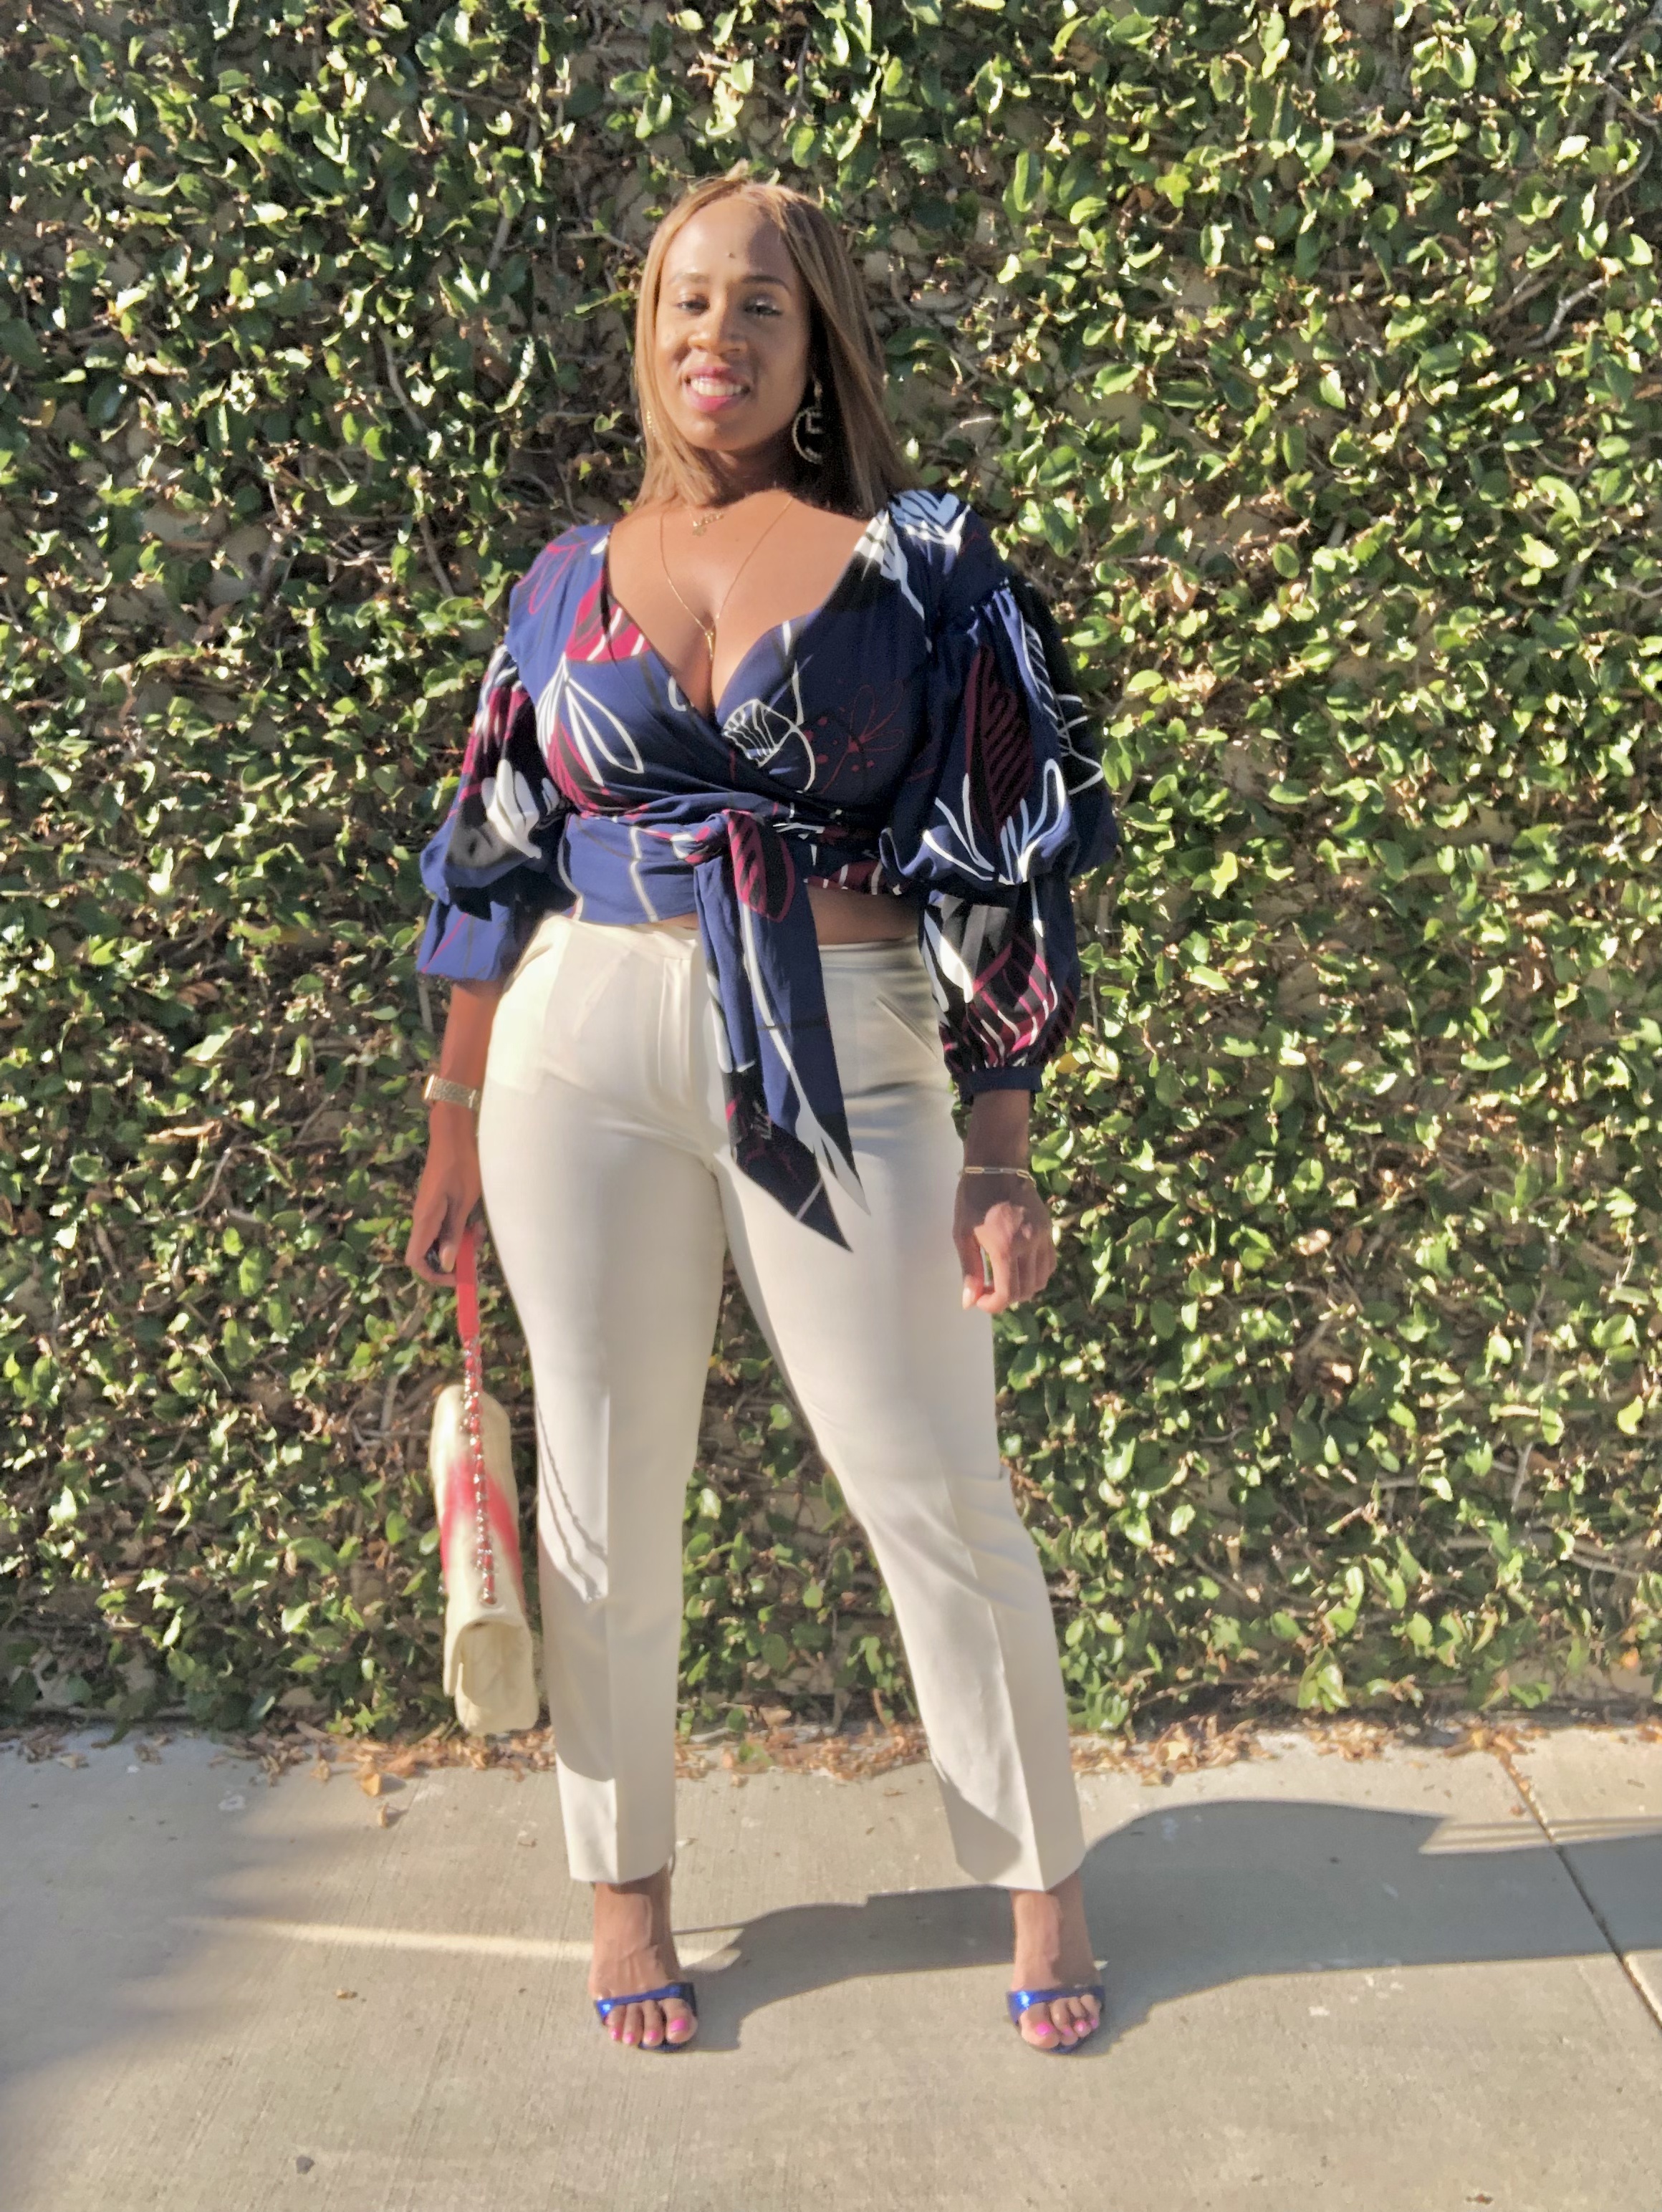
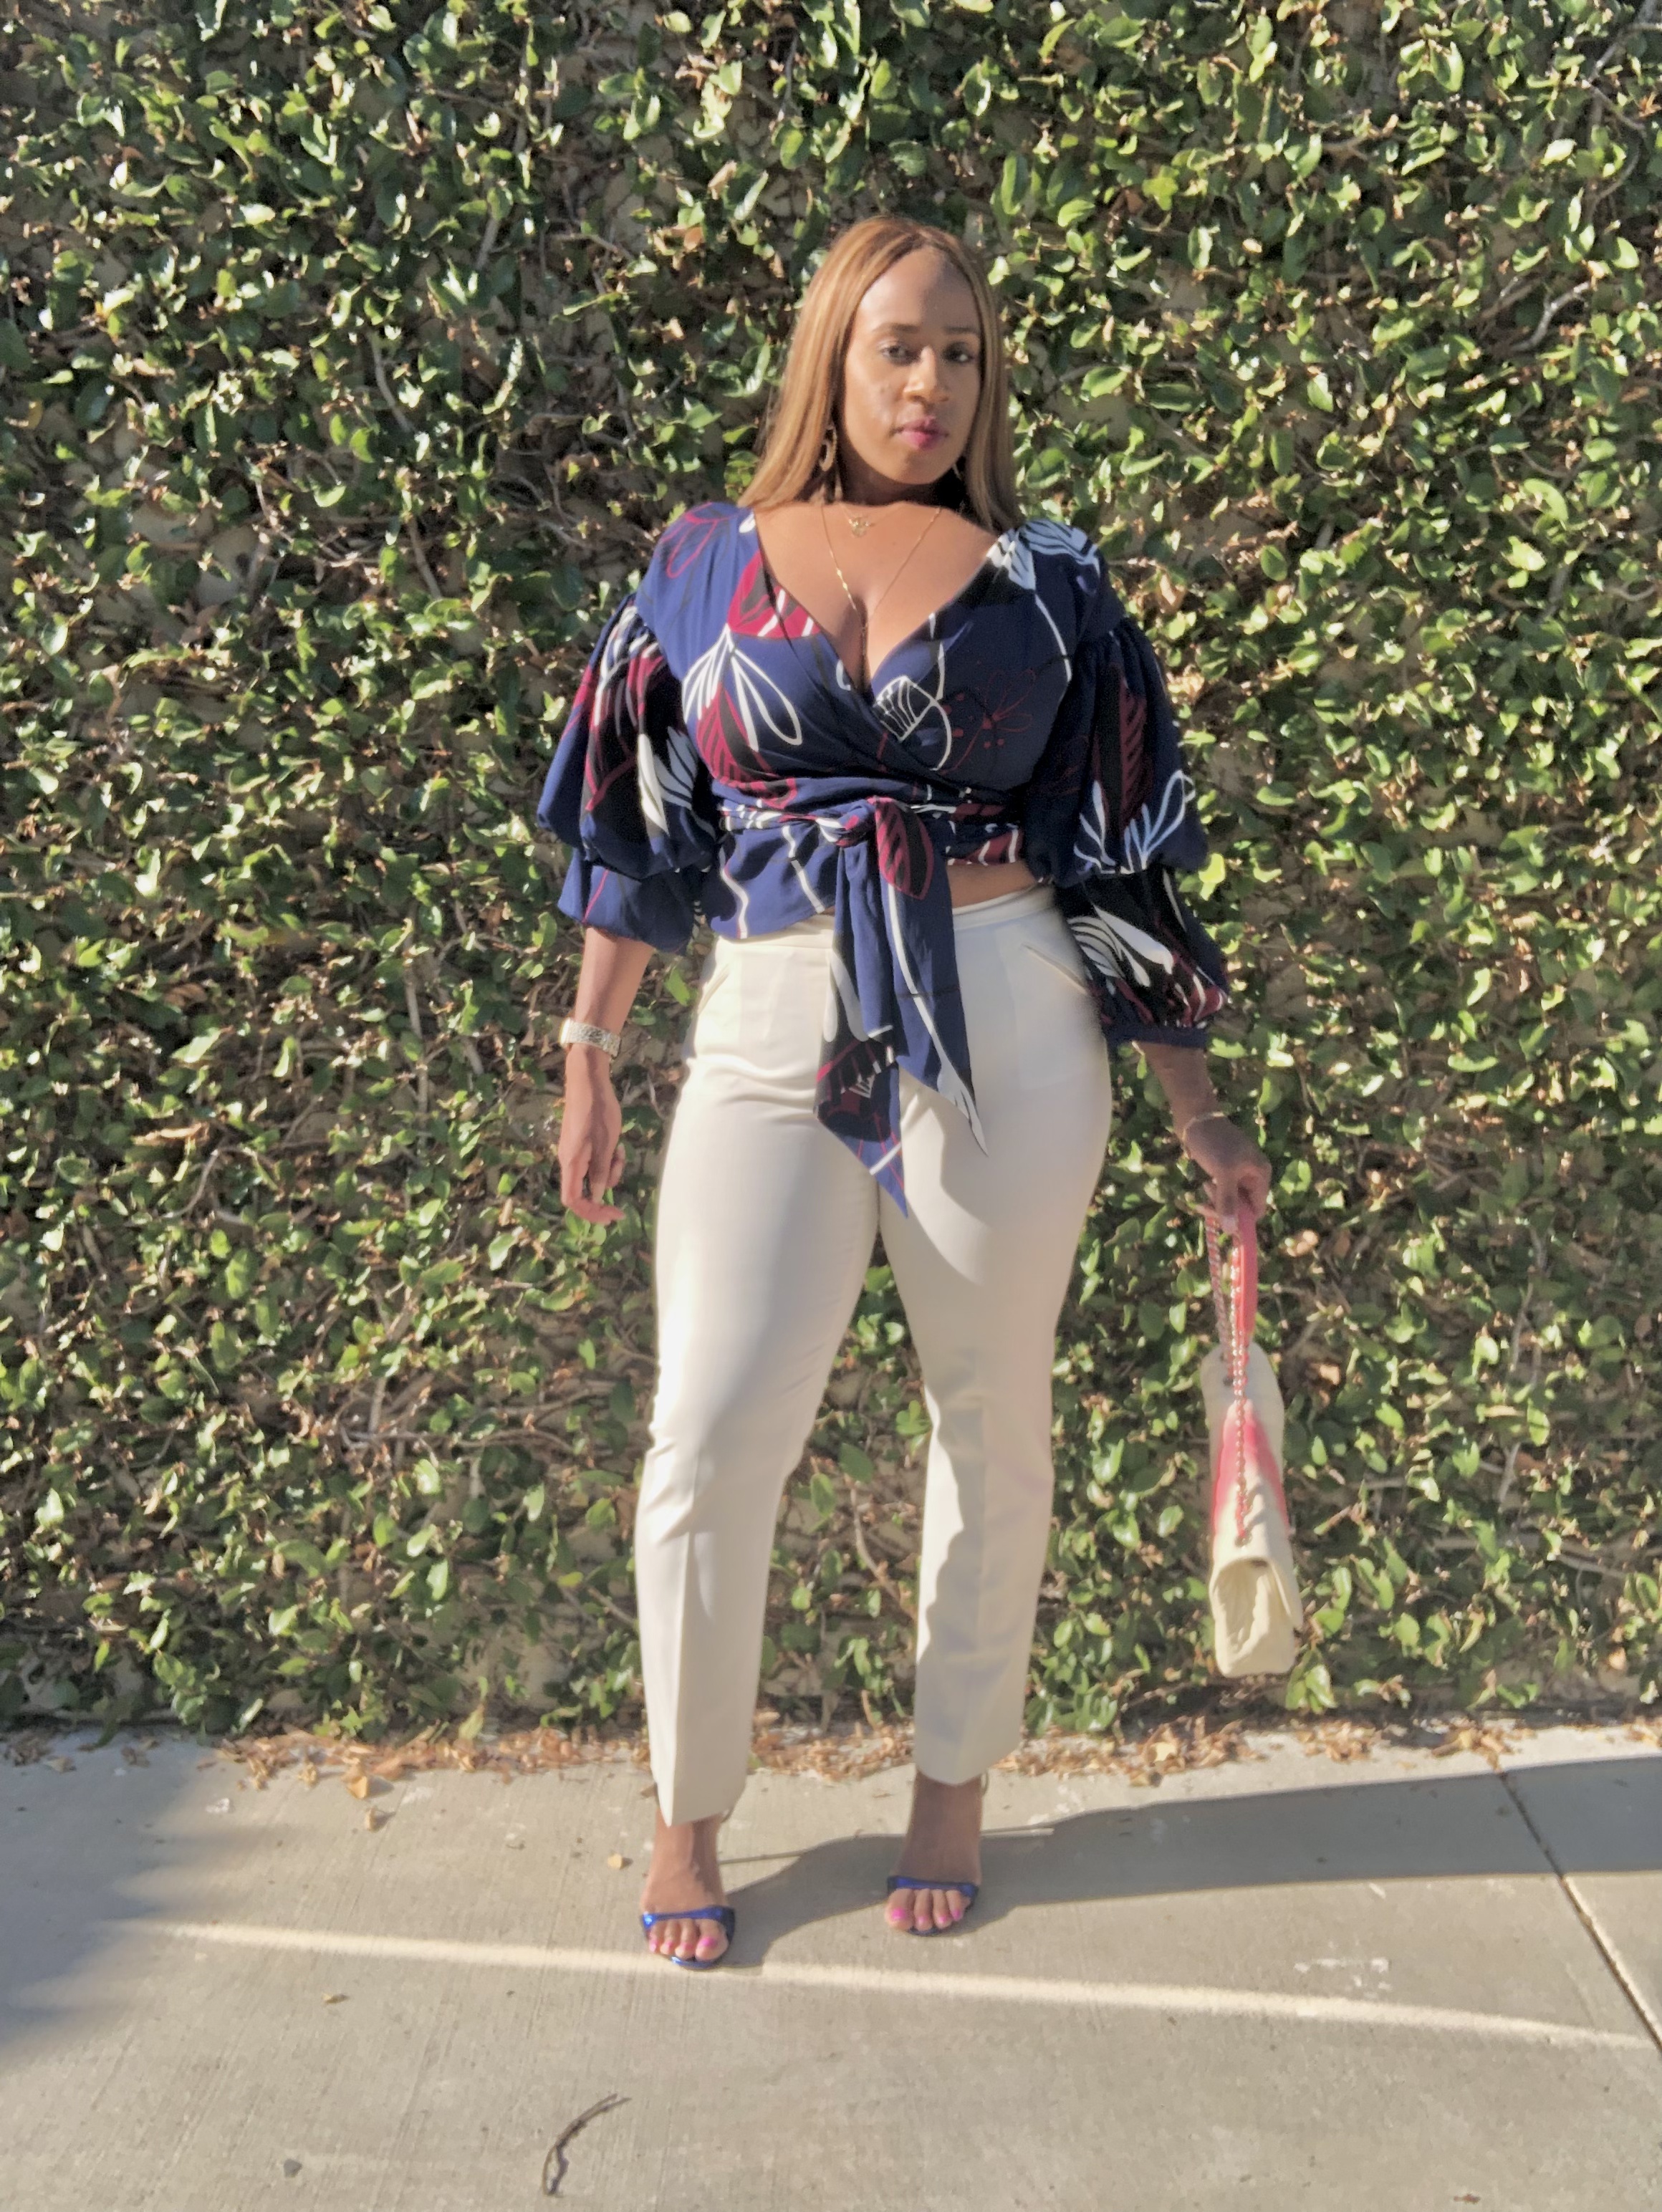
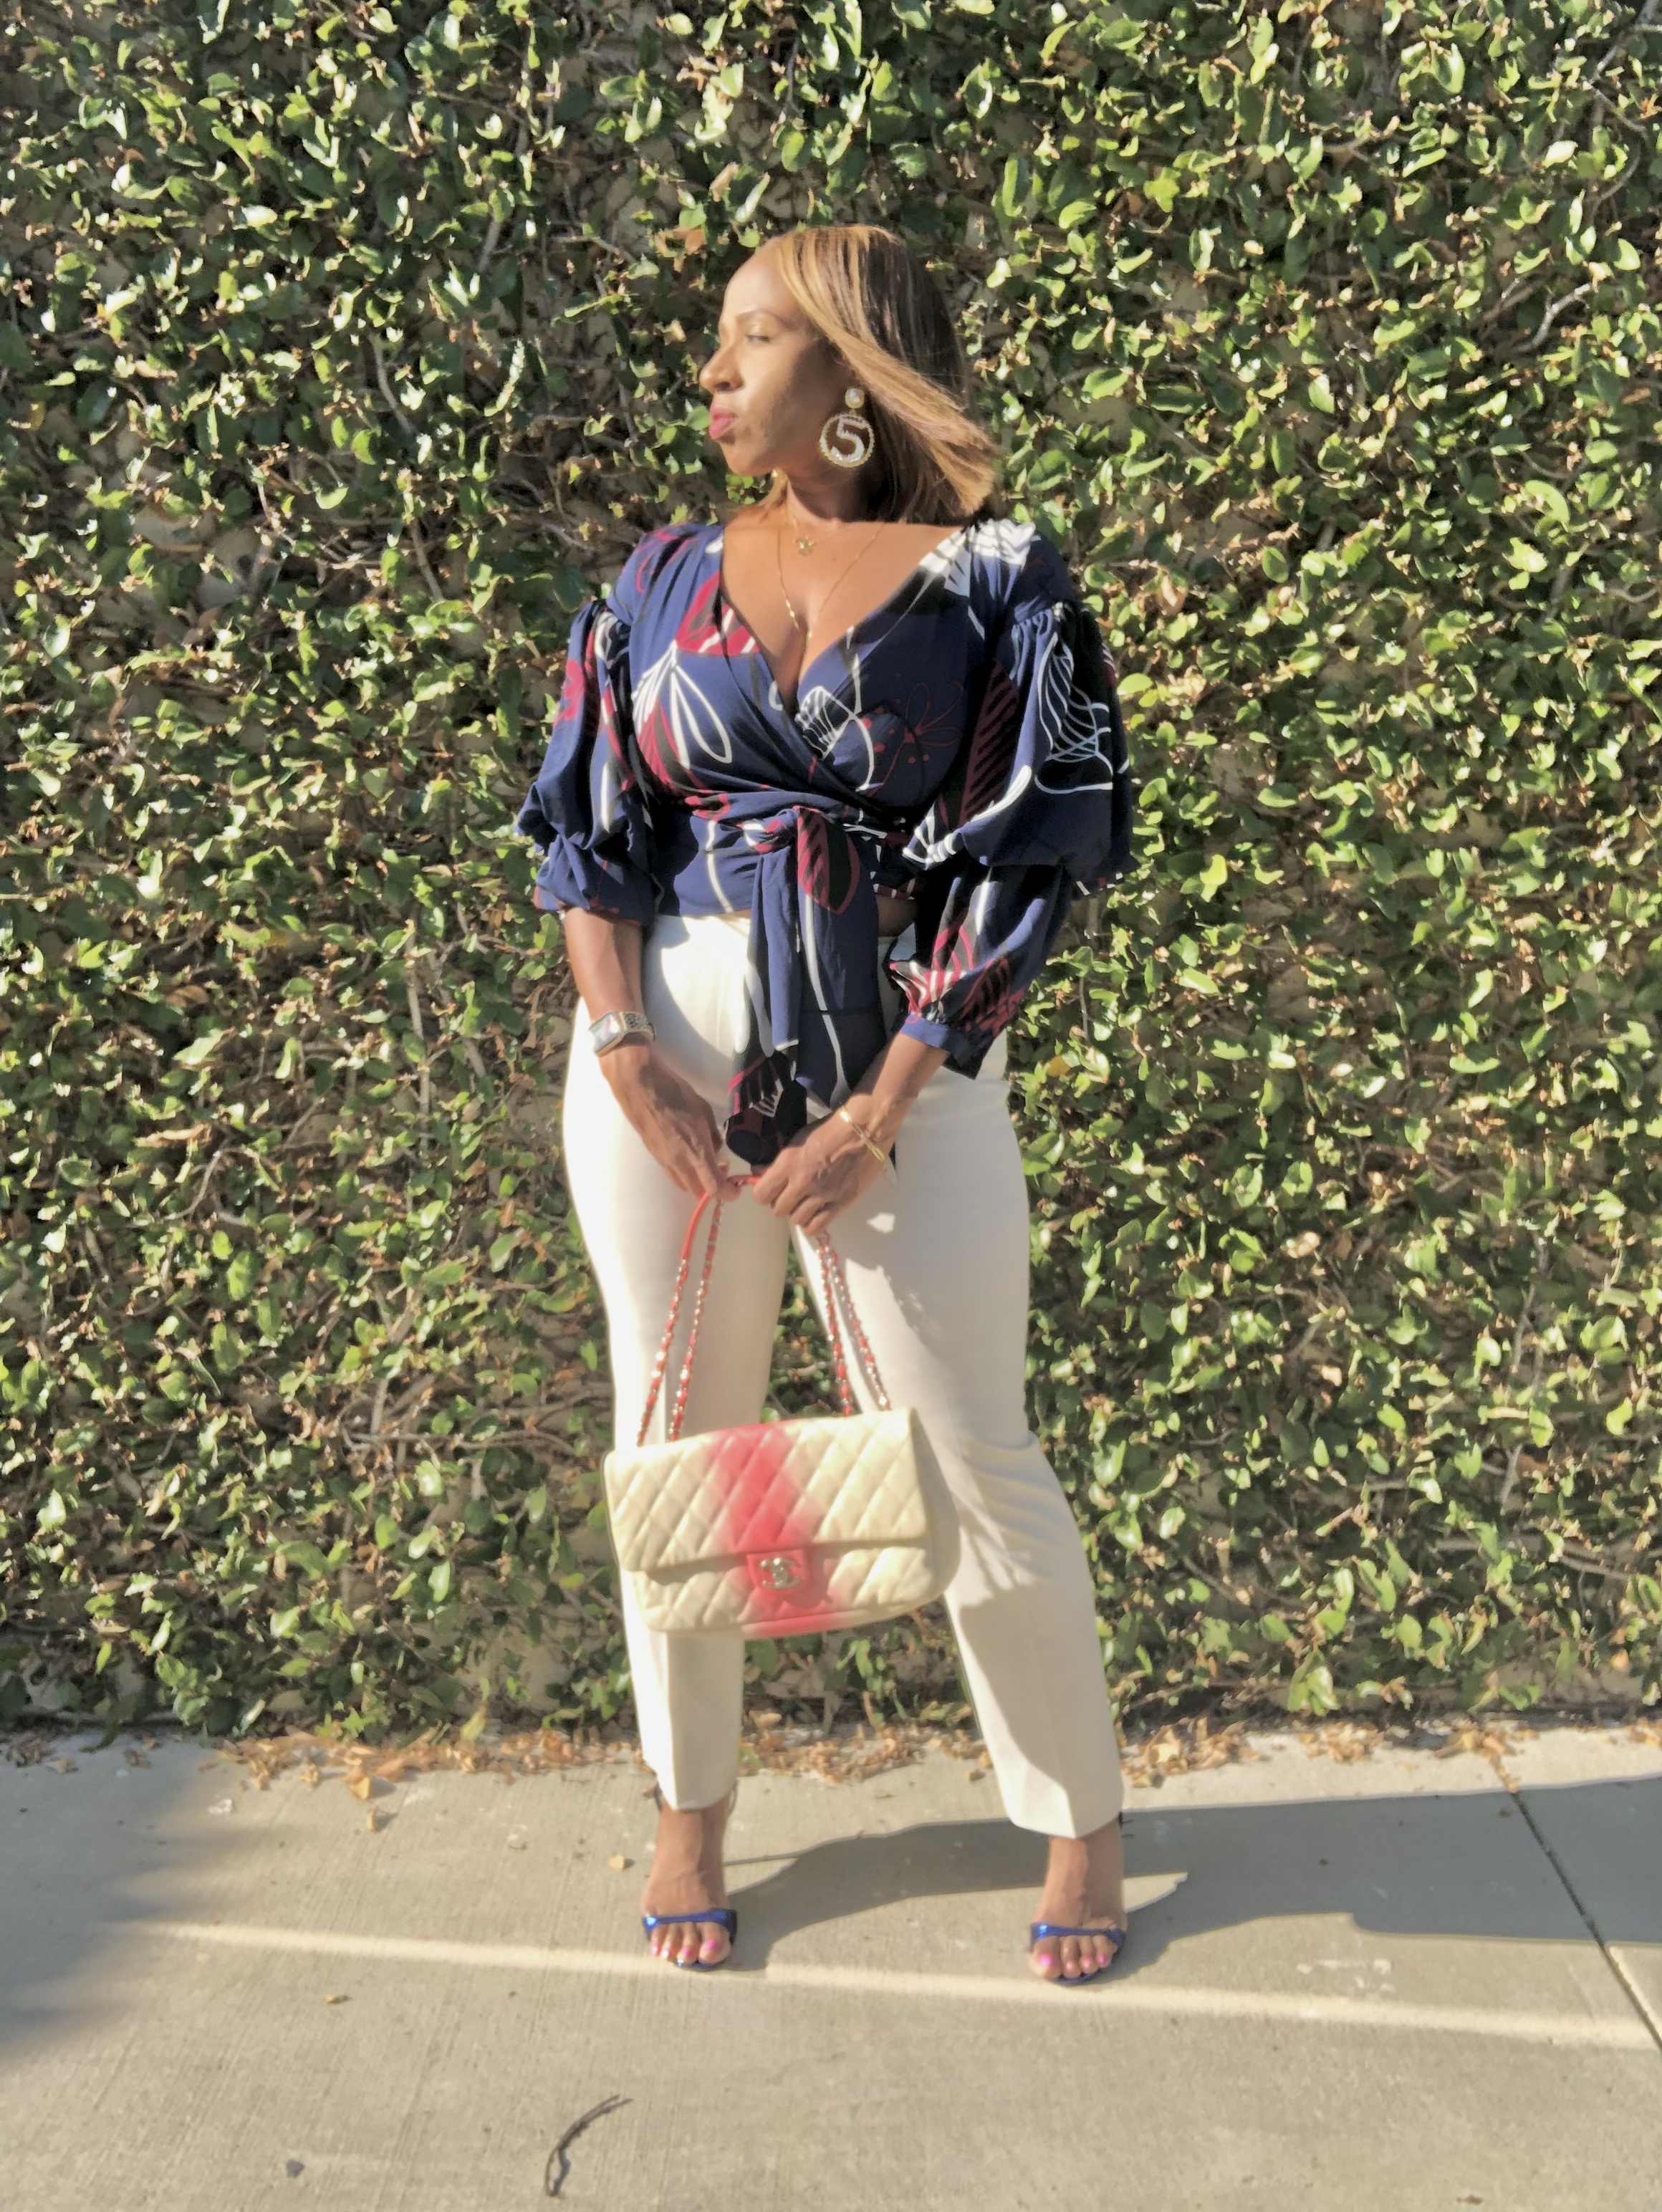
Happy Bastille Day! July 14th marks Fête nationale française or The French National Day. This day serves as an important moment in French Revolution history. This day is a major celebration for France along as other countries and is filled with much pomp and circumstance. I avoid Paris and most of Europe during the summer months, so I’ve never had the opportunity to experience this holiday in person.
This year I am not letting my distance from France stop me from representing for Bastille Day. I was able to find some events happening throughout the LA area via Frenchly that are serving fares la fête for said occasion. I also discovered that Beverly Hills’ sister city is Cannes, France (who knew?).
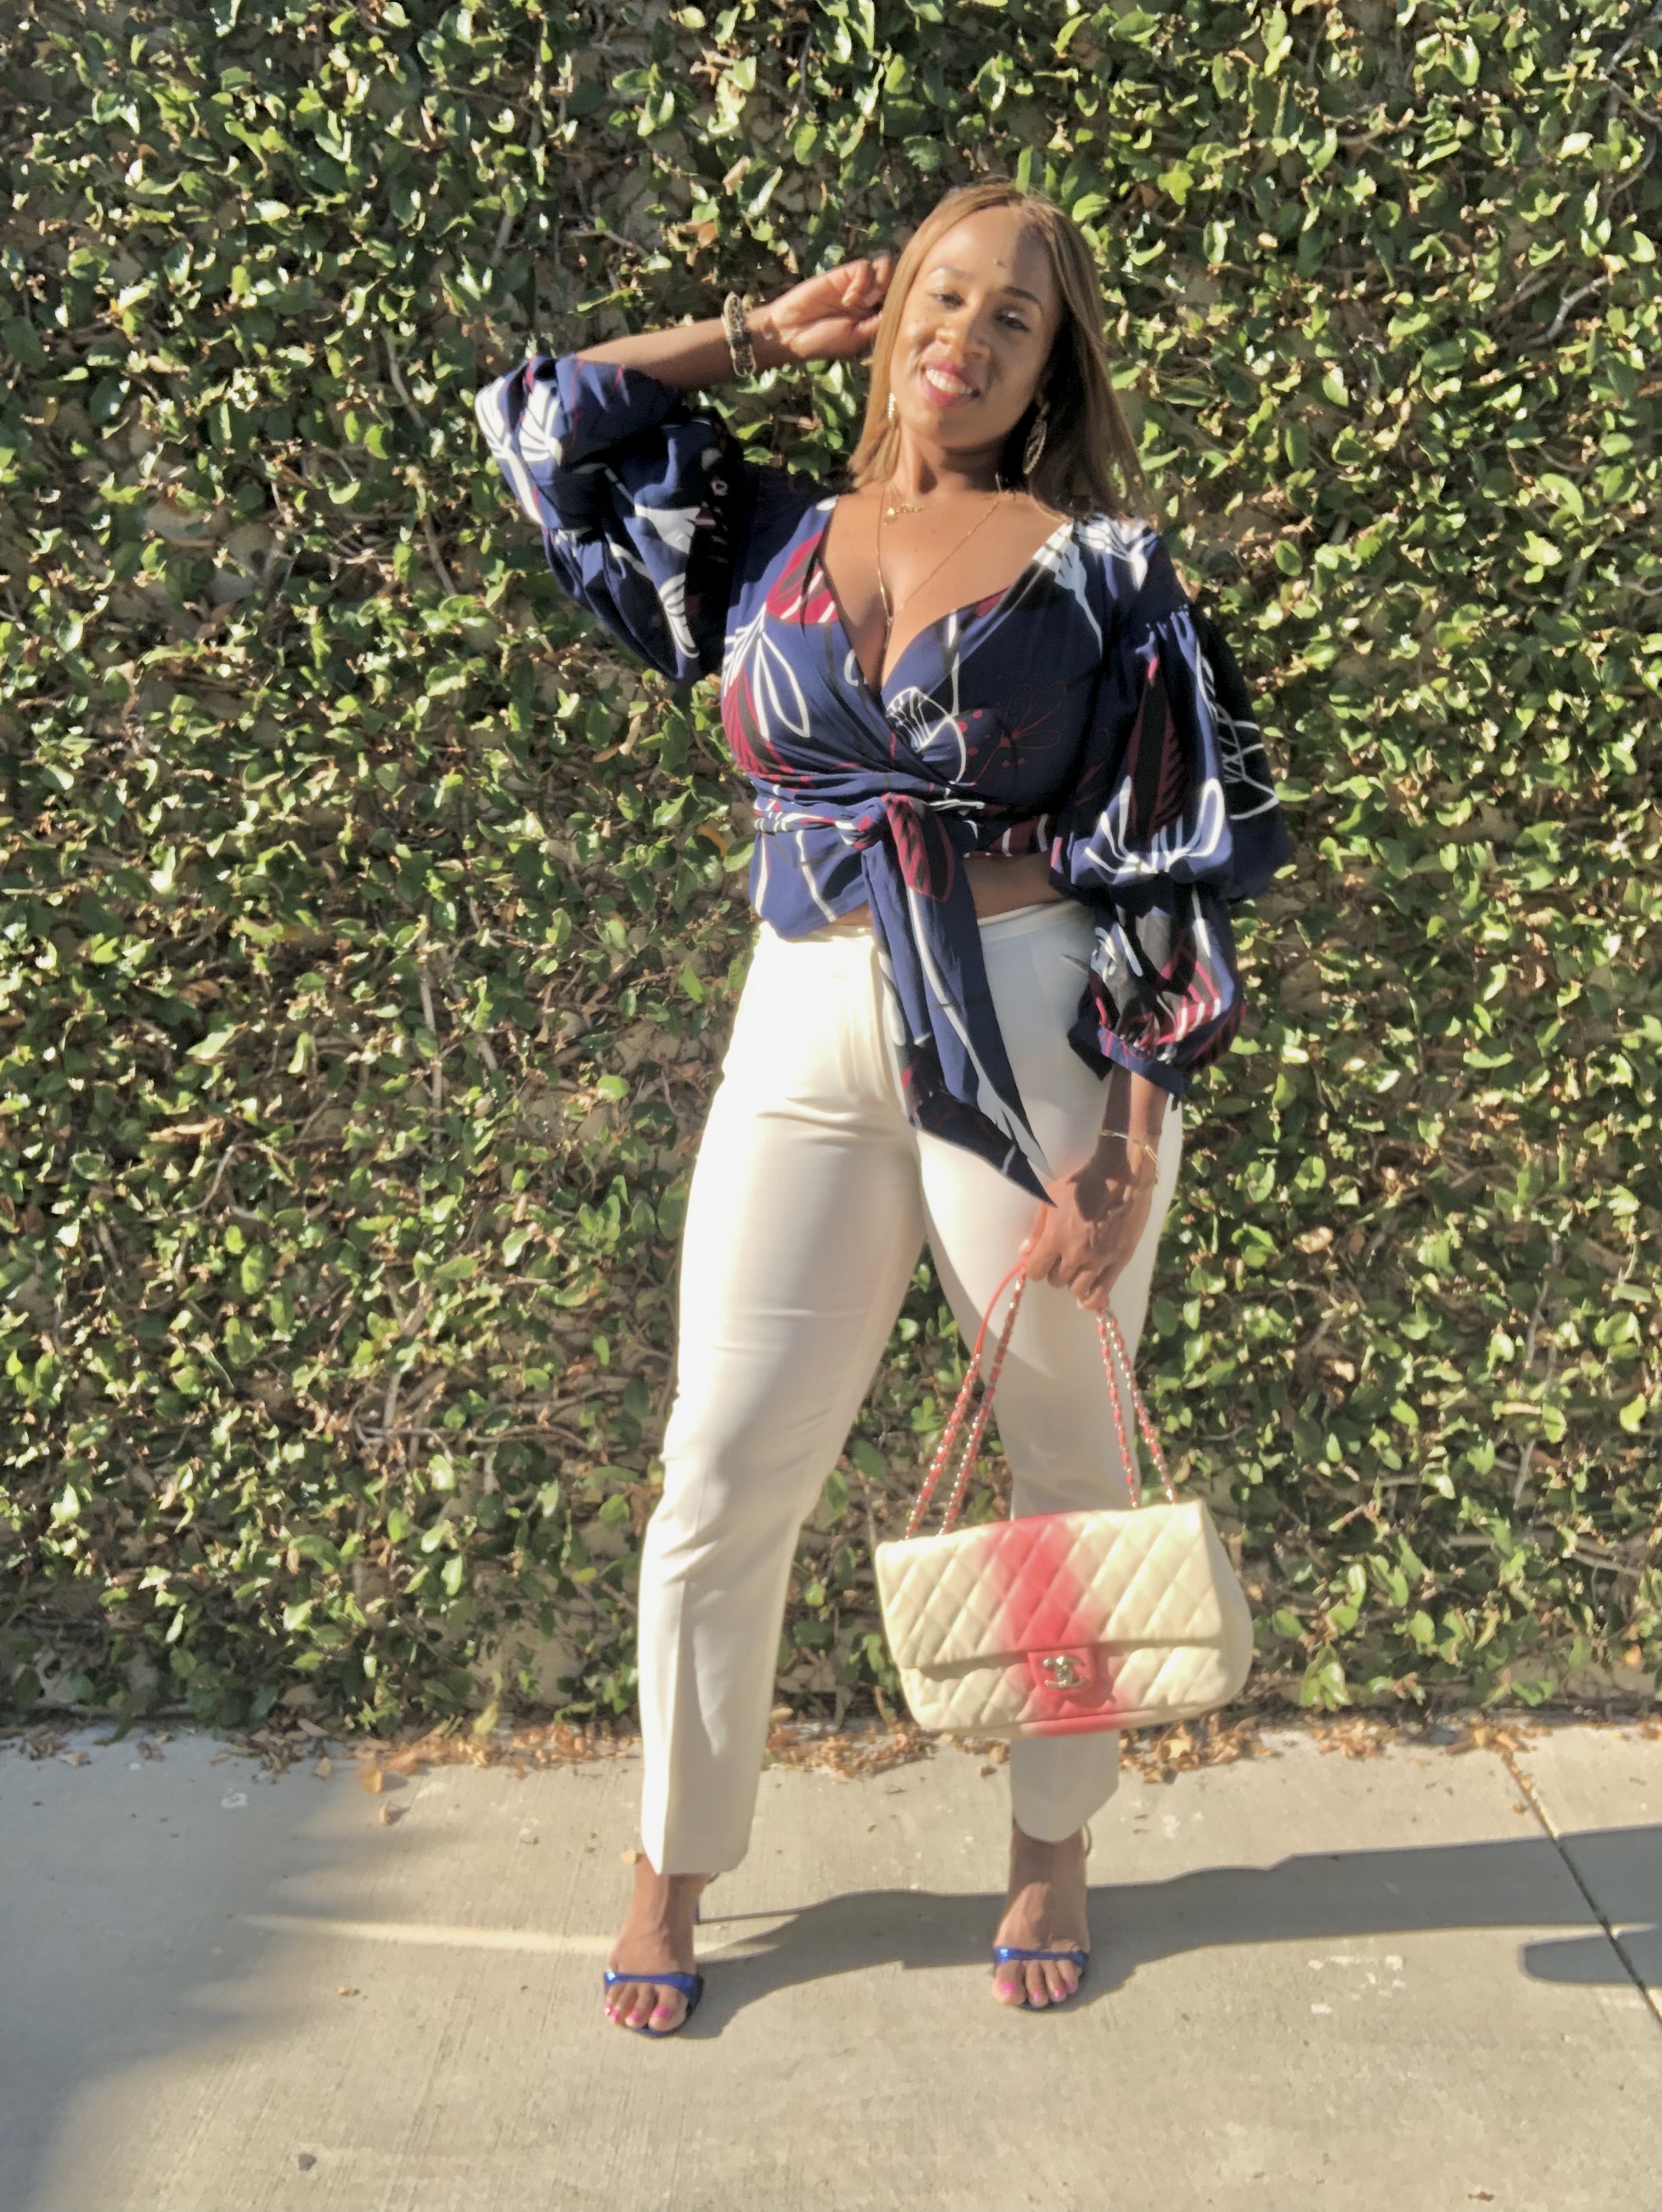
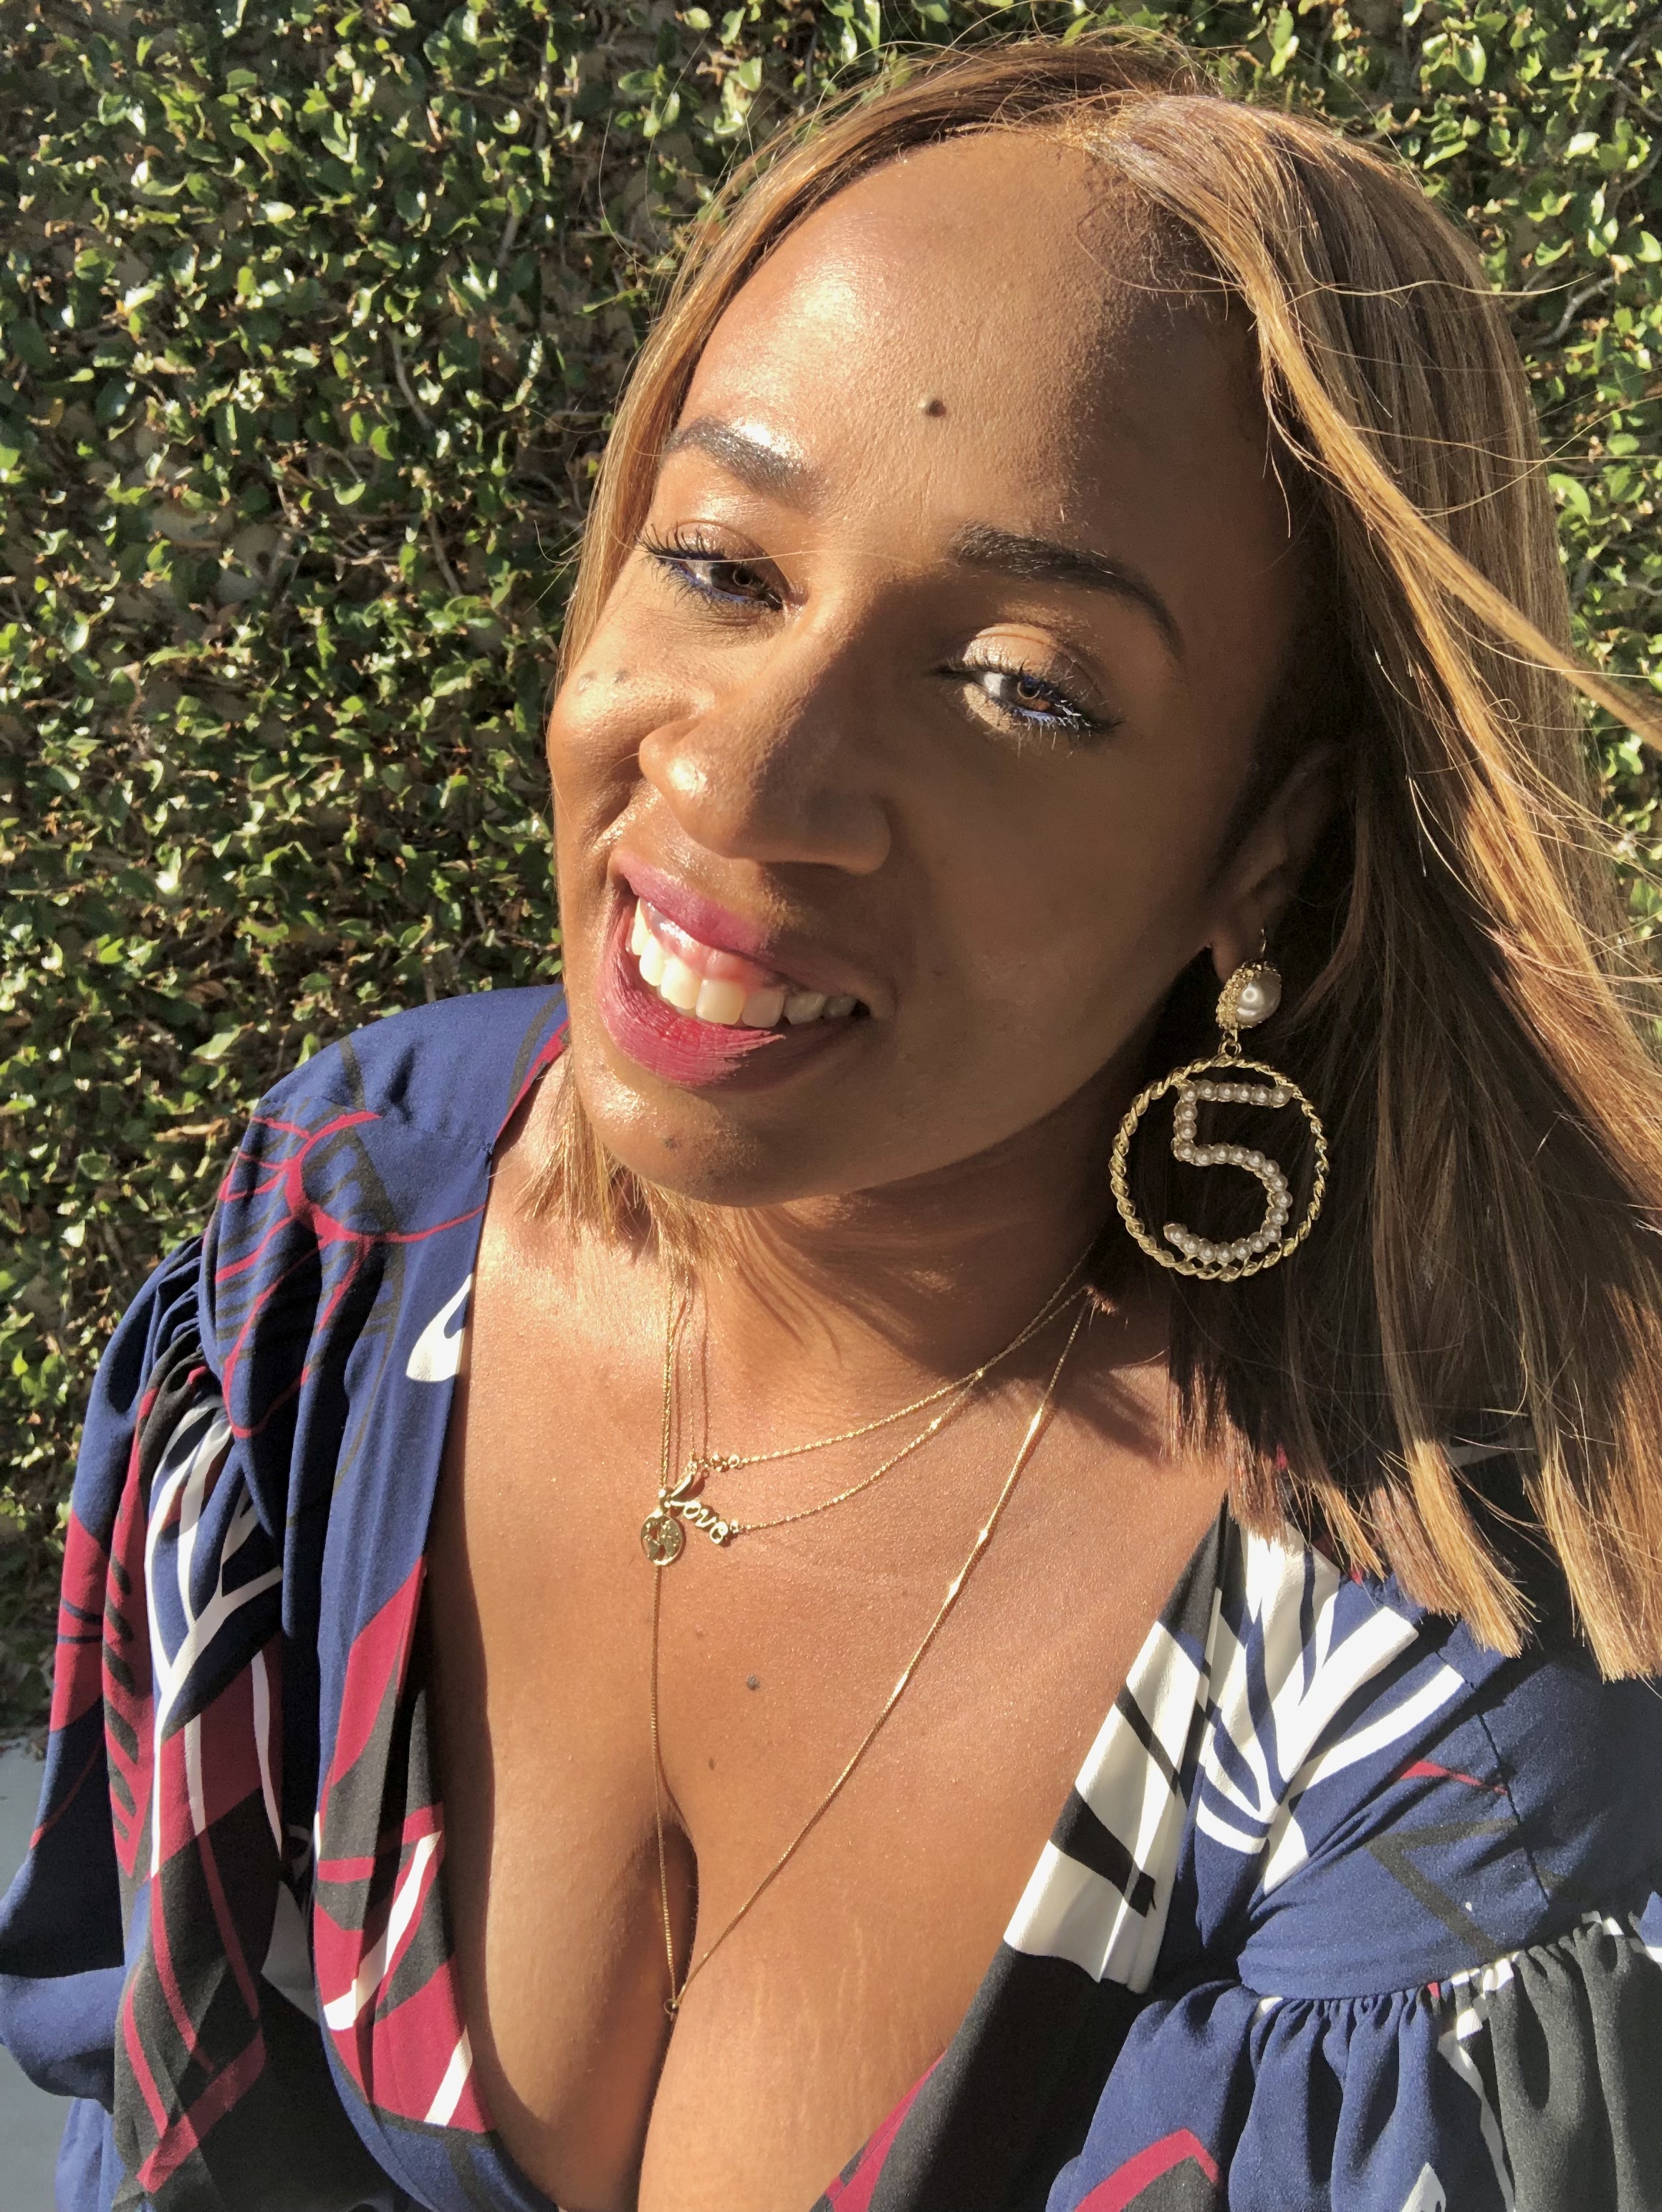
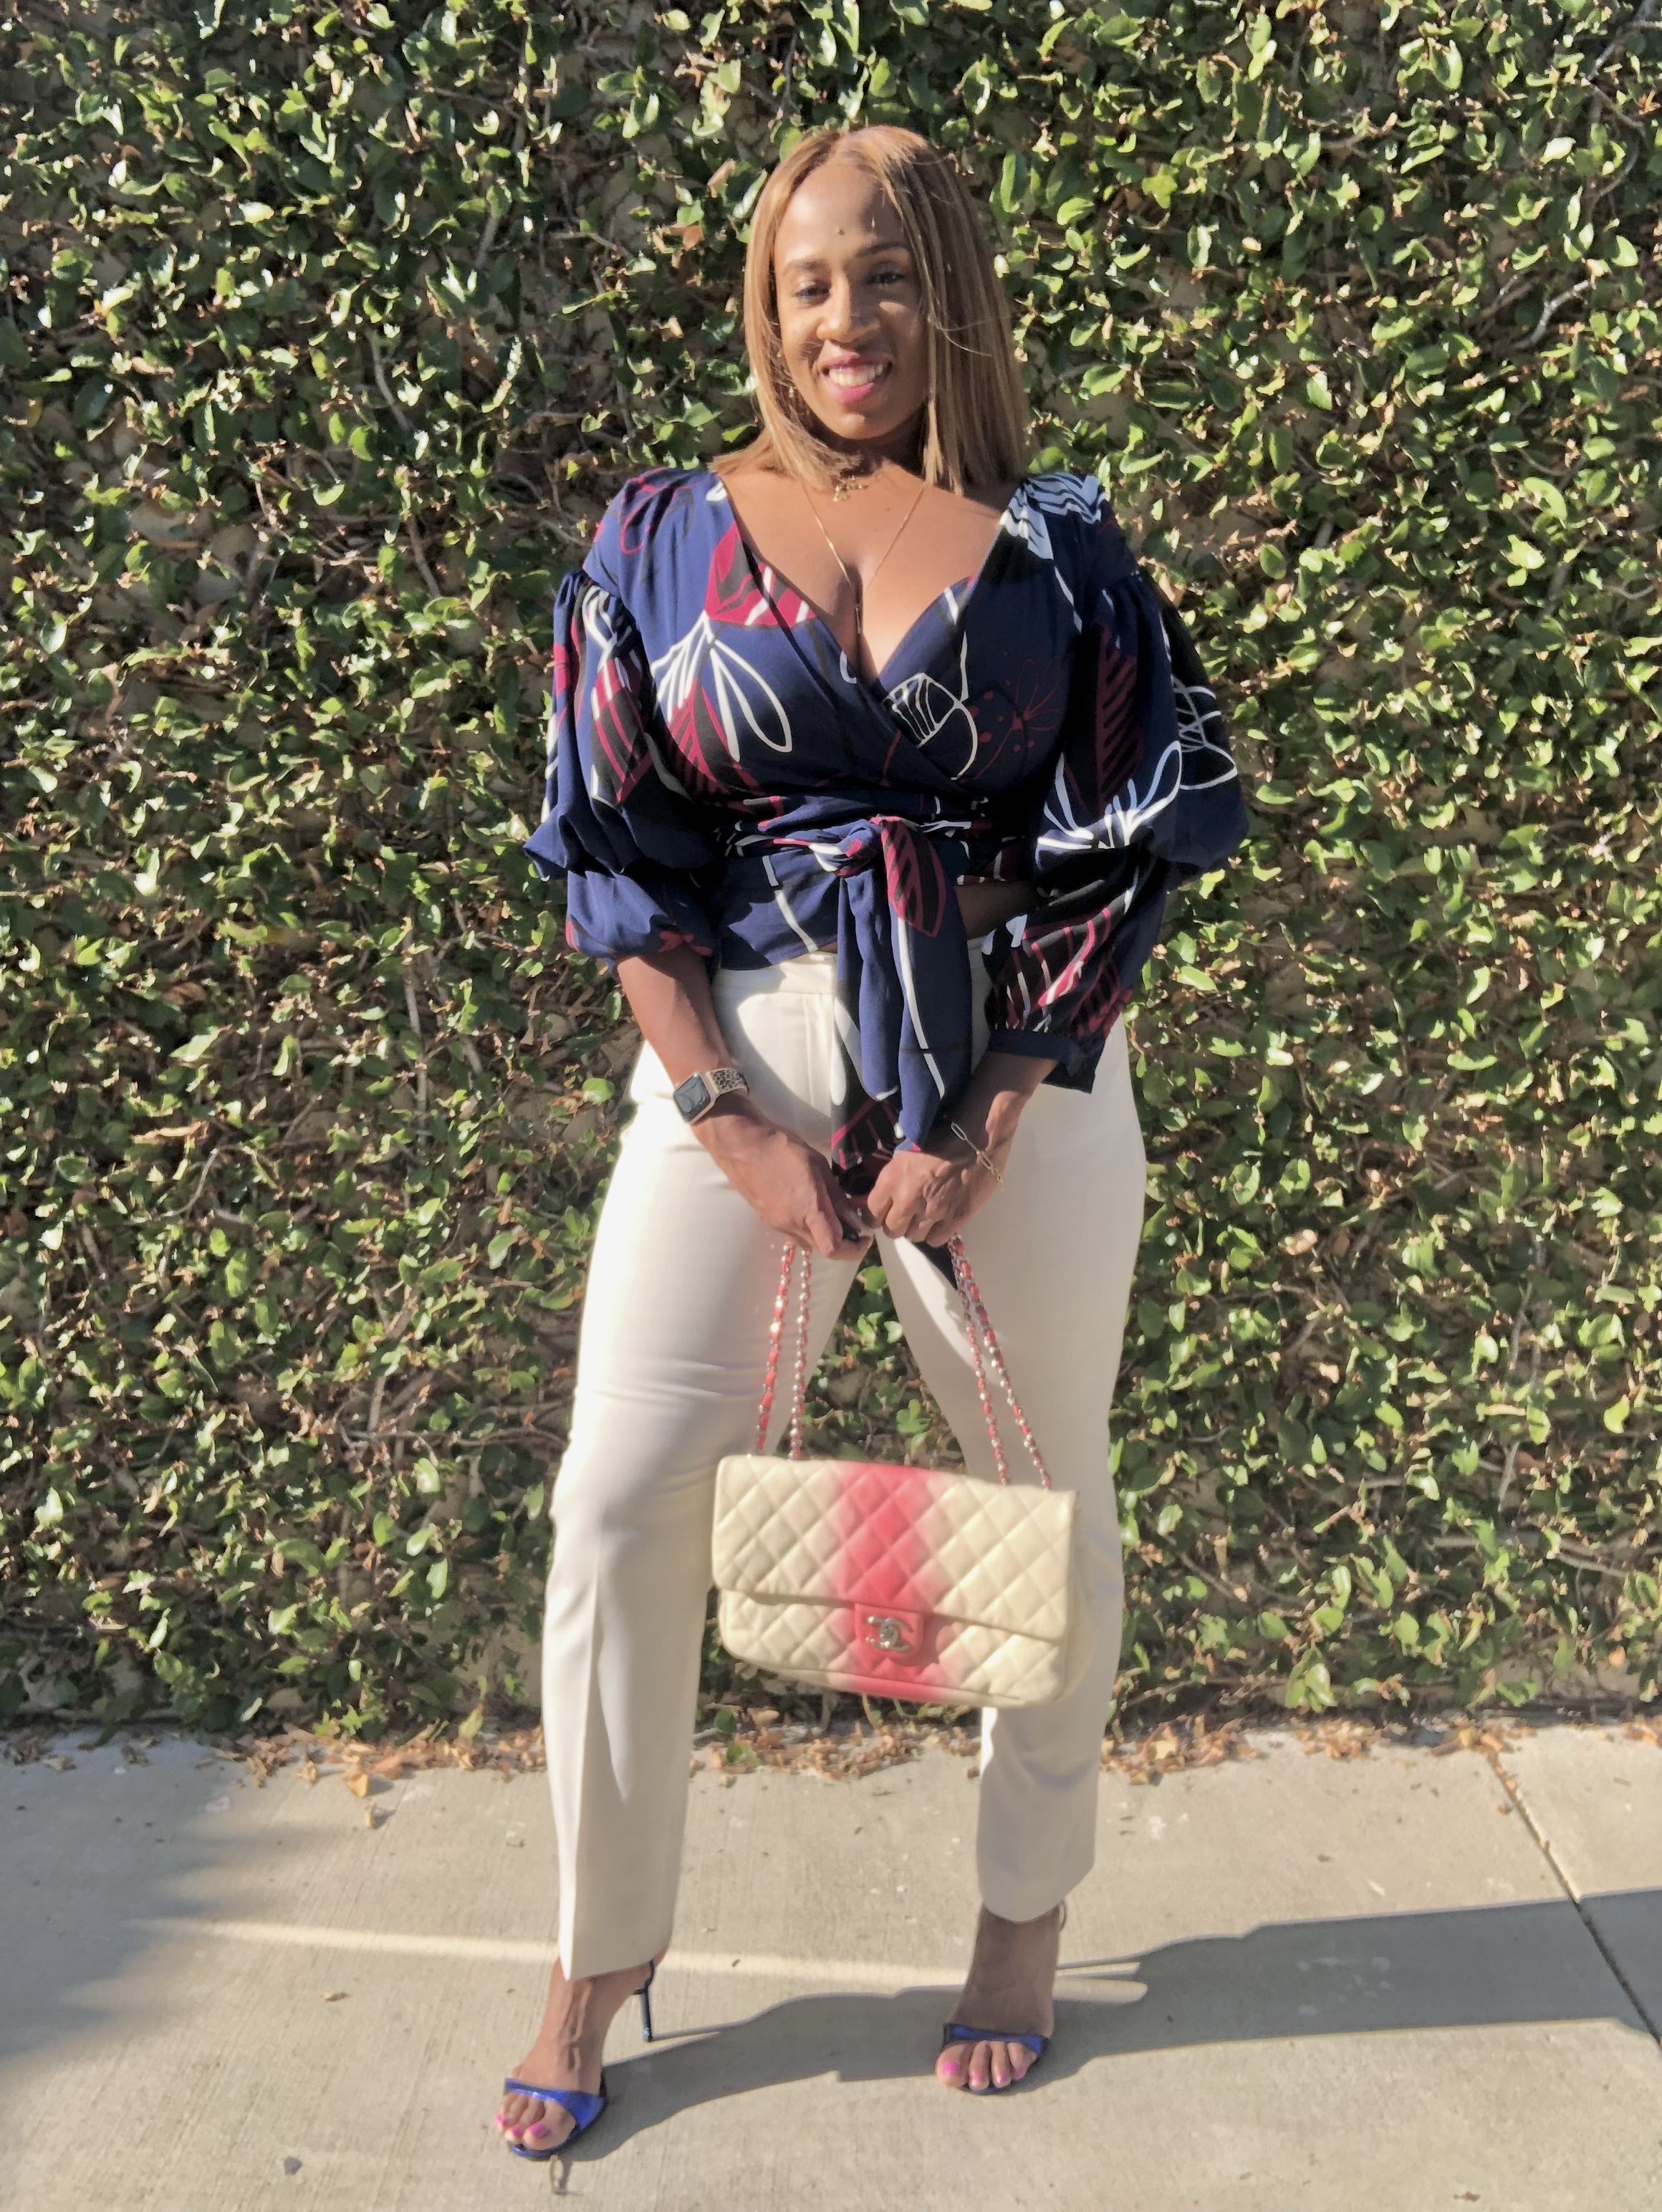
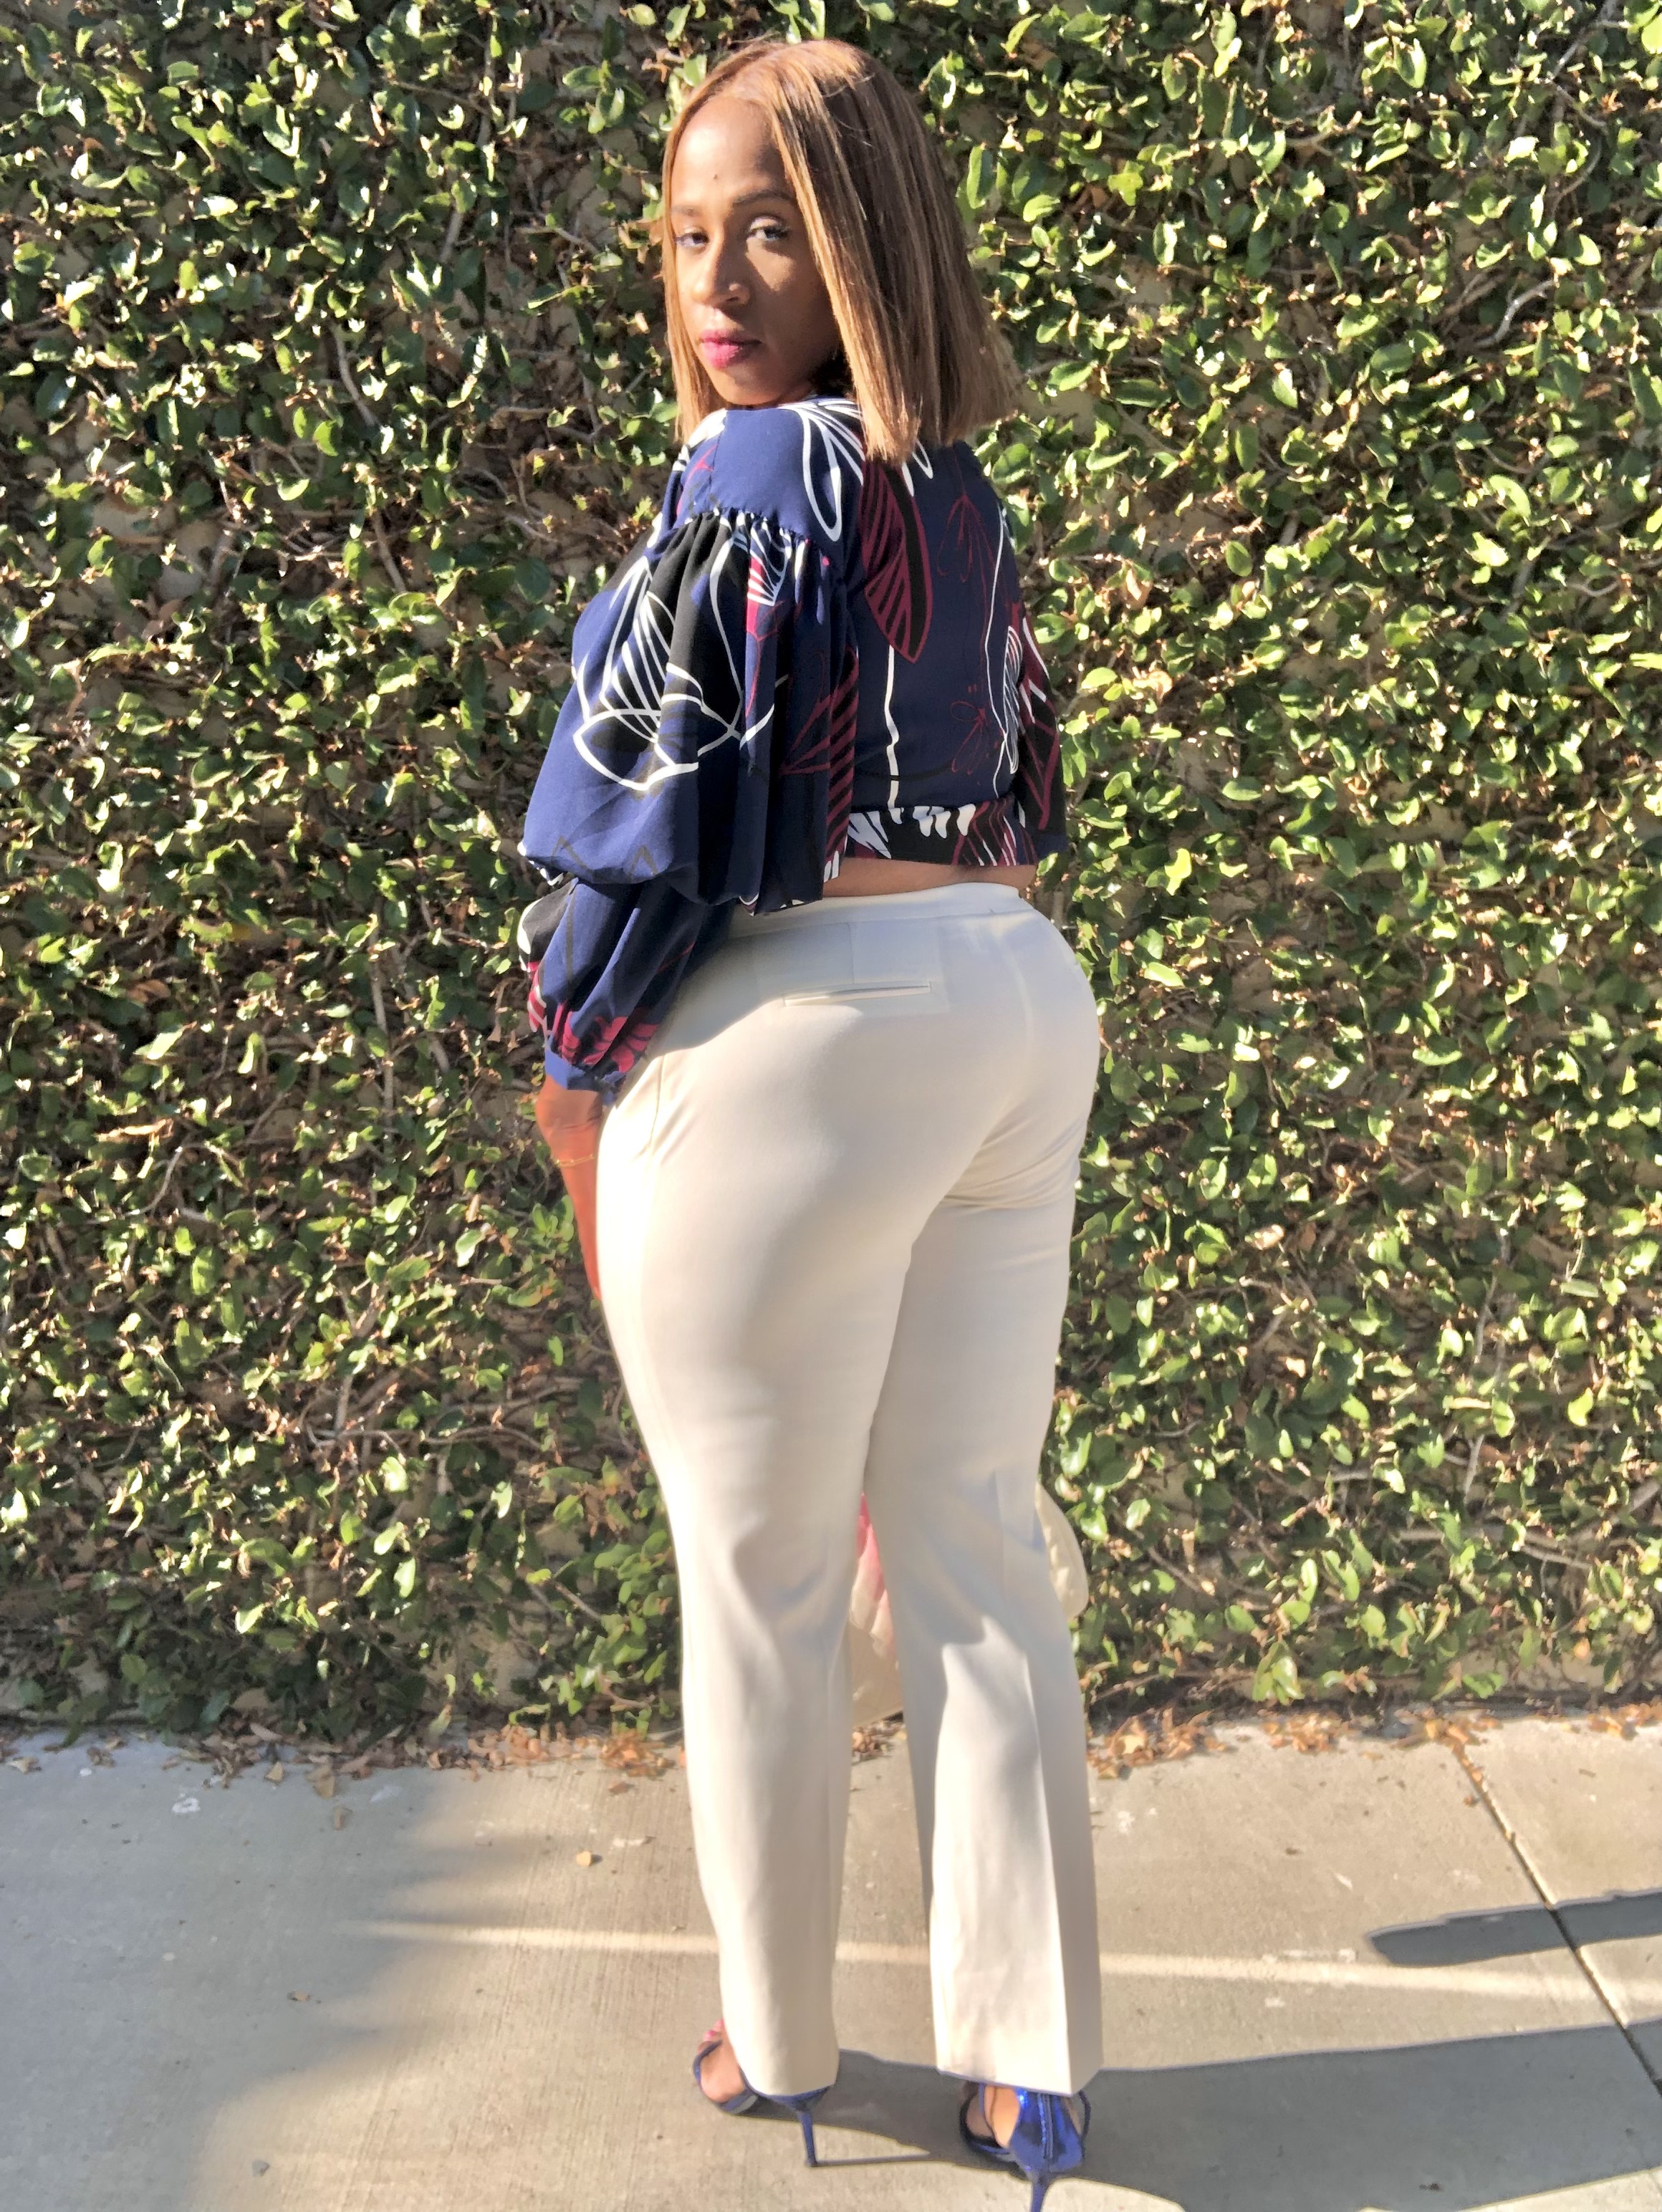
I could not head out into these LA streets for Bastille without a little French flare. French fashion is about confidence, tailoring and clean aesthetics. This red, white and blue ensemble stands for my Parisian style with a dip of LA flare.
“If you go out in the woods today, you’re sure of a big surprise.” As a child, I was exposed to a variety of music. From classical music to gospel music, I had the opportunity to listen and learn from a plethora of genres. I still remember the first time I heard the song Teddy Bear’s Picnic. My favorite version is a classic rendition sung by Anne Murray. The idea of children’s stuffed animals from all over the globe coming together in the forest for a feast fascinated me. Every kid dreams of their toys having their own reality and coming to life. The thought became even more “realistic” to me at the age of 6 after watching a Teddy Bear Picnic cartoon movie.
As an adult, I strive to serve and heal my inner child. Every year that I remain on this earth, I further discover the important connection of music and my happiness. Teddy Bear’s Picnic still holds a special place in my heart, because it allows my imagination to blossom and explore youthful expression. This idea and adolescent admiration is clearly very important to many others, since there is a national holiday to celebrate. Today is unofficially National Teddy Bear Picnic Day.
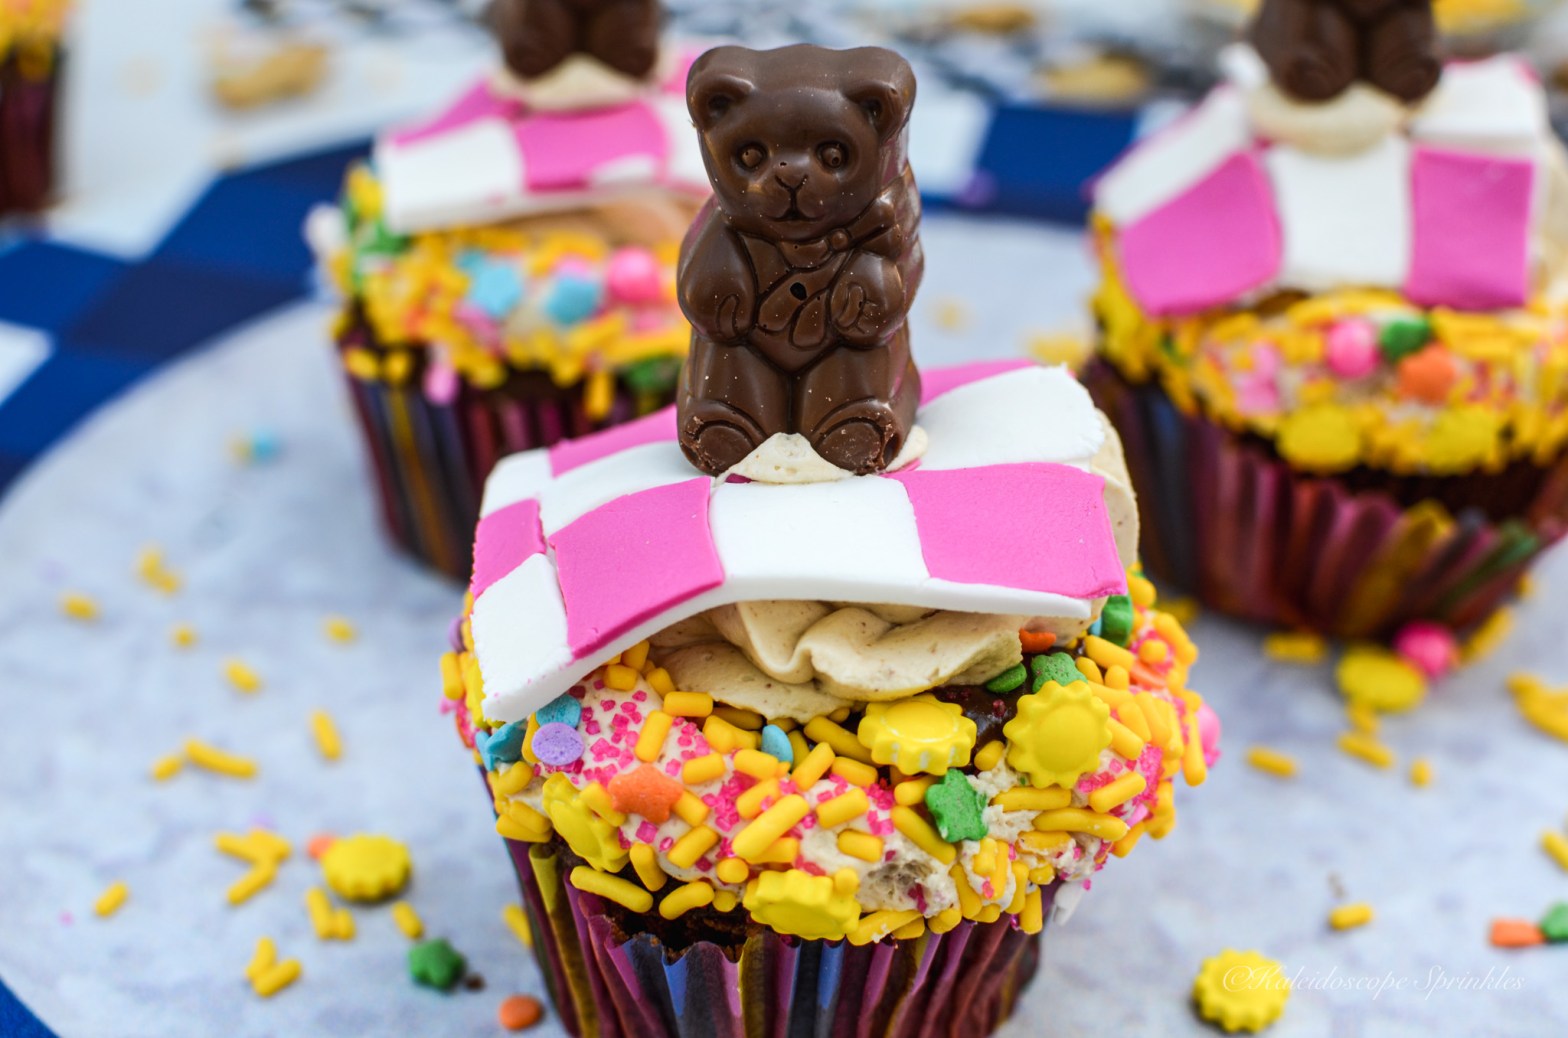
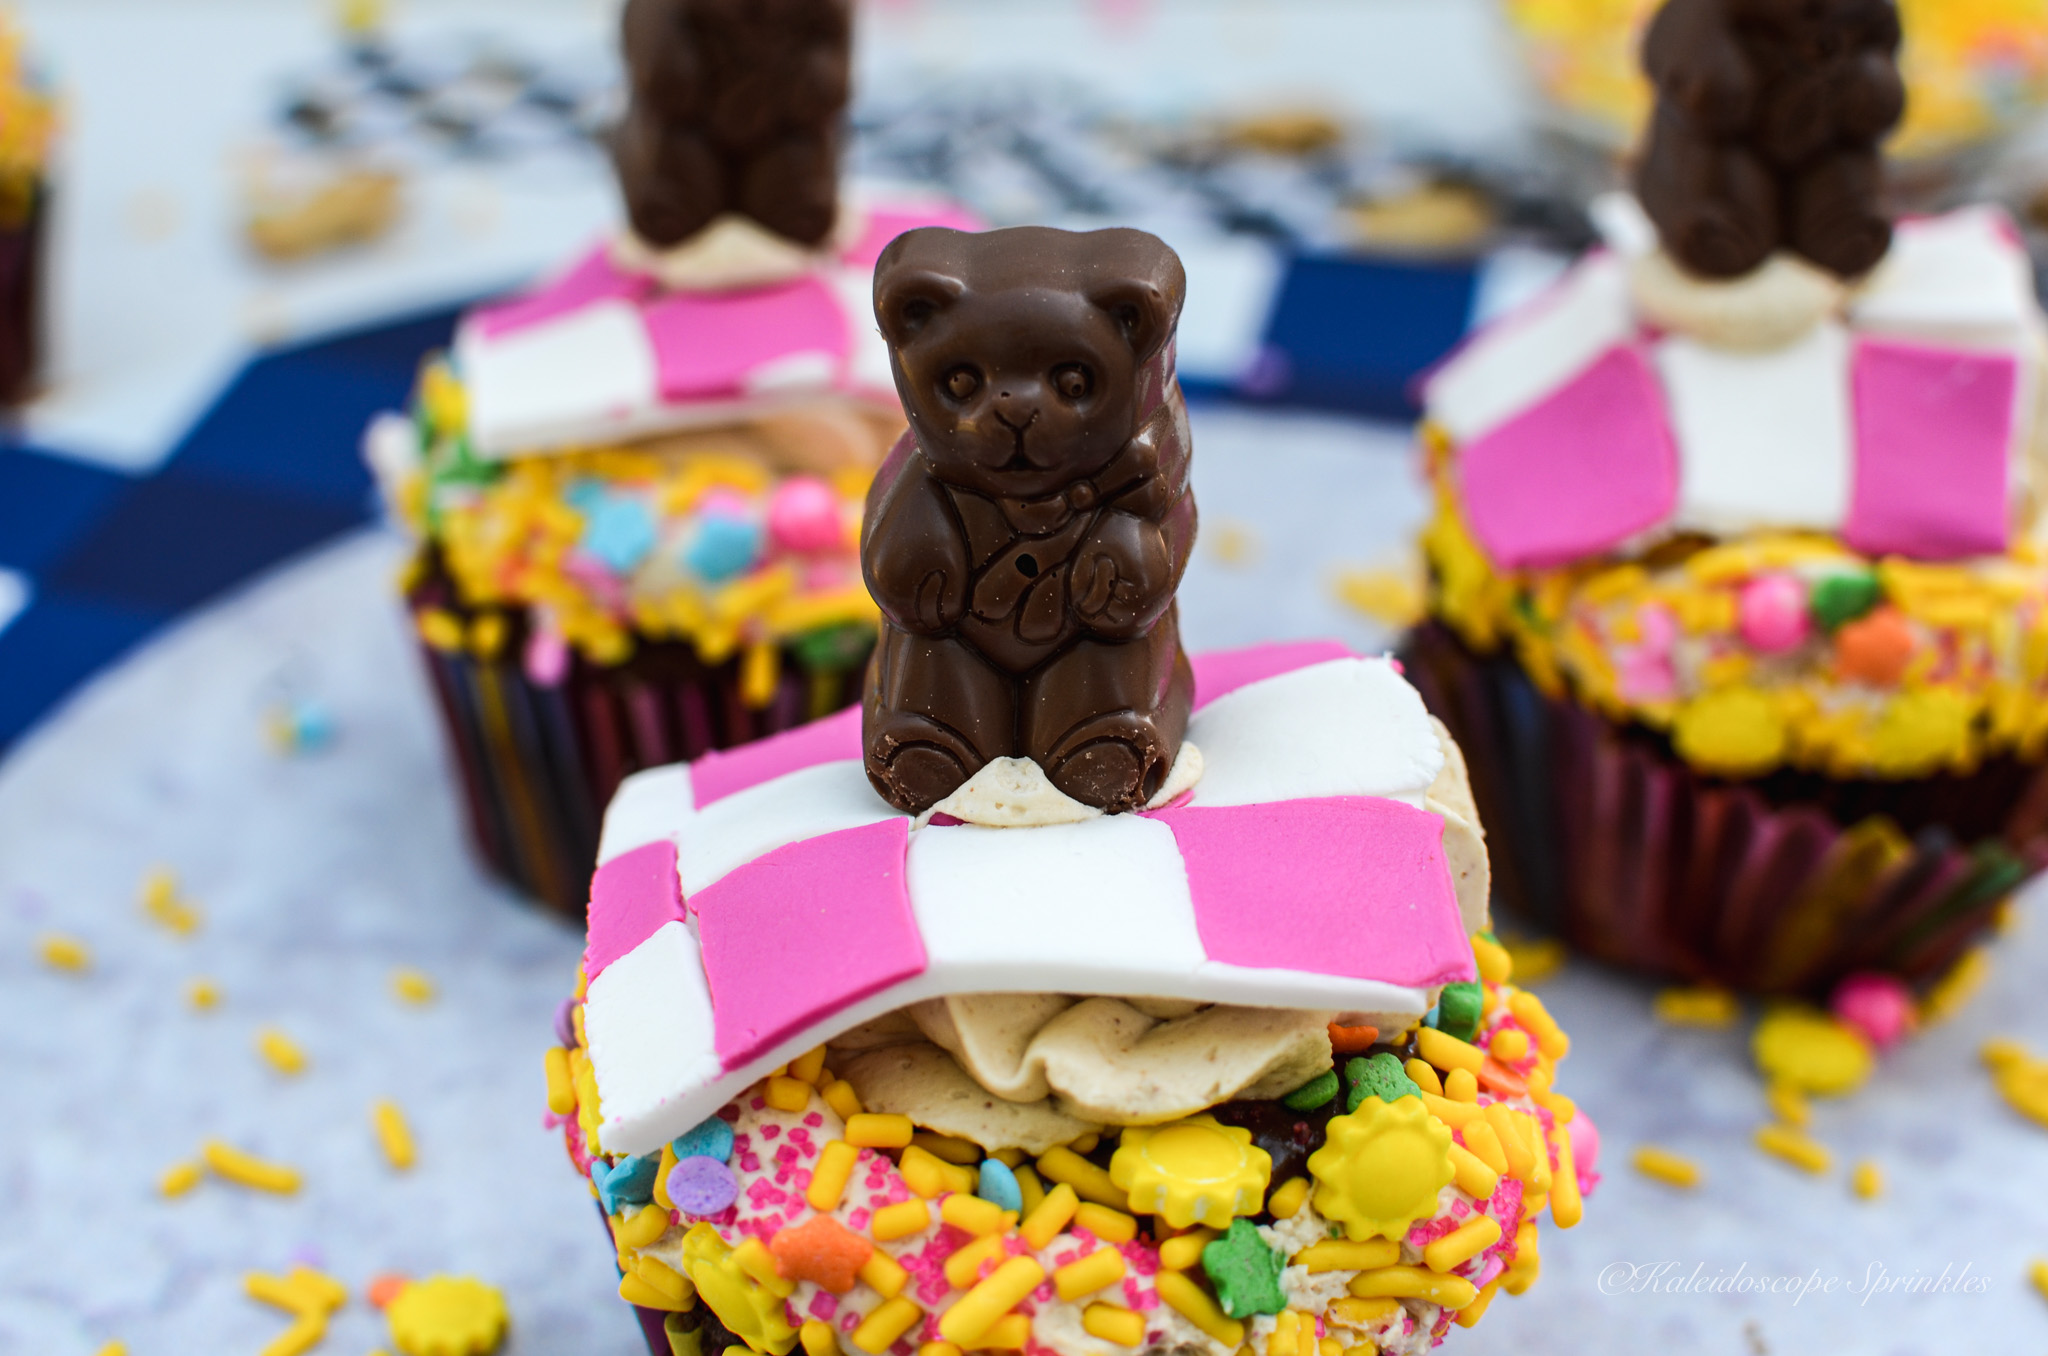
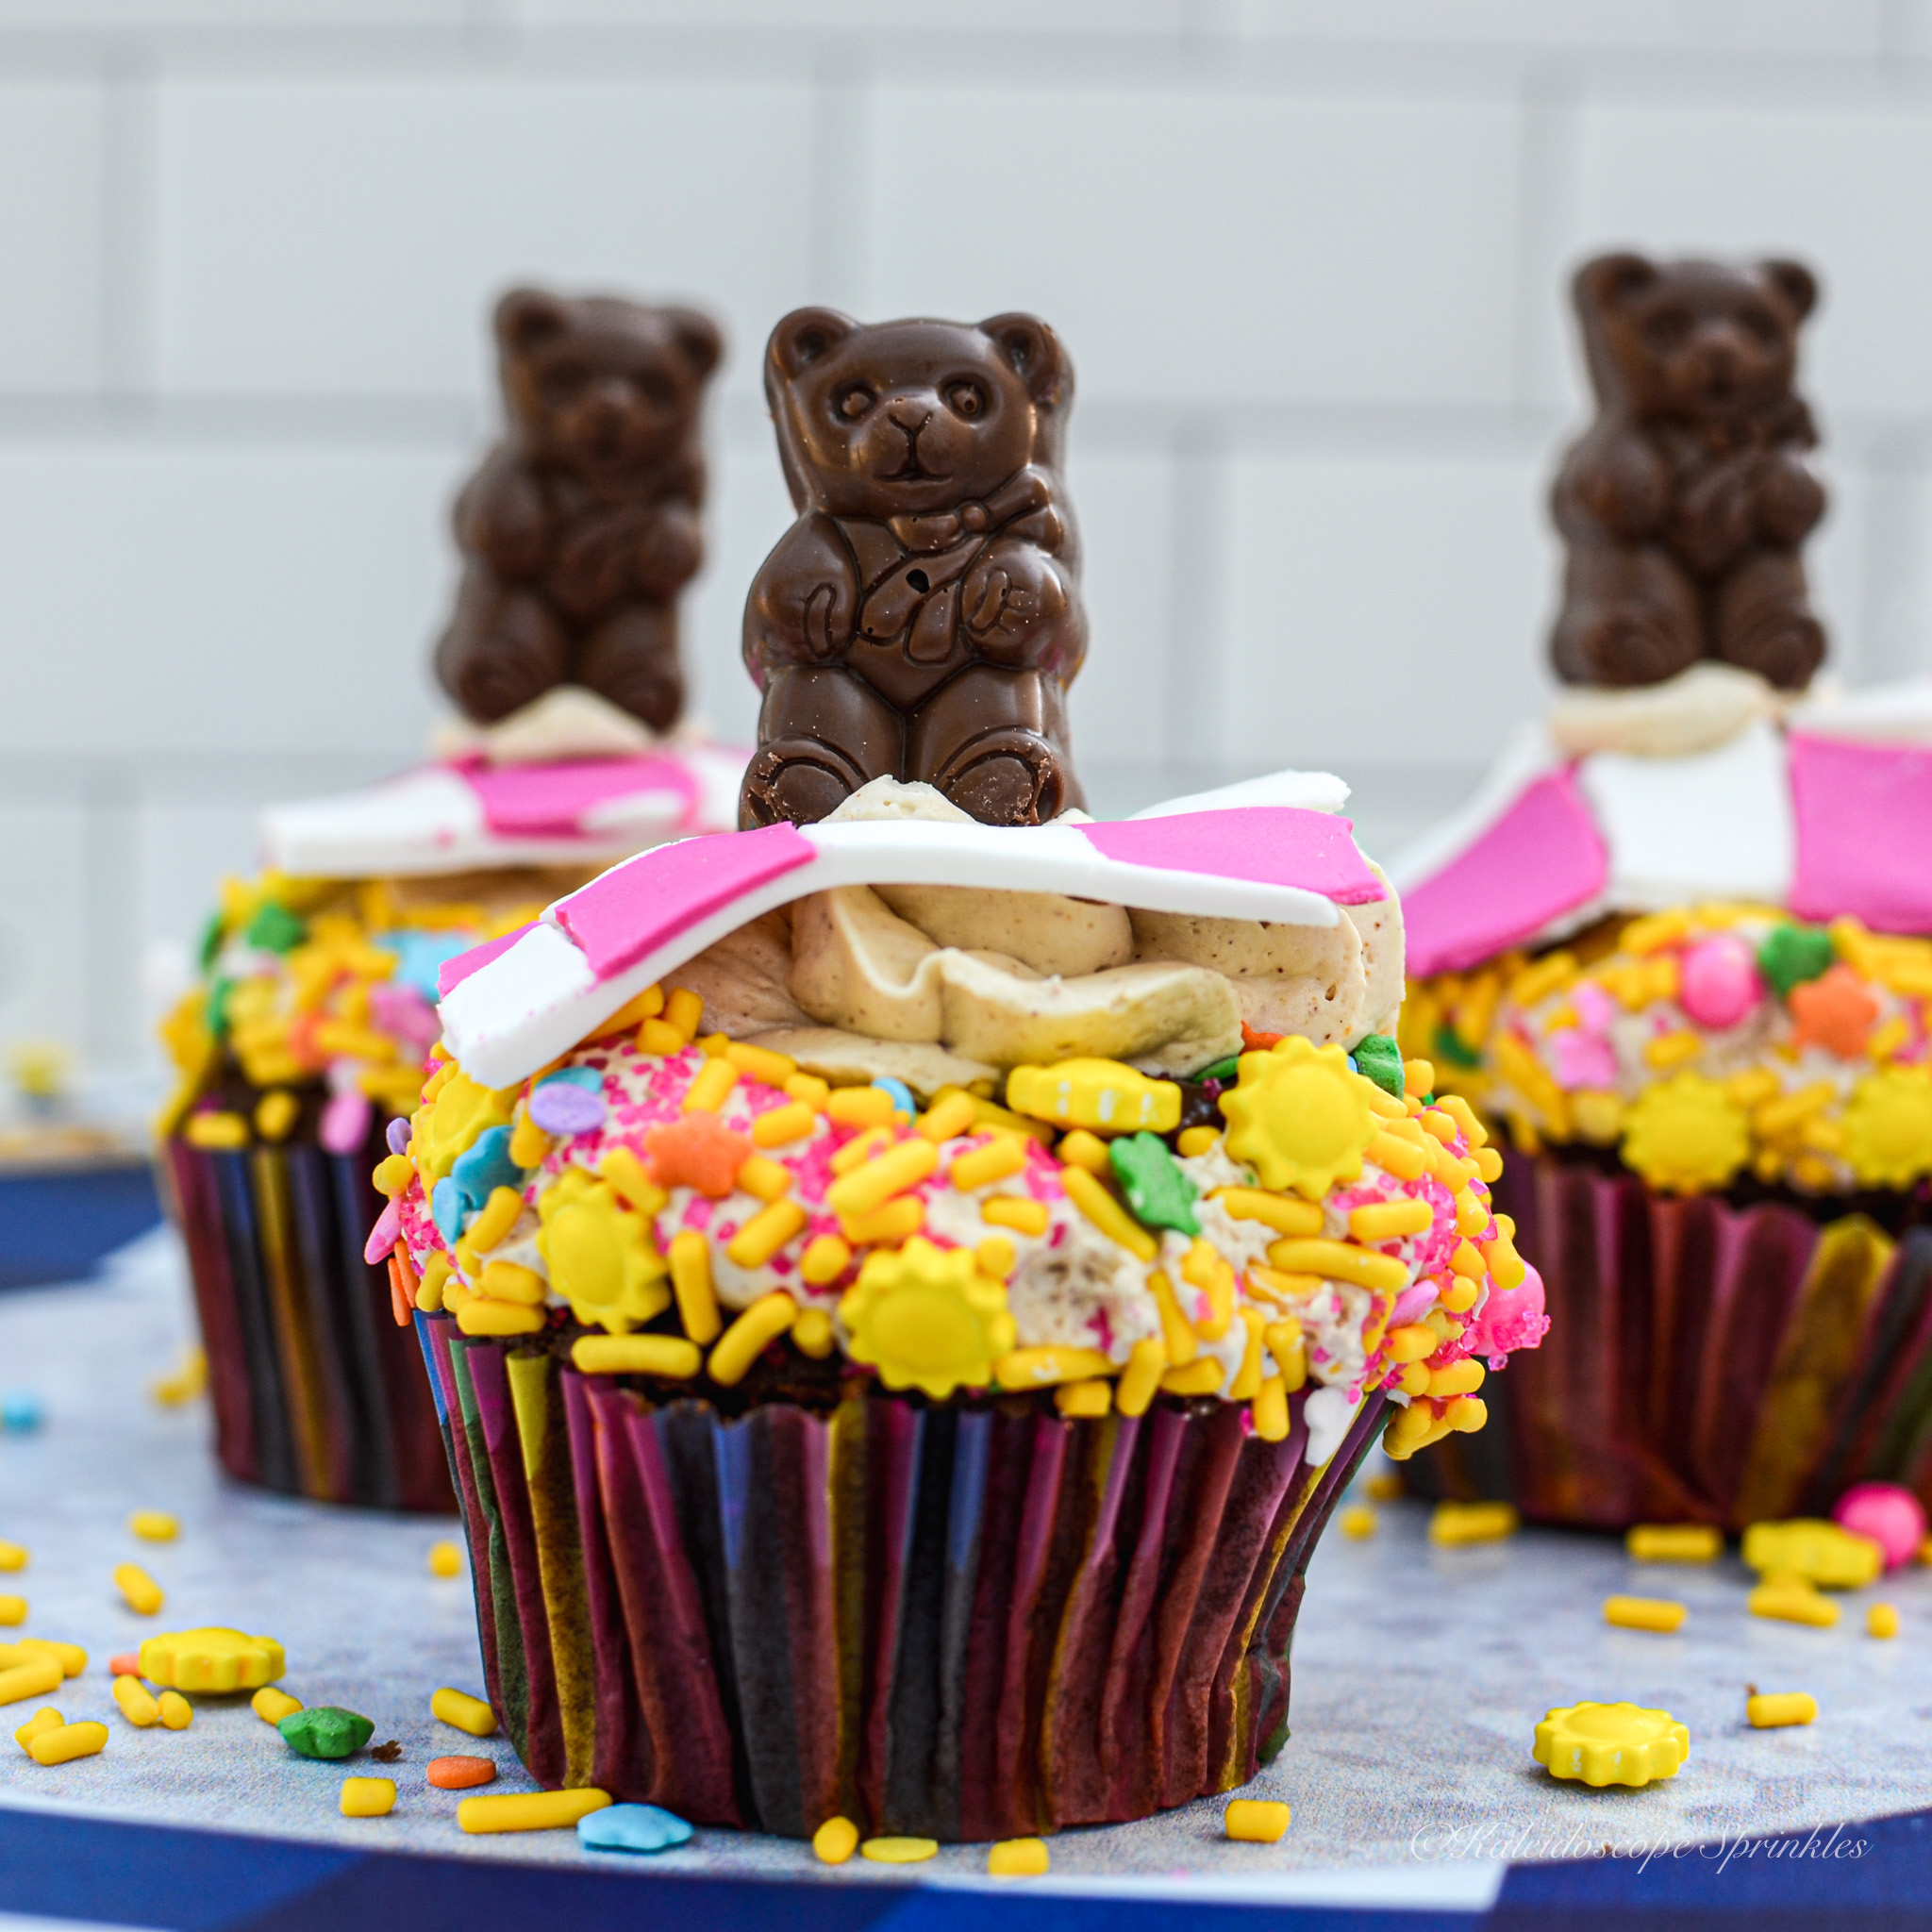
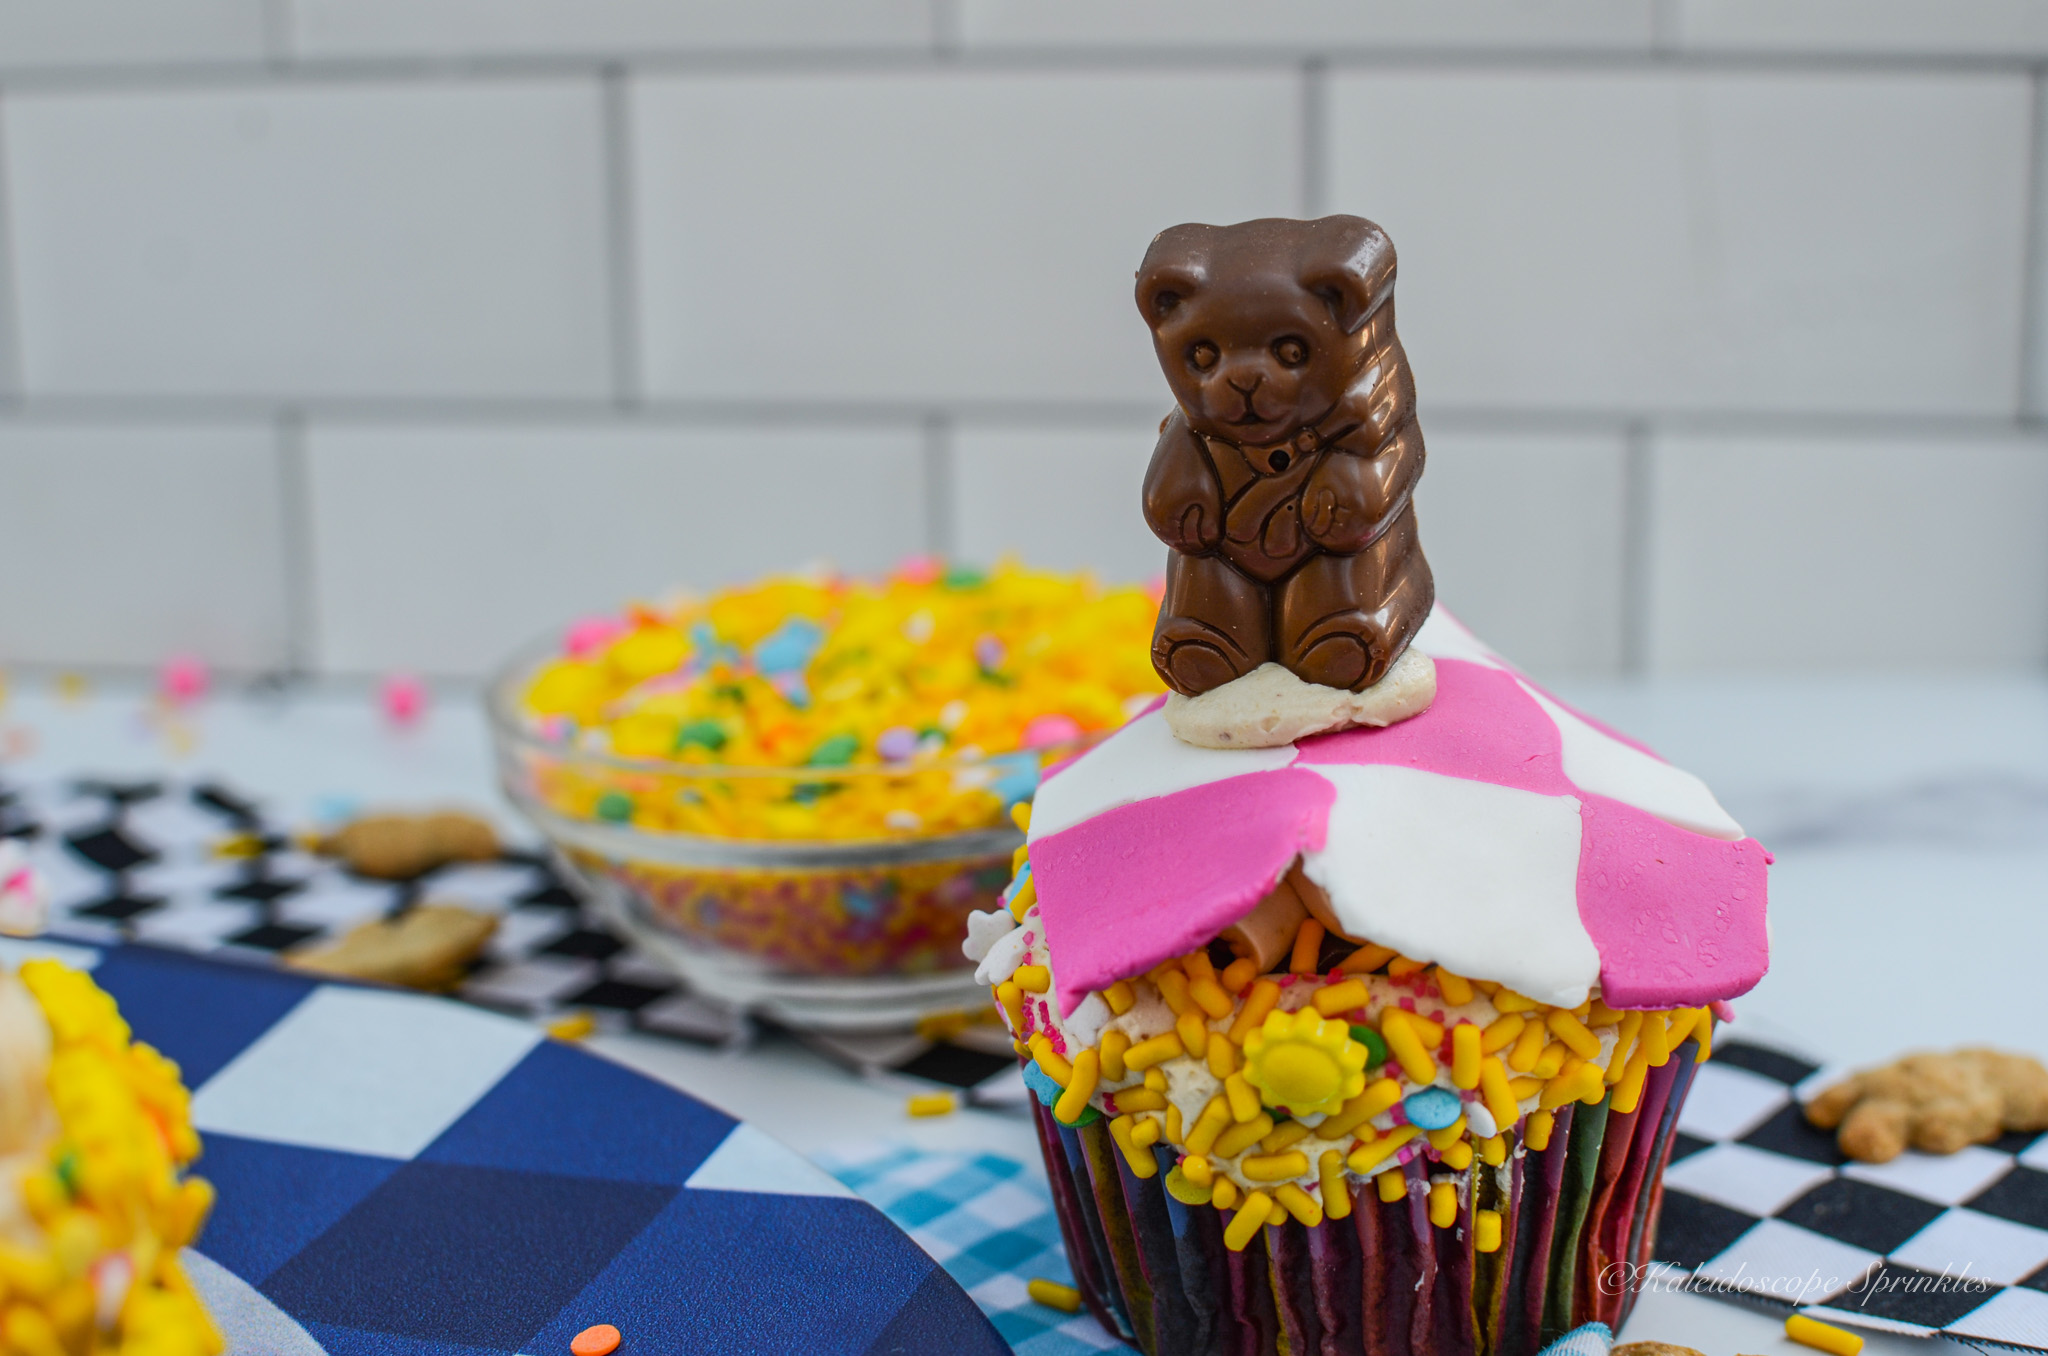
This year I finally remembered to mark this day on my calendar, so I could join in on the fun. There’s no better way to commemorate today’s holiday than with teddy bears and food. I decided to make some delicious Teddy Bear Picnic cupcakes.
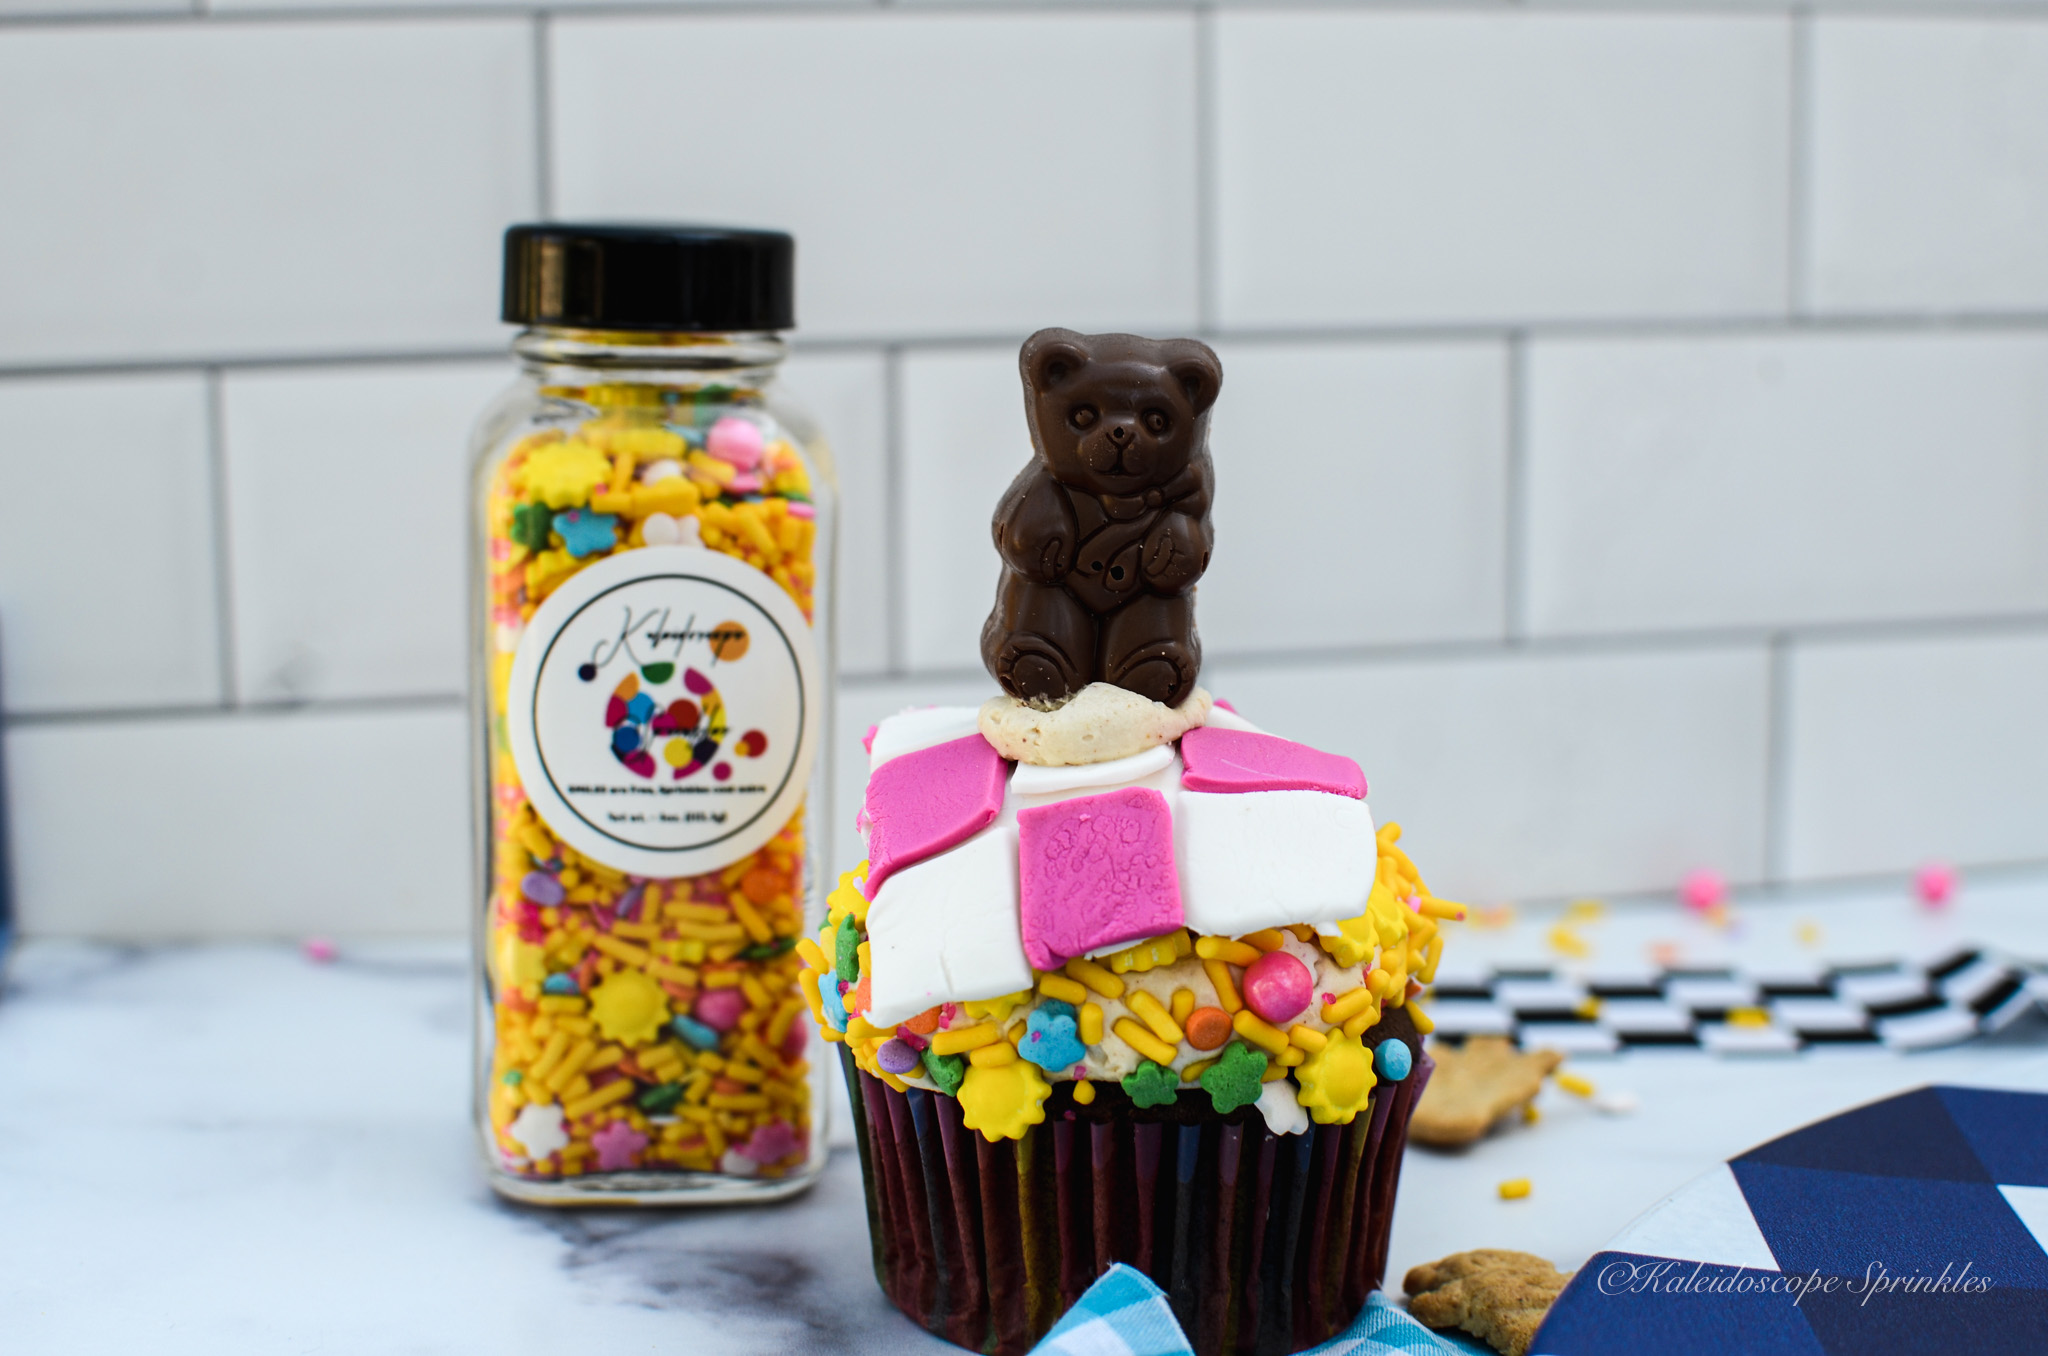
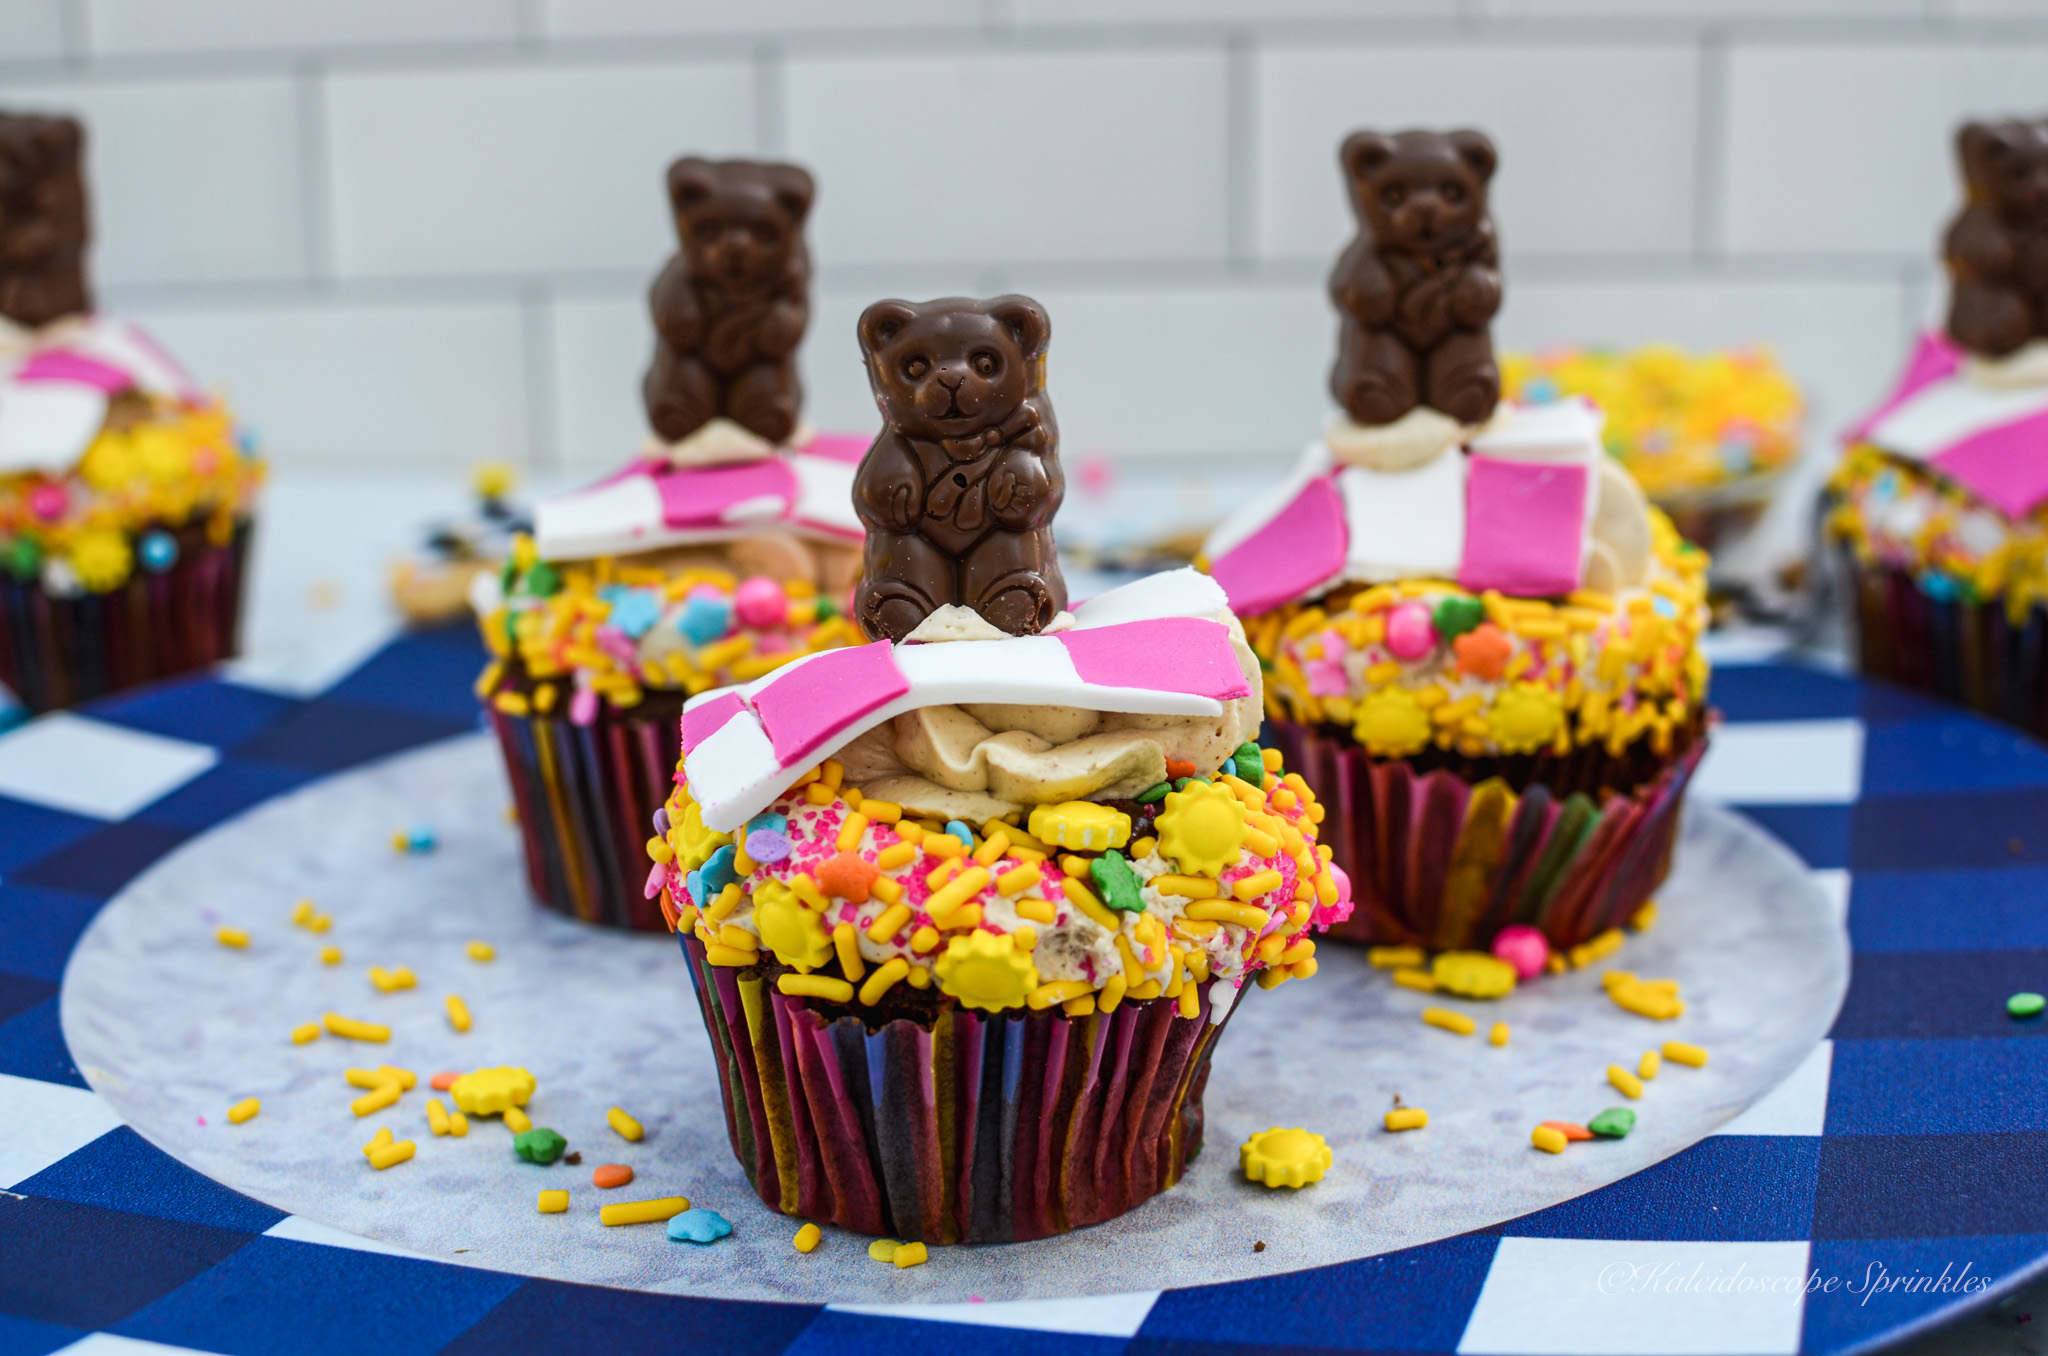
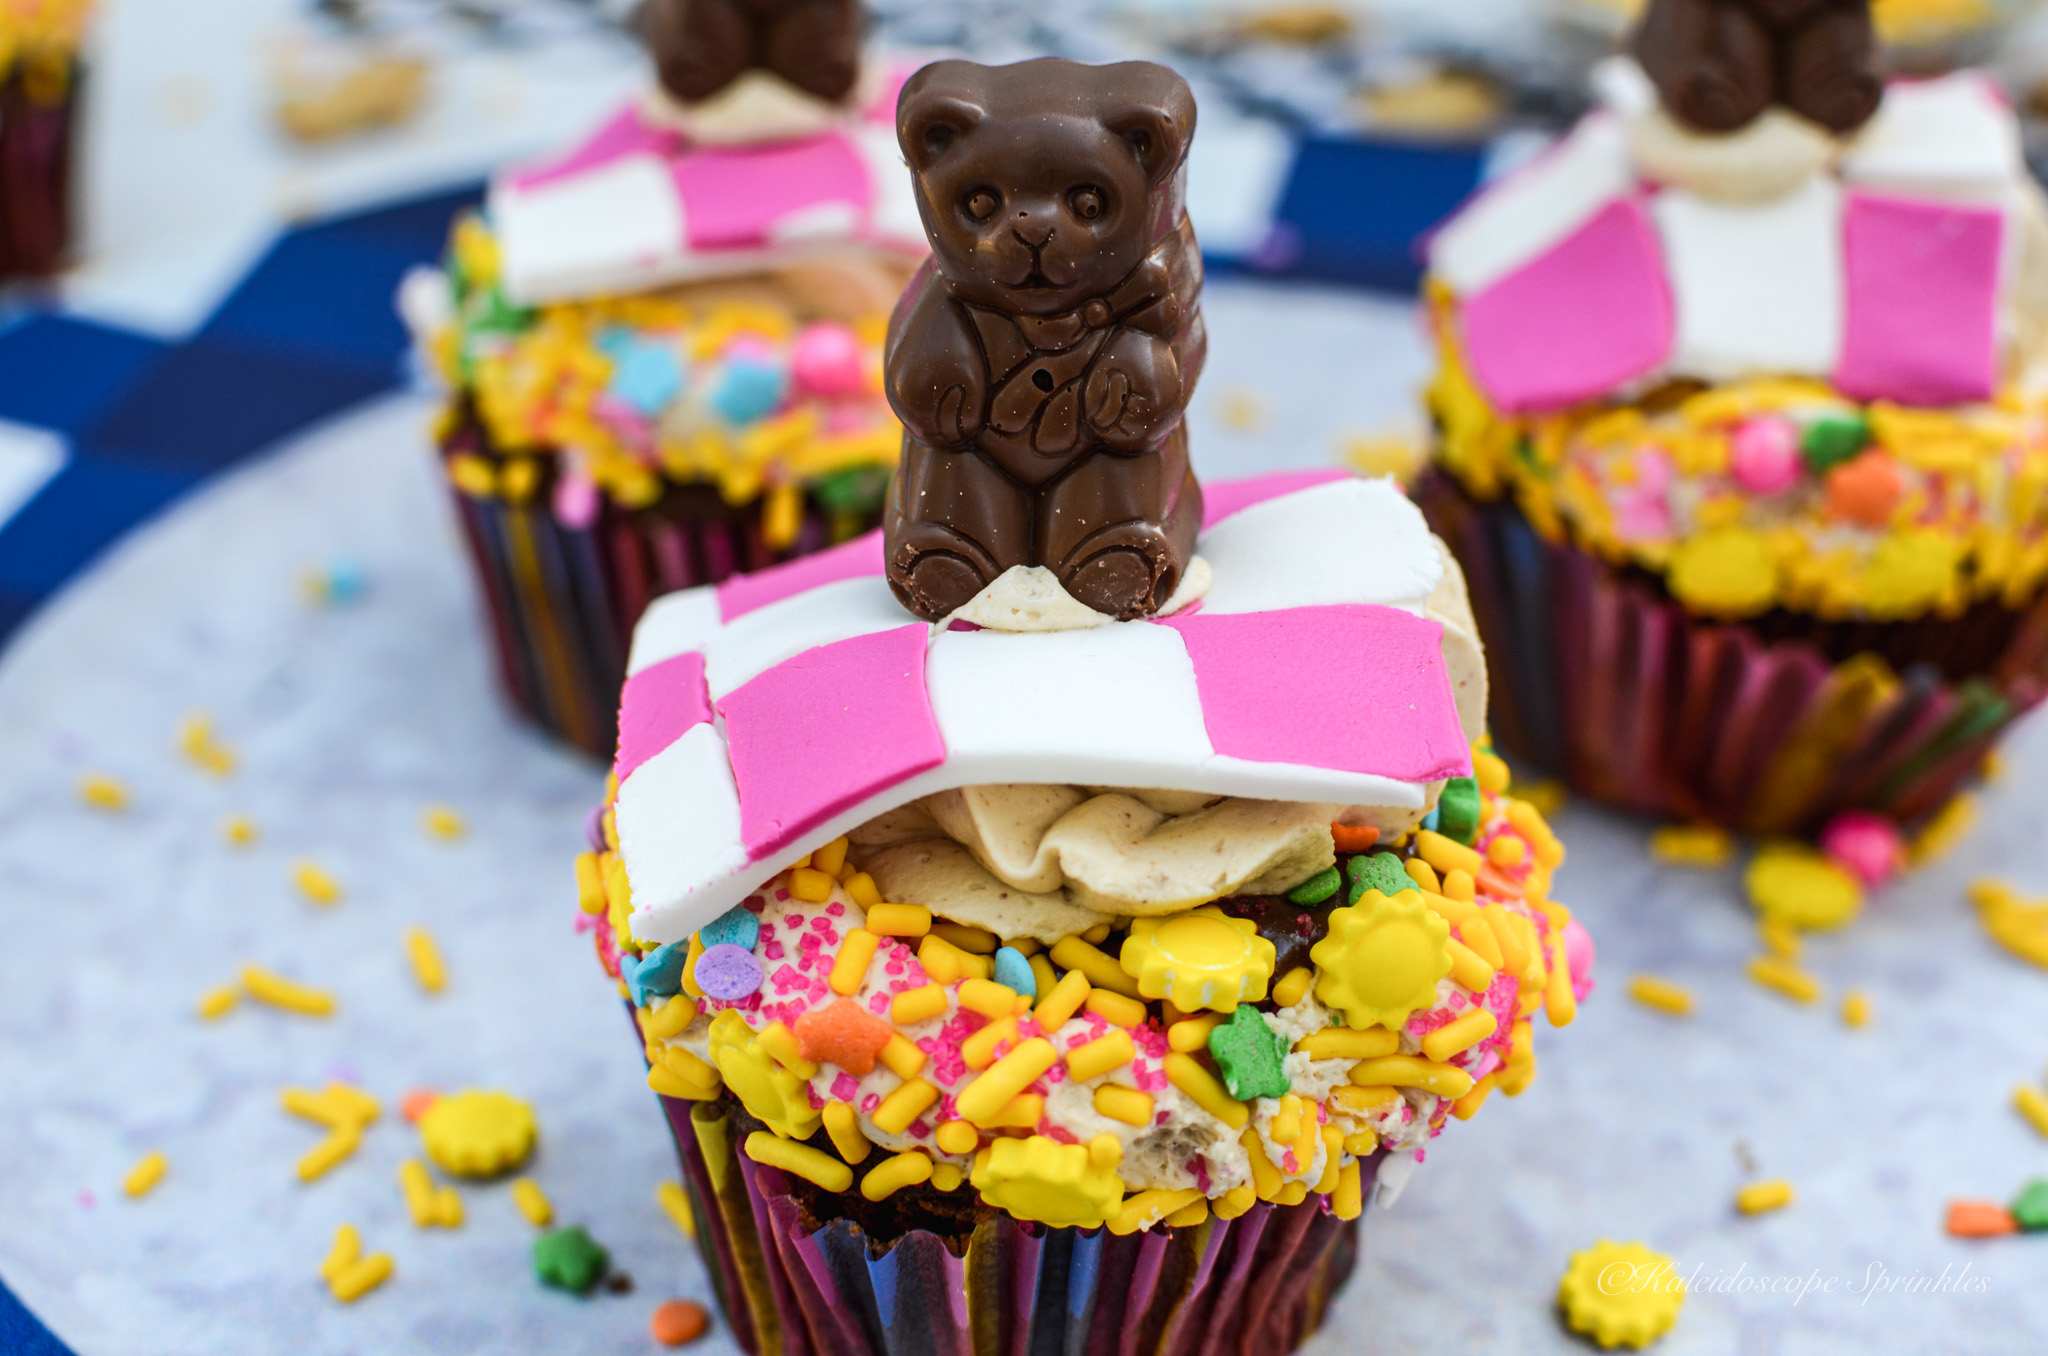
These scrumptious treats are perfect to take to the park or eat at home. These cupcakes are as rich as the love between a child and their teddy bear. They are indulgent chocolatey cupcakes that are filled with a smooth, creamy peanut butter dulce de leche ganache. The cutie cakes are then topped with a peanut buttercream. They are further decorated with Kaleidoscope Sprinkles Eternal Sunshine Sprinkle Mix and chocolate peanut butter teddy bears.
I truly enjoyed making these cupcakes for today. I hope you get a chance to enjoy Teddy Bear Picnic Day with your loved ones. Save this recipe to make and share with your friends and family. That is what today is all about.
Chocolate peanut butter candies, for decoration (optional)
*for those with a peanut allergy, you can easily substitute almond flour for the same measurements. If using almond flour, I would add ½ tsp. of almond extract to your buttercream for more flavor.
Directions
Make the ganache:
For the Ganache, using a double boiler on low/ medium heat, add chocolate chips and dulce de leche. Once chocolate begins to melt slowly stir in heavy cream and peanut butter powder. Continue to stir everything together until shiny and smooth. Remove ganache from heat and place in the refrigerator. Allow ganache to cool.
For the cupcakes:
Place cupcake liners in cupcake pan. In a medium sized bowl, combine together flour, cocoa powder, baking powder and salt. Set aside. Using a stand mixture, cream butter and sugar in a large bowl for approximately 10 minutes. Add eggs one at a time to the creamed mixture. Add vanilla extract.
Add ⅓ of the flour mixture. Mix until combined. Add half of the buttercream. Repeat this process, beginning and ending with flour. Add reheated coffee to the mixture. Mix until completely combined, be careful not to over mix.
Using ice cream scoop place batter into muffin tins. Bake at 350 degrees for 18-20 minutes or until tester comes out clean. Place on baking rack. Let cupcakes cool completely.
For buttercream, in a large bowl, or stand mixer, whisk together butter. Slowly add confectioner’s sugar using mixer on low speed until frosting is smooth. Add heavy cream. Add peanut butter powder. Add vanilla extract. Add salt. Whisk frosting on medium-high speed until everything is combined and frosting is light and fluffy.
Once cupcakes have completely cooled, using rounded part of pipping tip cut center out of cupcakes. Spoon or pipe ganache into the center of each cupcake. Pipe buttercream frosting on top of each cupcake.
The month of June has finally and fabulously come to an end. This year, I started the month of June in a new country. I had an amazing time celebrating my fortieth birthday in Belize. Belize was relaxing, adventurous and full of incredible food. I then returned home and recreated my classic Black Power Brookies for Juneteenth to keep the party going.
Before I left for my birthday trip I was still celebrating on the mainland. I, of course, made my own 40th birthday cake for my photo shoot. (See my previous post.) Although I wanted to partake in a slice of my own cake. I decided to place my cake in my freezer for later, since I had some swimsuits to fit into. Not only did I decide to put my cake in the freezer, but I also had the idea to freeze the leftover cake pieces as well. I never agreed with the idea of wasted cake.
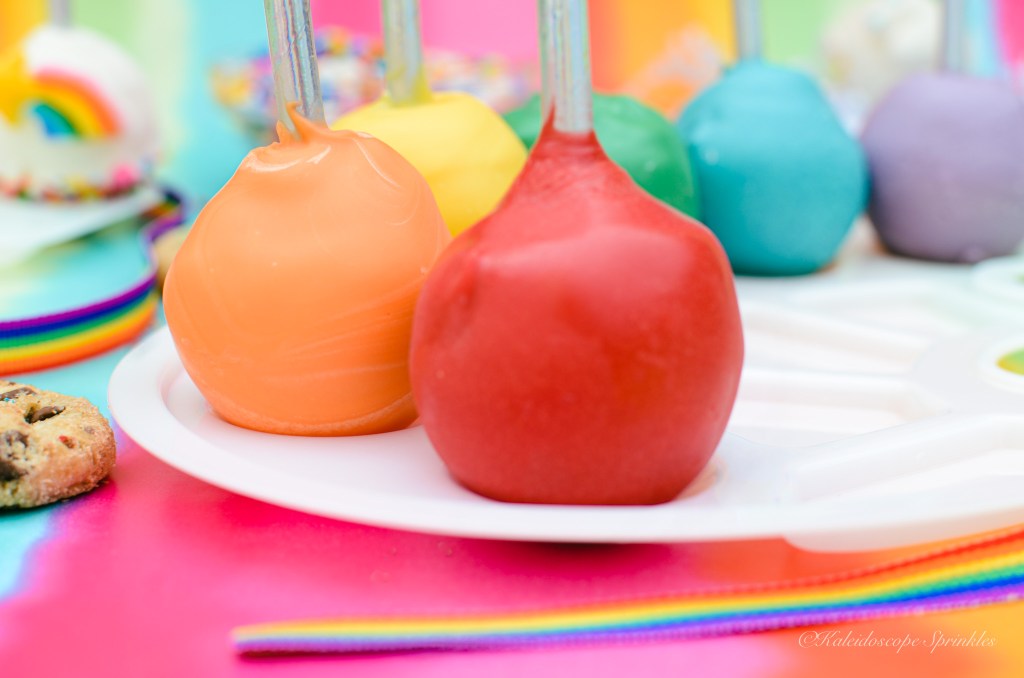
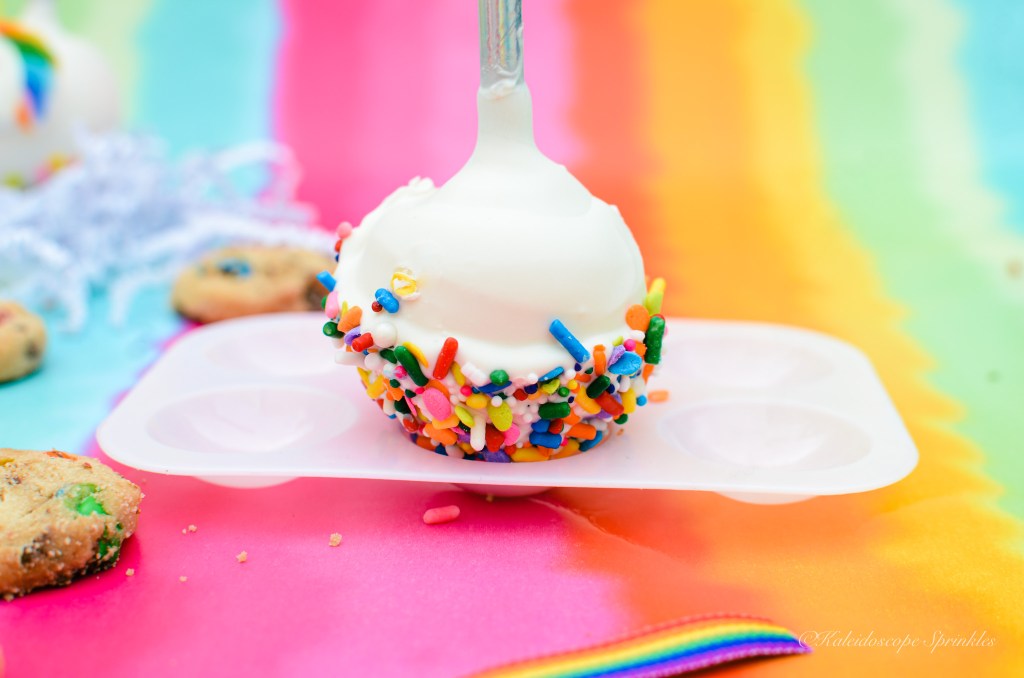
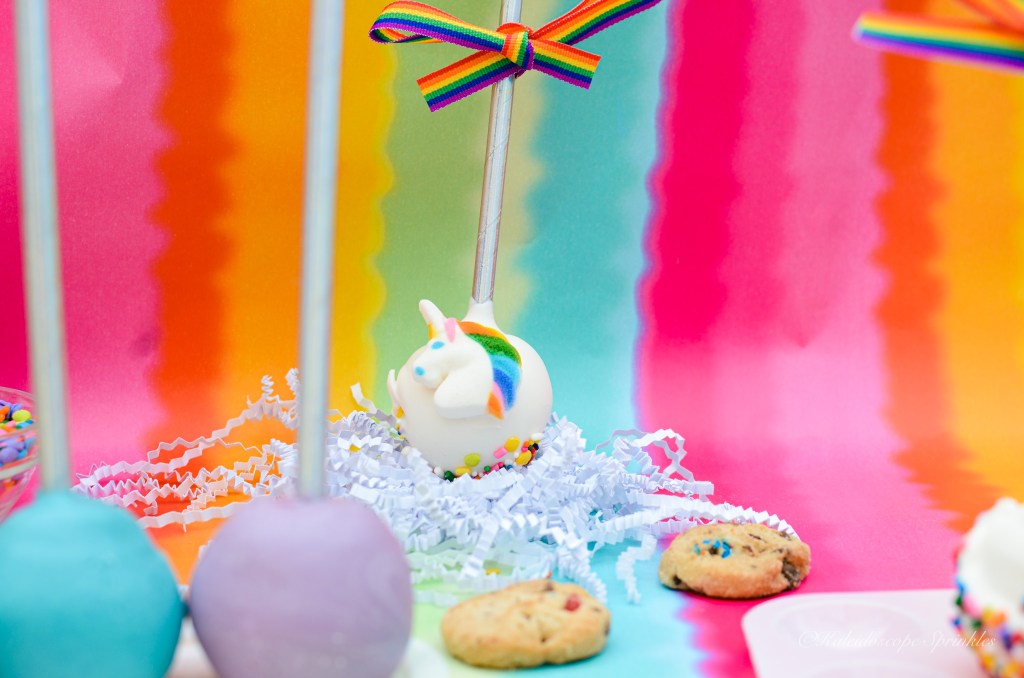
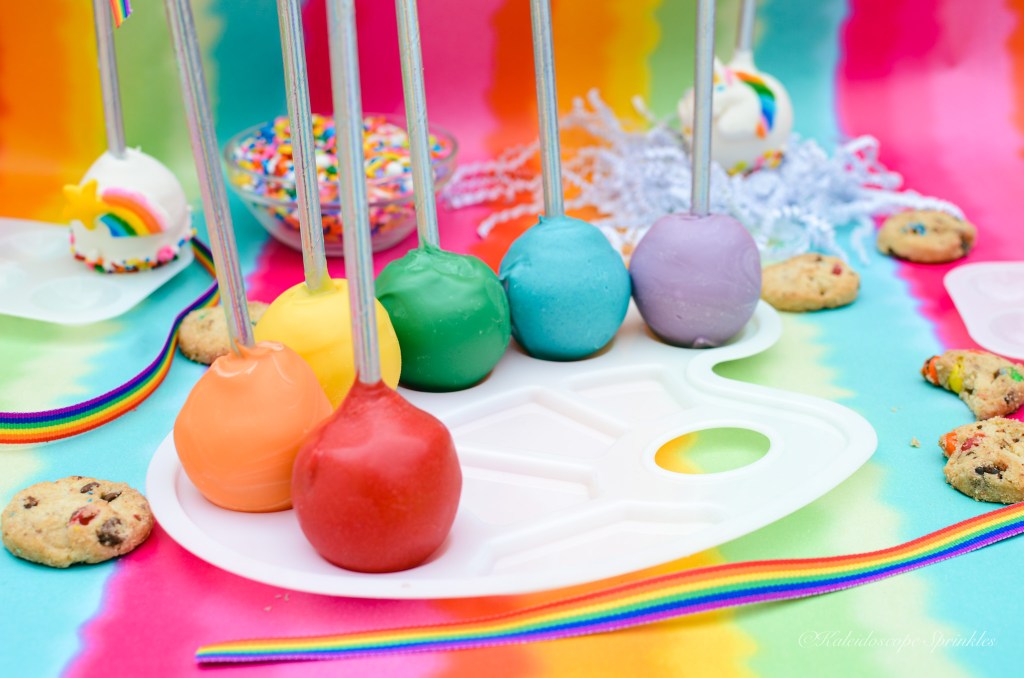
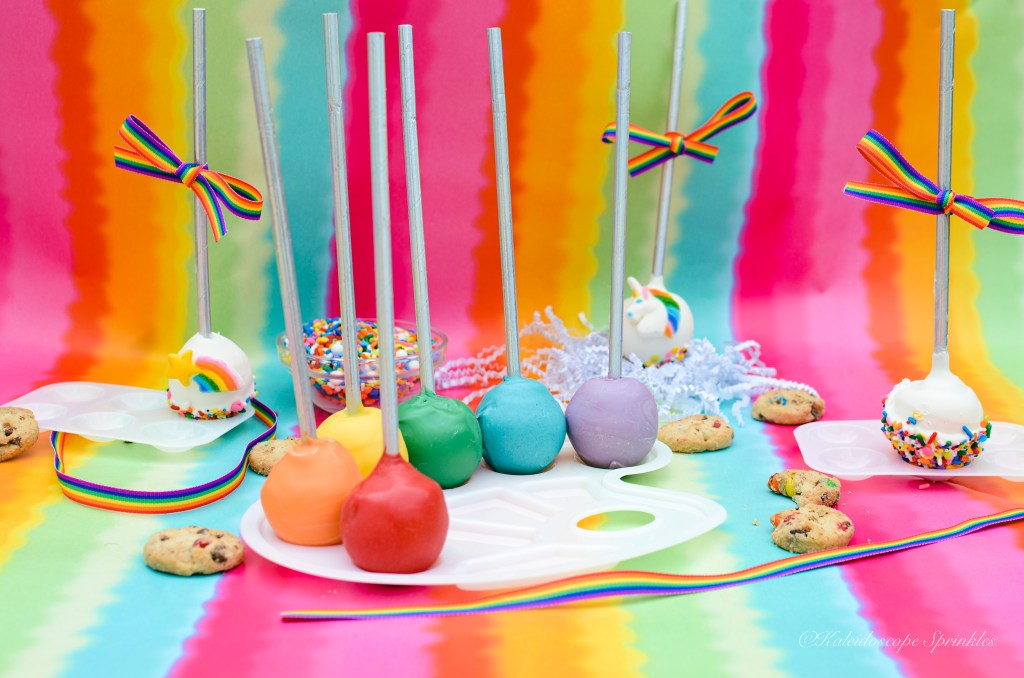
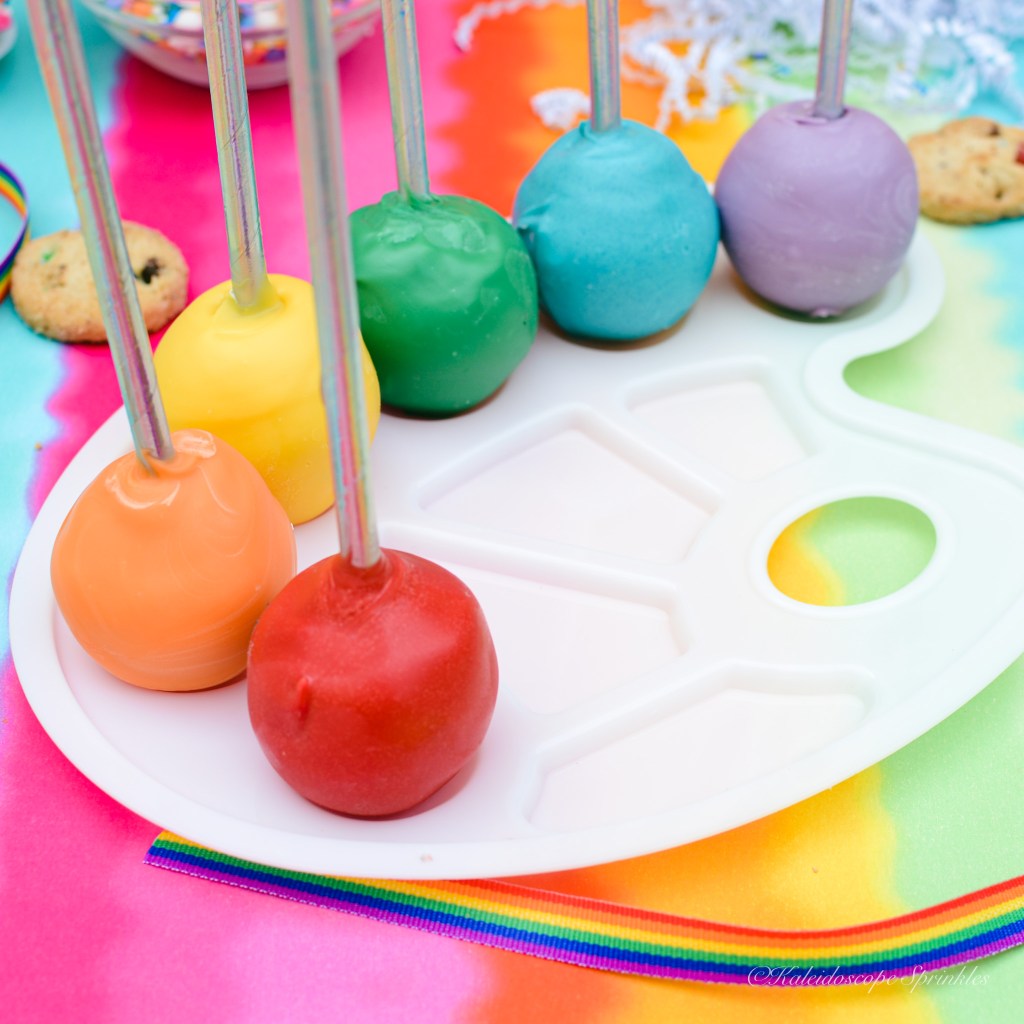
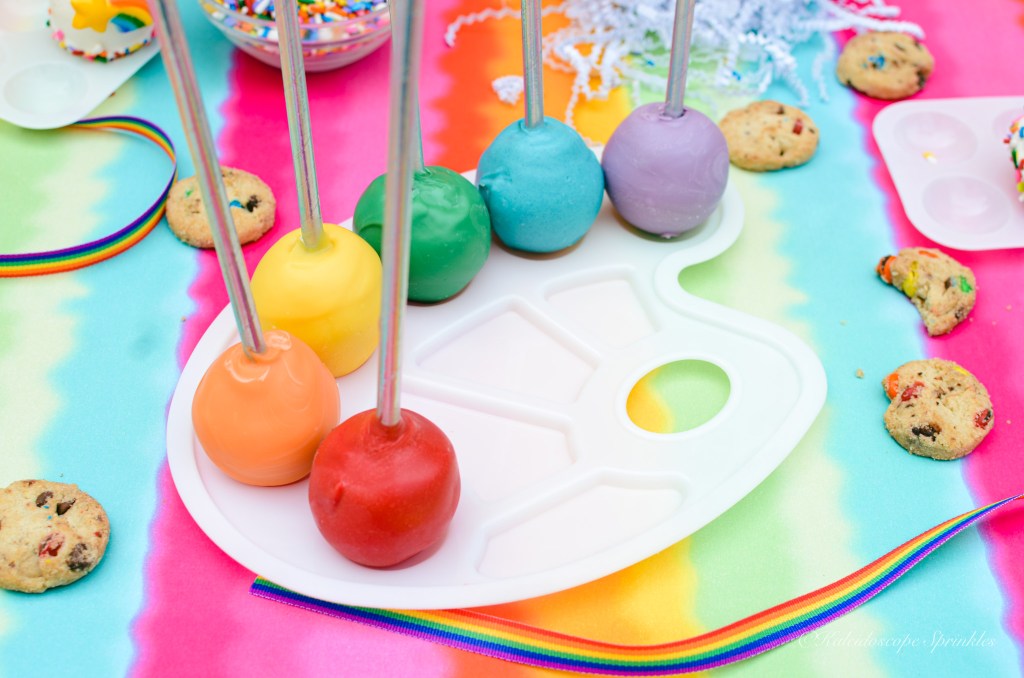
When I returned from my Belizean escapade, I unpacked my suitcase and some cake from my freezer. I came up with an idea on how to use the leftover cake while on vacation, so I was ready to get back to work when I returned. In celebration of Pride and Black Music Month I settled on the idea of colorful cake pops in artistic representation.
These Over the Rainbow Cake Pops were made with love and full of color. I added even more color by using Kaleidoscope Sprinkles The Wizz Sprinkle Mix to decorate as well. We all deserve to celebrate love, respect and the colorful songs we each share in our hearts.
See my Over the Rainbow Cake Pops video and photos below.
The month of June is a special time within the Black community. It is a time where we get to celebrate the amazing musical accomplishments that have contributed to every genre and aspect of music. This year, this last month in spring has served a greater purpose for the Black Community. As we continue to march and protest for equality, I thought it would be wonderful to showcase coming together in unity with a dessert.
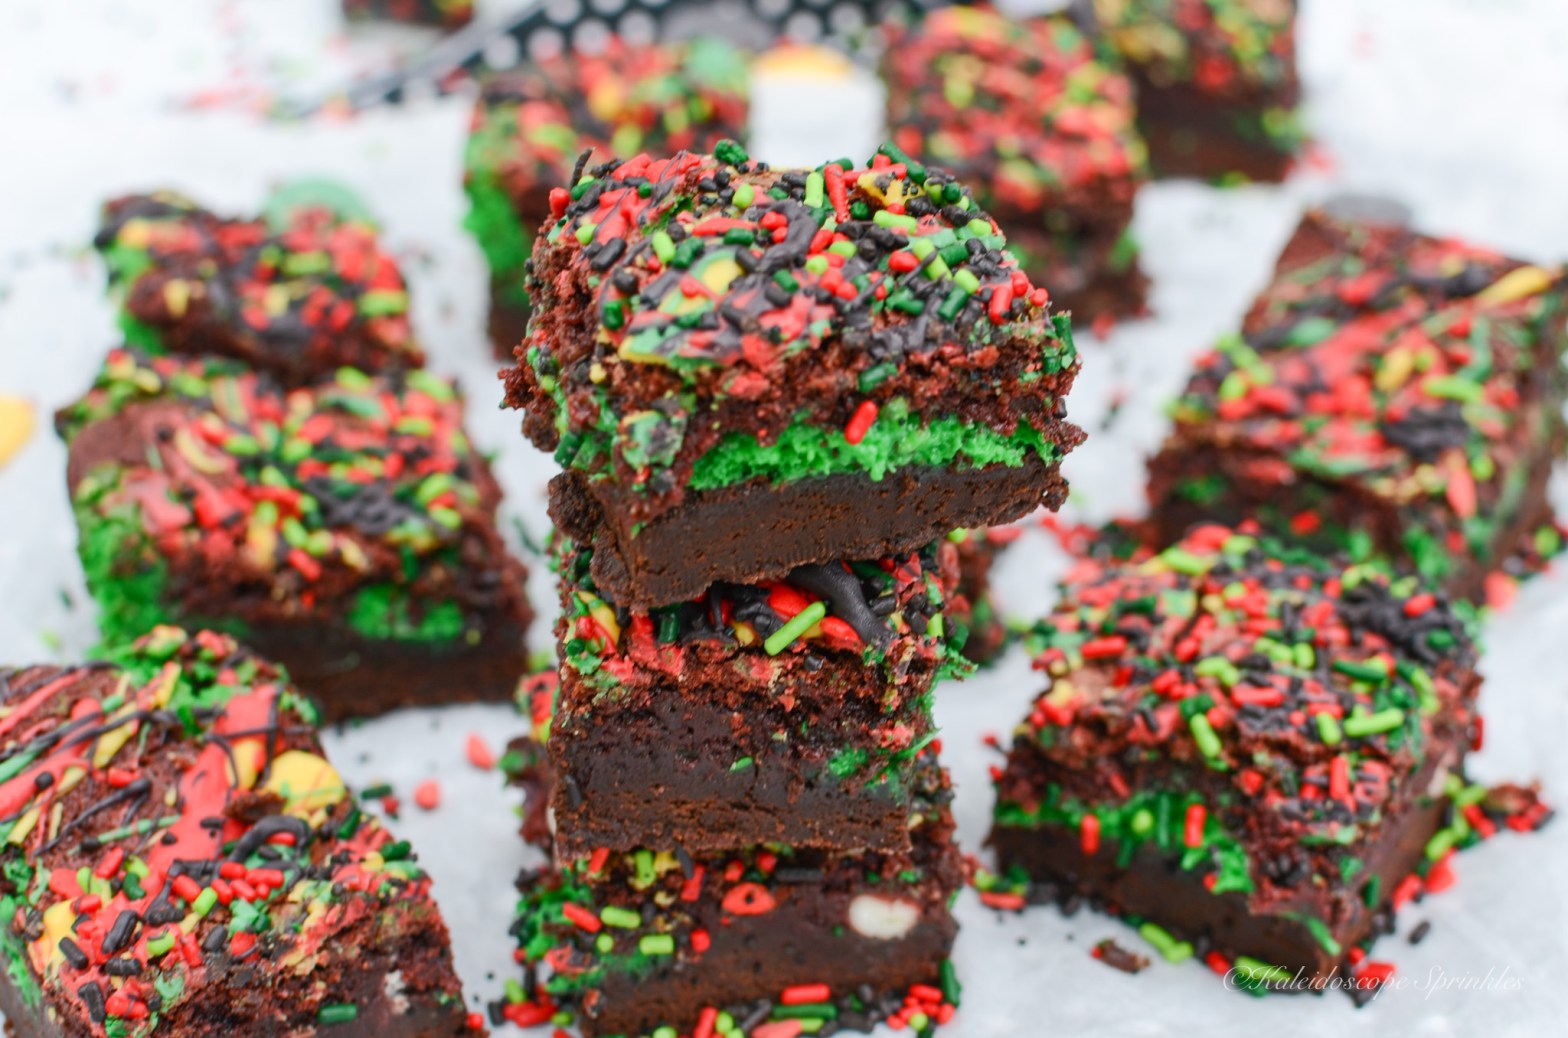
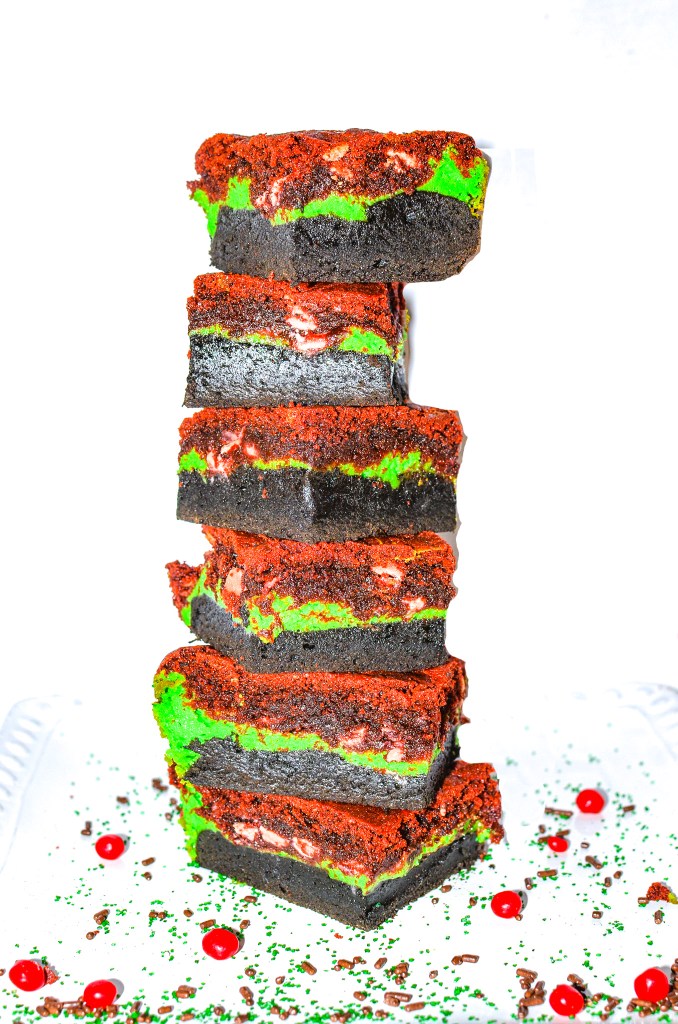
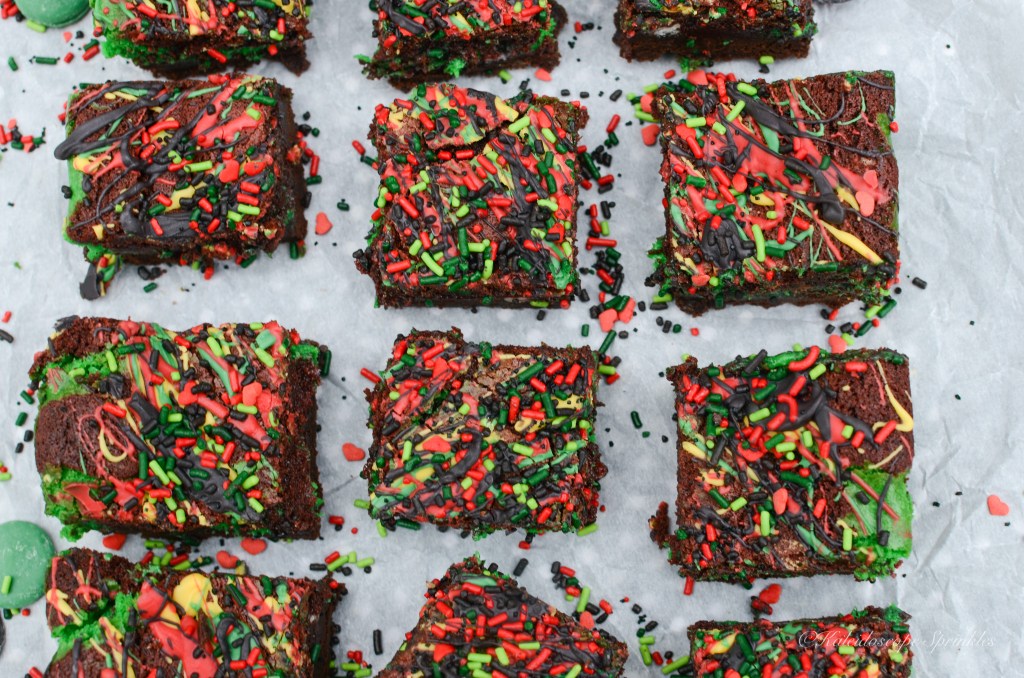
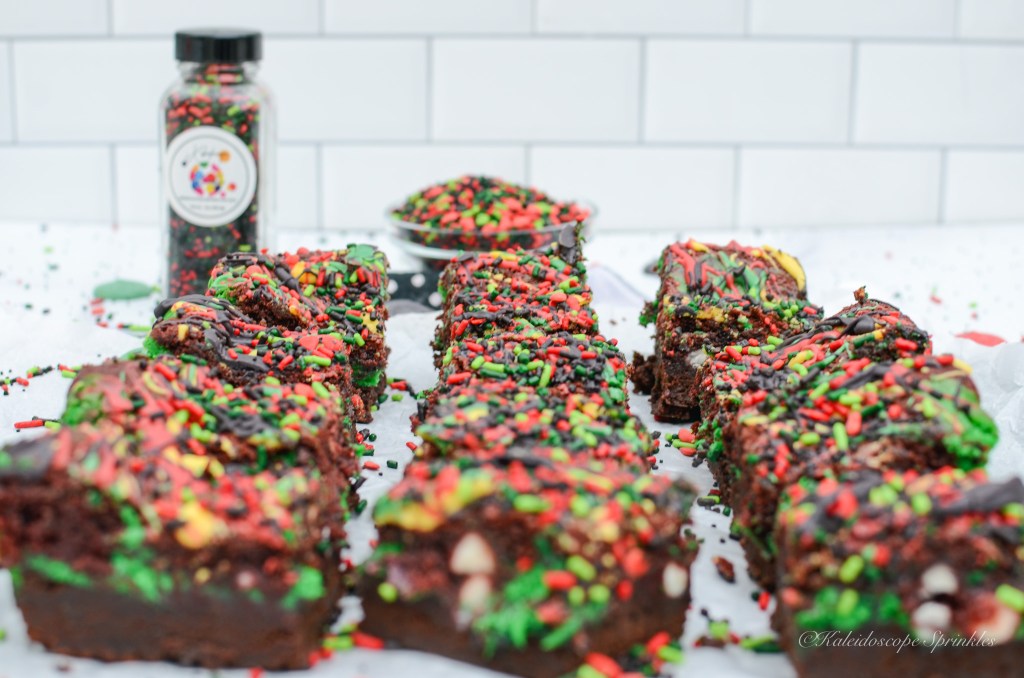
This dessert combines the flavors of our history with red velvet, cream cheese and chocolate while also displaying the proud colors of the Pan-African flag. This brookie is a rich as our heritage! I hope you take the opportunity to try this delicious confection and while savoring every bite, think about all the great things Blacks have done and continue to do for this country.
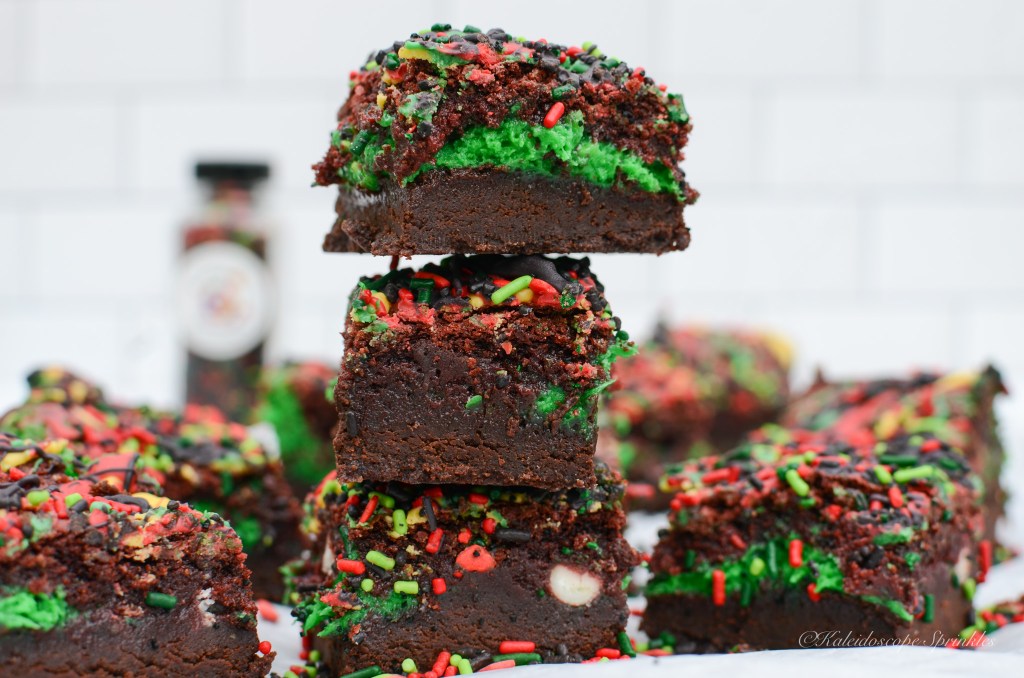
*This recipe was updated this year with even more pizzazz. My Black Power Brookies were the inspiration to my small business sprinkles empire I started in 2020, Kaleidoscope Sprinkles. I thought it was time to upgrade those old photos with an updated Sprinkle Mix. I made this original brookie recipe, but then decided to decorate them with Kaleidoscope Sprinkle’s Black Power Sprinkle Mix. This was best way to cherish and celebrate Juneteenth this year.
Please see the complete recipe video and upgraded photos below.
Enjoy!
Black Power Brookies step by step video
Black Power Brookies
Cream cheese filling
Filling
8 oz cream cheese, room temp.
1 cup confectioners sugar
1 egg
2 tbsp. greek yogurt
1 tsp. vanilla extract
Green food coloring gel, for color (optional)
Brownies
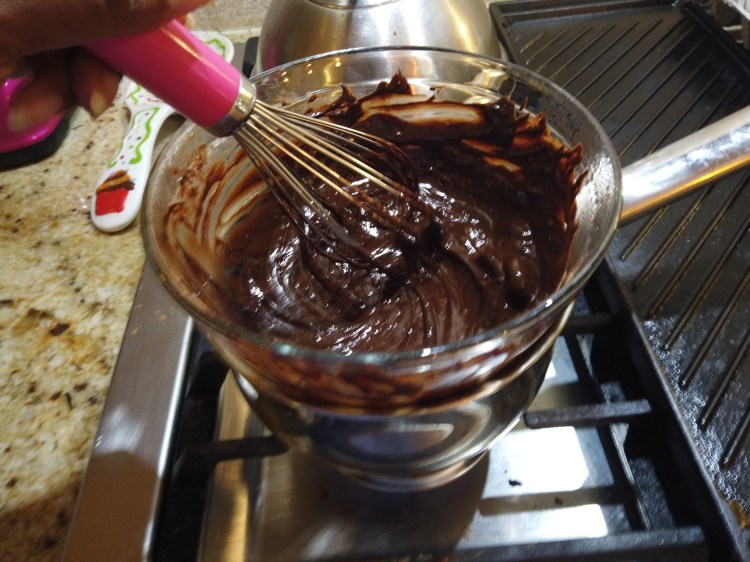
Melting chocolate over double-boiler
6 tbsp, unsalted butter
4 ounces of semisweet chocolate, roughly chopped
1/2 cup unsweetened cocoa powder
3/4 cup all-purpose flour
1/4 tsp. kosher salt
1 cup of sugar
2 large eggs
2 tsp. vanilla extract.
Black food coloring gel or 1tbsp. of activated charcoal, for color (optional)
Red Velvet Cookies
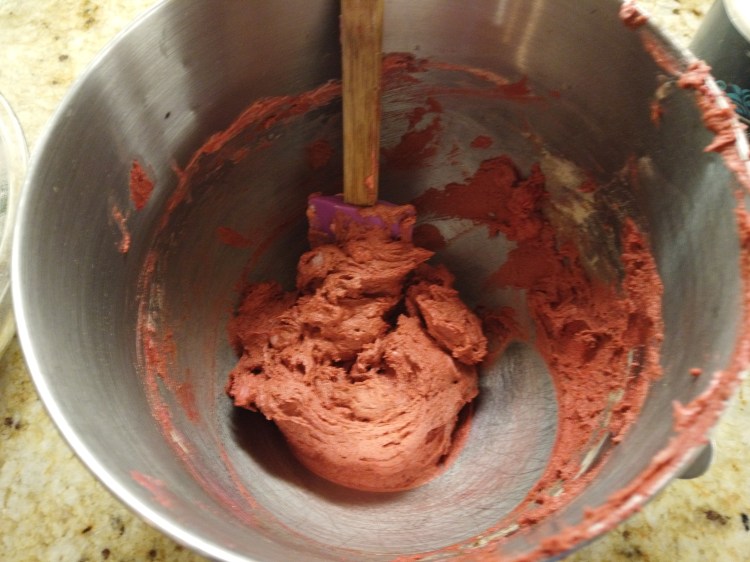
Red velvet cookie dough
1/2 cup of butter, room temp.
1/4 cup plus 2 tbsp. of brown sugar
2 tbsp of sugar
1 egg
1 tbsp. of milk ( I used almond milk)
1 tsp. of vanilla extract
½ tsp. white vinegar
3/4 all purpose flour
2 tbsp. of unsweetened cocoa powder
1 tsp. of baking soda
1/2 tsp. of kosher salt
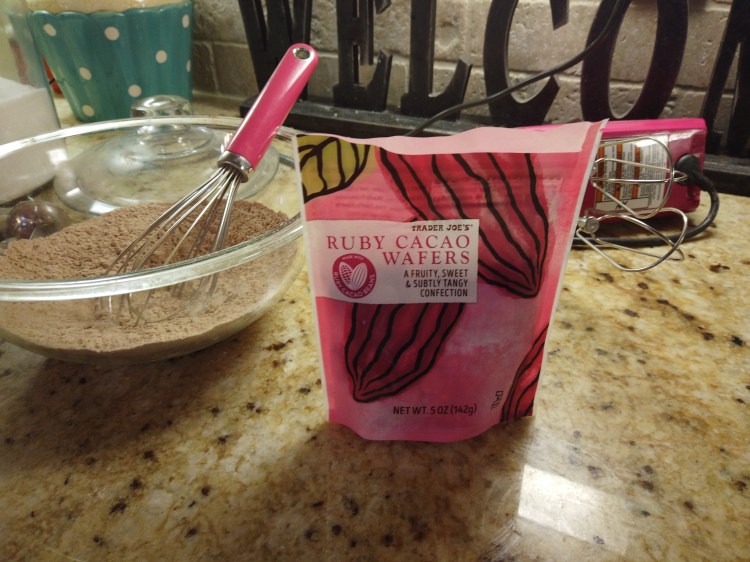
1/2 cup of chocolate chips (White or ruby chocolate)
Red food coloring gel, for color (optional)
Yellow, Green, Red and Black candy melts, for decorating (optional)
1. In a large bowl, add all the ingredients for the filling.
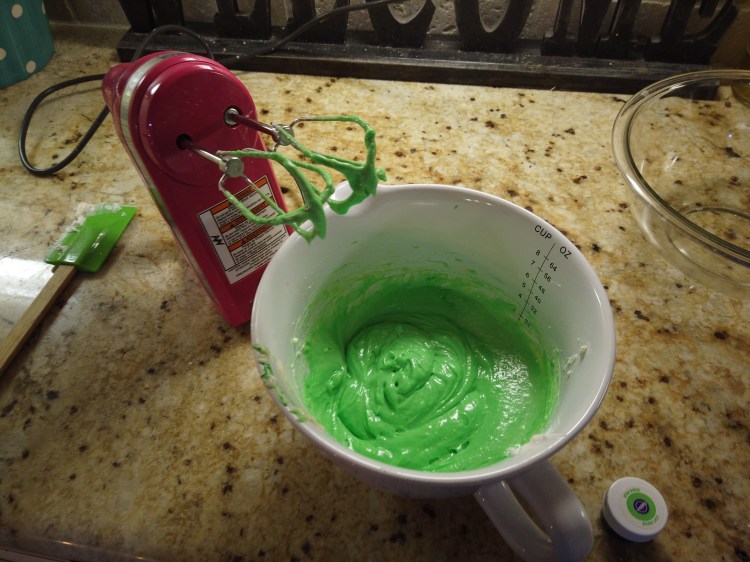
2. Using a hand mixer on low speed, combine all the ingredients until mixed.
3. Add green food coloring, increase the hand mixer to full speed and whip cream cheese filling until completely smooth.
4. Set aside filling and place bowl in the refrigerator and allow it to set.
5. Preheat oven to 350F. Line a 9” x 9” square baking pan with butter and parchment paper, allowing 2 inch overhang for handles.
6. Place butter and chopped up chocolate in a heatproof bowl over double boiler (a pan of simmering water); stir until butter and chocolate has melted. Let cool slightly.
7. In a medium bowl, whisk together flour, cocoa powder, baking powder and salt until combined. Set aside.
8. Using stand mixer, whisk together sugar, eggs, and vanilla in the bowl. Mix on medium speed for about 4 minutes until eggs are pale, approximately 4 minutes.
9. Reduce mixer speed to low, slowly add the chocolate mixture, flour mixture and black food color gel. Slowly mix until well combined.
10. Pour batter into prepared pan; spread evenly with a spatula.
11. Using same medium bowl, begin to prepare red velvet cookies mixture by whisking together flour, cocoa powder, baking soda, and salt. Set aside.
12. Using stand mixer, combine the butter, brown sugar, sugar, vanilla extract, vinegar and red food coloring. Beat at medium speed until creamy and smooth. Add egg and milk.
13. Turn mixer down to low, Gradually beat in the flour mixture, mixing until just combined.
14. Carefully stir in the chocolate chips.
15. Take cream cheese mixture out of the refrigerator and spread evenly over the brownie mixture.
16. Drop cookie mixture over cream cheese mixture and smooth evenly with spatula.
17. Place pan in the oven and bake for 40-45 minutes until brookies are set.
18. Place brookies on a cooling rack and allow brookies to cool to room temperature.
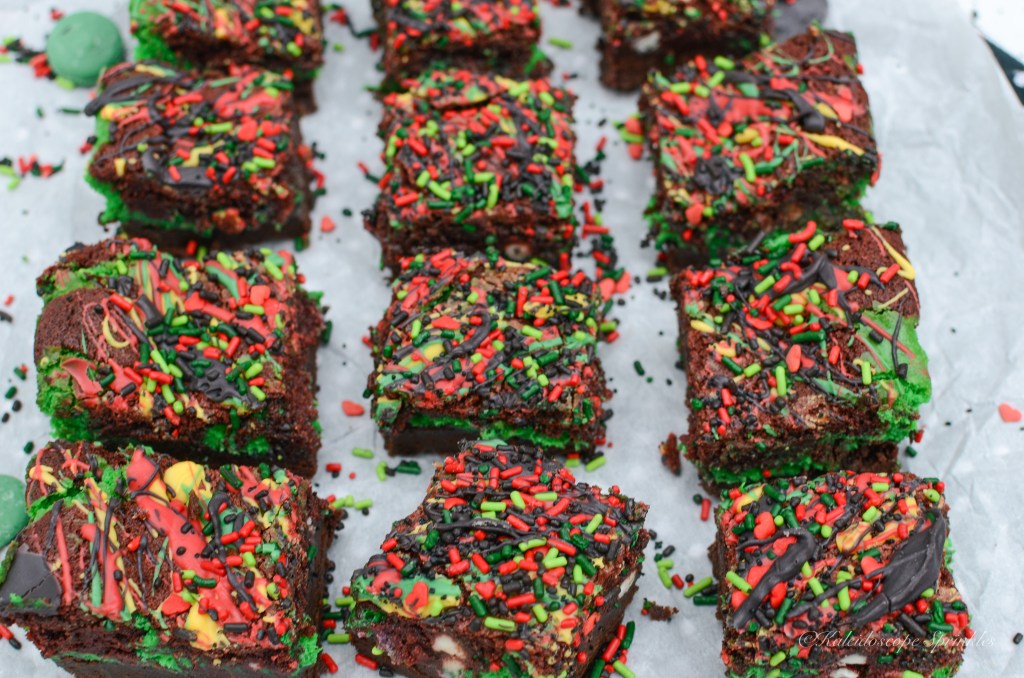
19. Decorate cooled brownies with melted candy melts and Sprinkle Mix.
20. Chill brookies for at least an hour but preferably overnight.
21. Cut brookies into 16 squares, devour and enjoy!!