If you have been following me on social media you’ll know that a few months ago I got the great idea to hang some fabulous decorations over my stove. I became inspired after seeing a post of a super chic wreath hanging over someone’s stove during the holidays. I went to my local Michaels store during the summer and found this basic ice cream shaped wooden sign. As soon as I saw it I brainstormed the idea of covering the sign with paint and sprinkles. After finishing my project I was quite impressed with the results. The decor over my stove just added an extra element of pizzazz to my kitchen/ home decor.
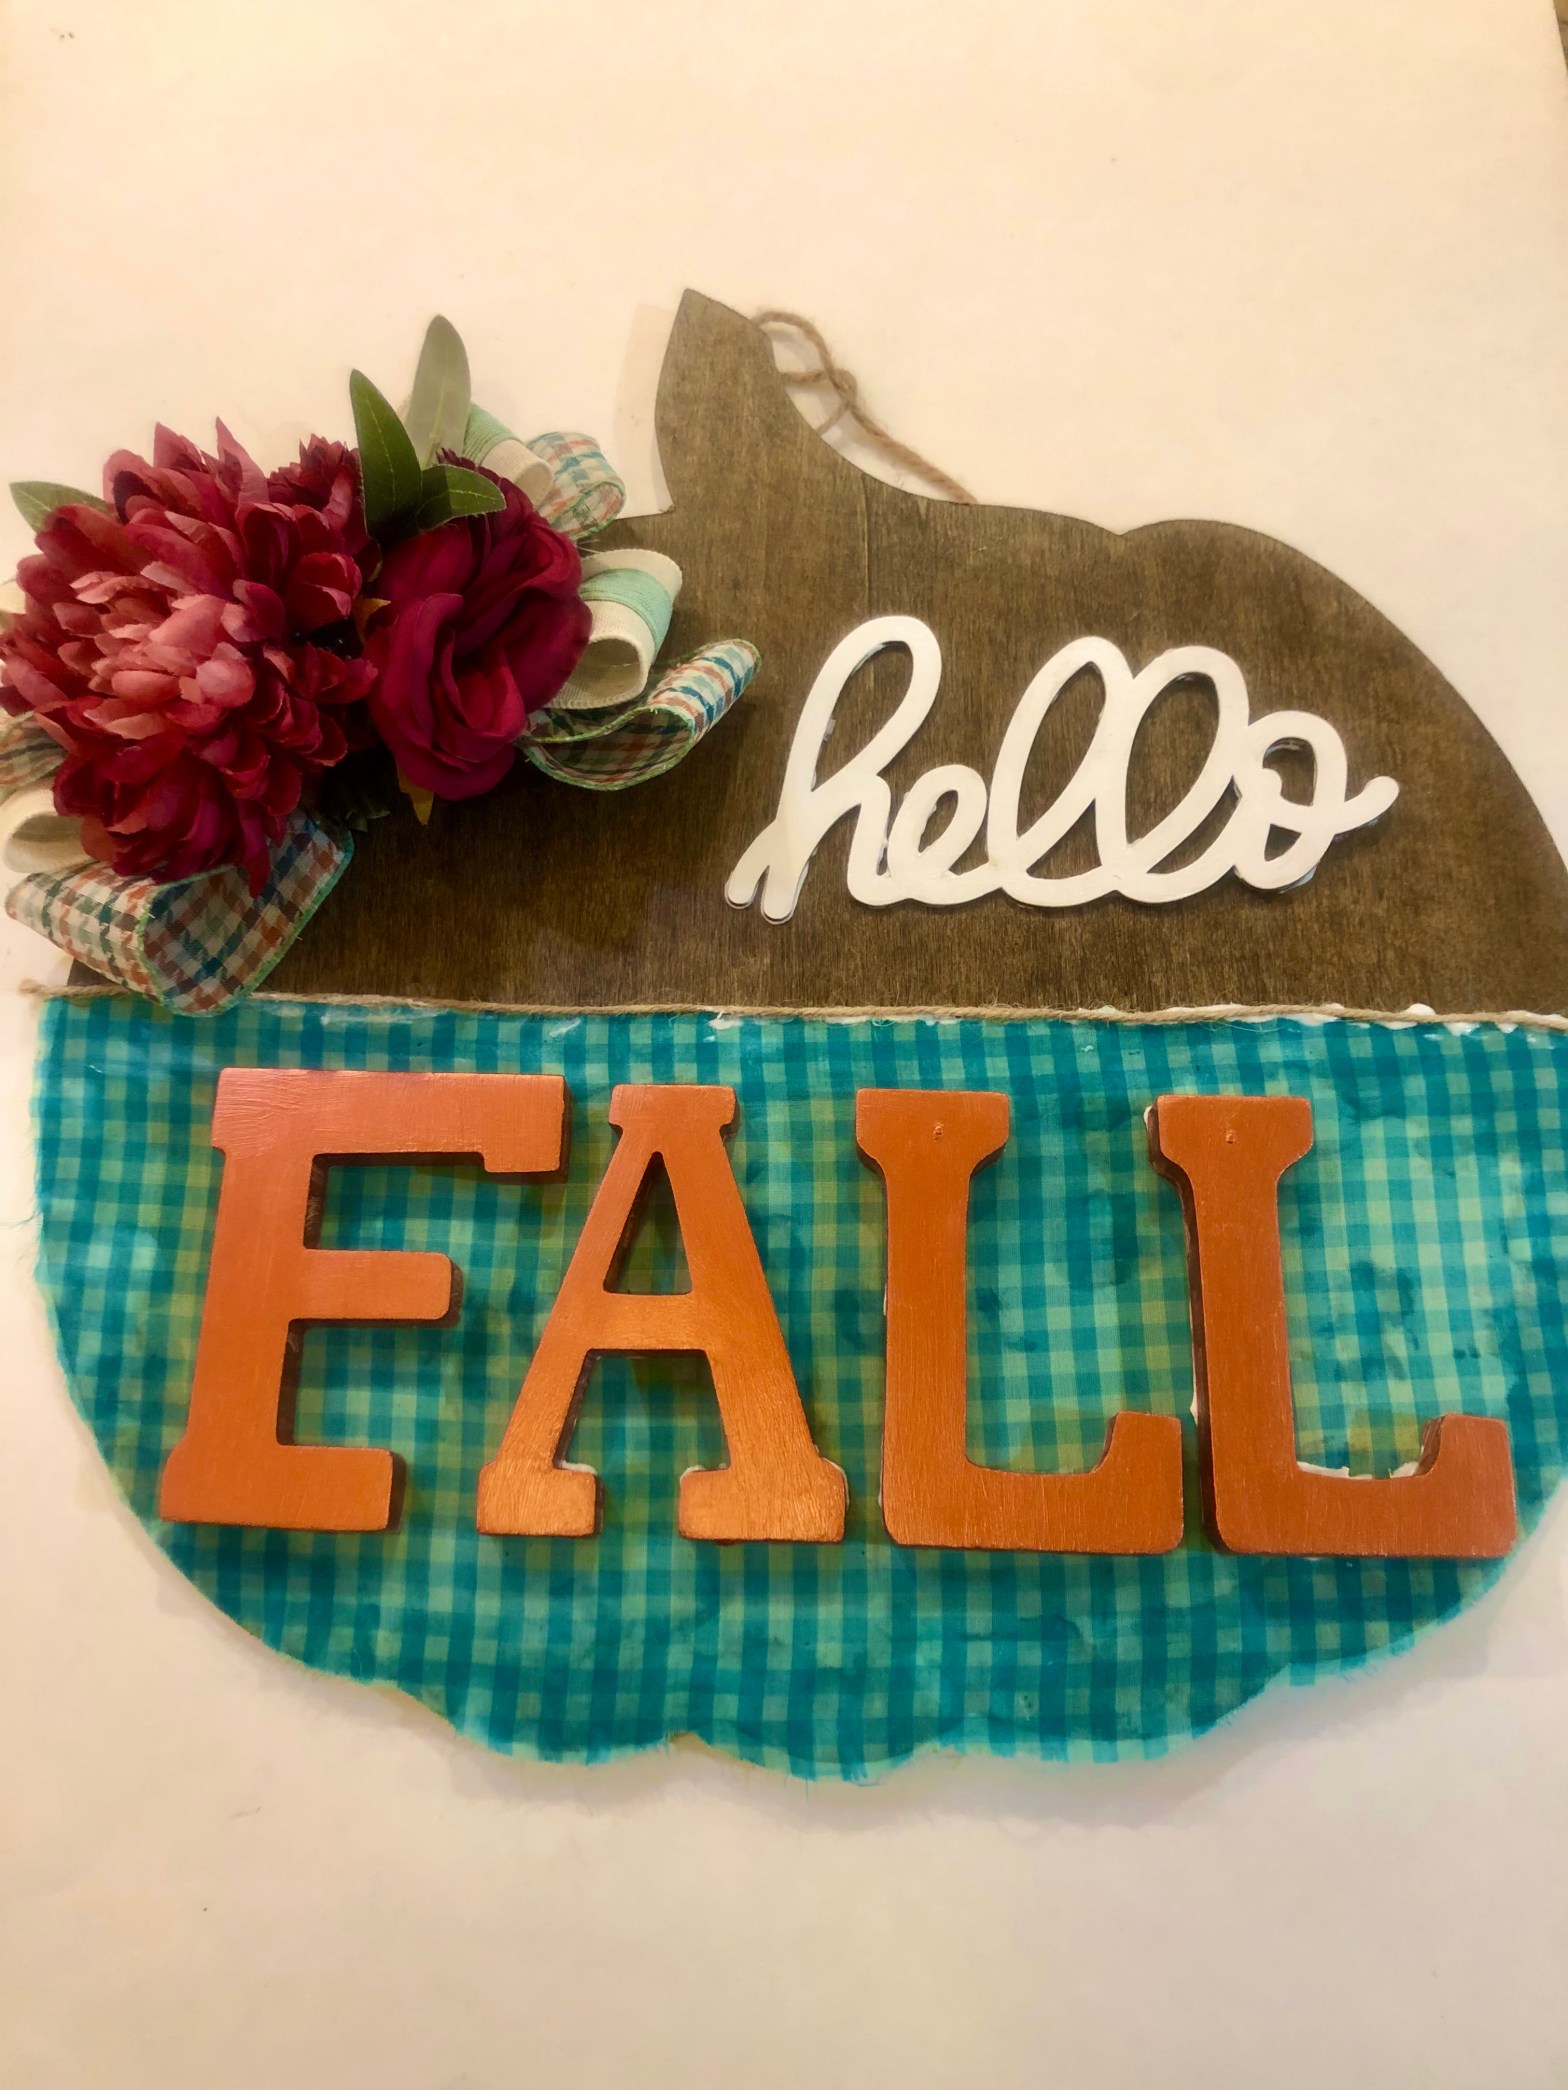
Here we are in my favorite season and I am even more inspired to decorate for fall. I love all the colors, fabrics, flavors and smells that are associated with autumn. I went back to my neighborhood Michaels store to peruse the aisles for more craft inspiration. I found another simple wooden sign, this time pumpkin shaped and took it home. I knew that I wanted to experiment with a new color palette rather than my usual fall colors: red, orange and gold. I went back to Michaels yet again and found some fantastic fall ribbon. This ribbon was the perfect inspiring color palette. I gathered up the rest of my craft goodies and got to work. I finally finished my pumpkin sign and I absolutely love the results, so much I decided to share this DIY with you.
All items can be purchased from Michaels Stores. See my results, step by step video and instructions below.
Materials
- Wooden pumpkin sign (purchase here)
- Wood stain. I used some old walnut stain I already had on deck (pun intended). (purchase here)
- Gingham fabric. I used some previous owned fabric. (purchase here)
- Emerald green fabric dye. (purchase here)
- Craft twine. (purchase here)
- Mod podge. (purchase here)
- Tacky glue. (purchase here)
- Glue gun and glue sticks (purchase here)
- “Hello” sign. (purchase here)
- Craft letters (purchase here)
- White craft paint. (purchase here)
- Rose gold craft paint. (purchase here)
- Wine faux flowers (purchase here)
- Houndstooth ribbon (purchase here)
- Linen ribbon (purchase similar here)
- Craft wire. (purchase here)
Instructions
- Stain wood pumpkin plaque with two coats of wood stain. (I used walnut finish)
- Paint wooden “hello” sign with white acrylic paint. Let dry.
- Sand and paint letters with rose gold acrylic paint. Let dry.
- Make bow out of ribbon by cutting 3 pieces (your choice of size) from each ribbon. Fold ribbon ends together and secure in place with craft wire.
- Glue flower bouquet onto bow using glue gun.
- Measure and cut gingham fabric to fit half of wooden pumpkin plaque.
- Dye gingham fabric according to package instructions. Allow fabric to completely dry.
- Once fabric has completely dried glue fabric onto pumpkin plaque using Mod Podge. Allow to dry.
- Add and secure twine to end to gingham fabric with Tacky Glue to create a border.
- Glue “FALL” letters onto gingham fabric using Tacky Glue or Mod Podge.
- Glue bow and flower bouquet to plaque using glue gun.
- Glue “hello” sign to wooden plaque using Tacky Glue.
- Allow sign to complete dry.
- Hang your new fabulous Hello Fall plaque up and show off!
