I have explained this before and have also tried to demonstrate this through my blog posts as well, but I’m all for earth conservation and recycling. I am a firm believer in everyone needing to do their part no matter how big or small. Something as simple as throwing a piece of trash into the proper receptacle can make a difference in preserving what’s left of this planet.
I try to use this thought process and approach when styling clothes and accessories from my closet. Sometimes something that I’m no longer interested in wearing or styling a certain way can perhaps be recycled into something more fashionable and suitable for my taste. It is from this mindset that I have come up with some of my favorite fashion pieces in my closet.
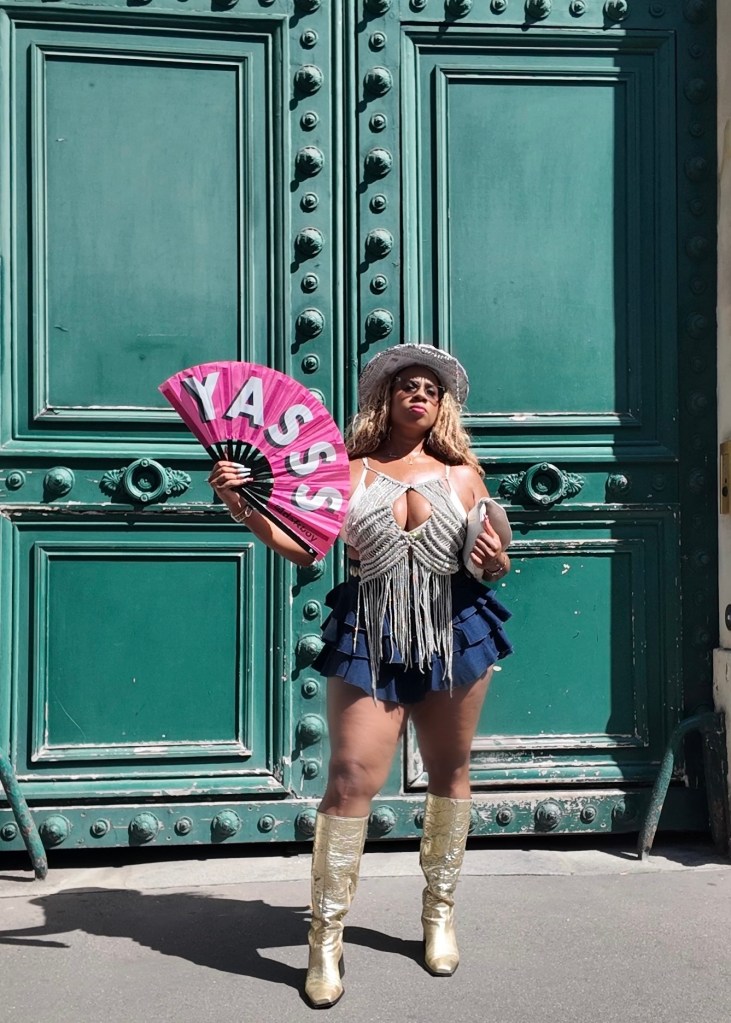
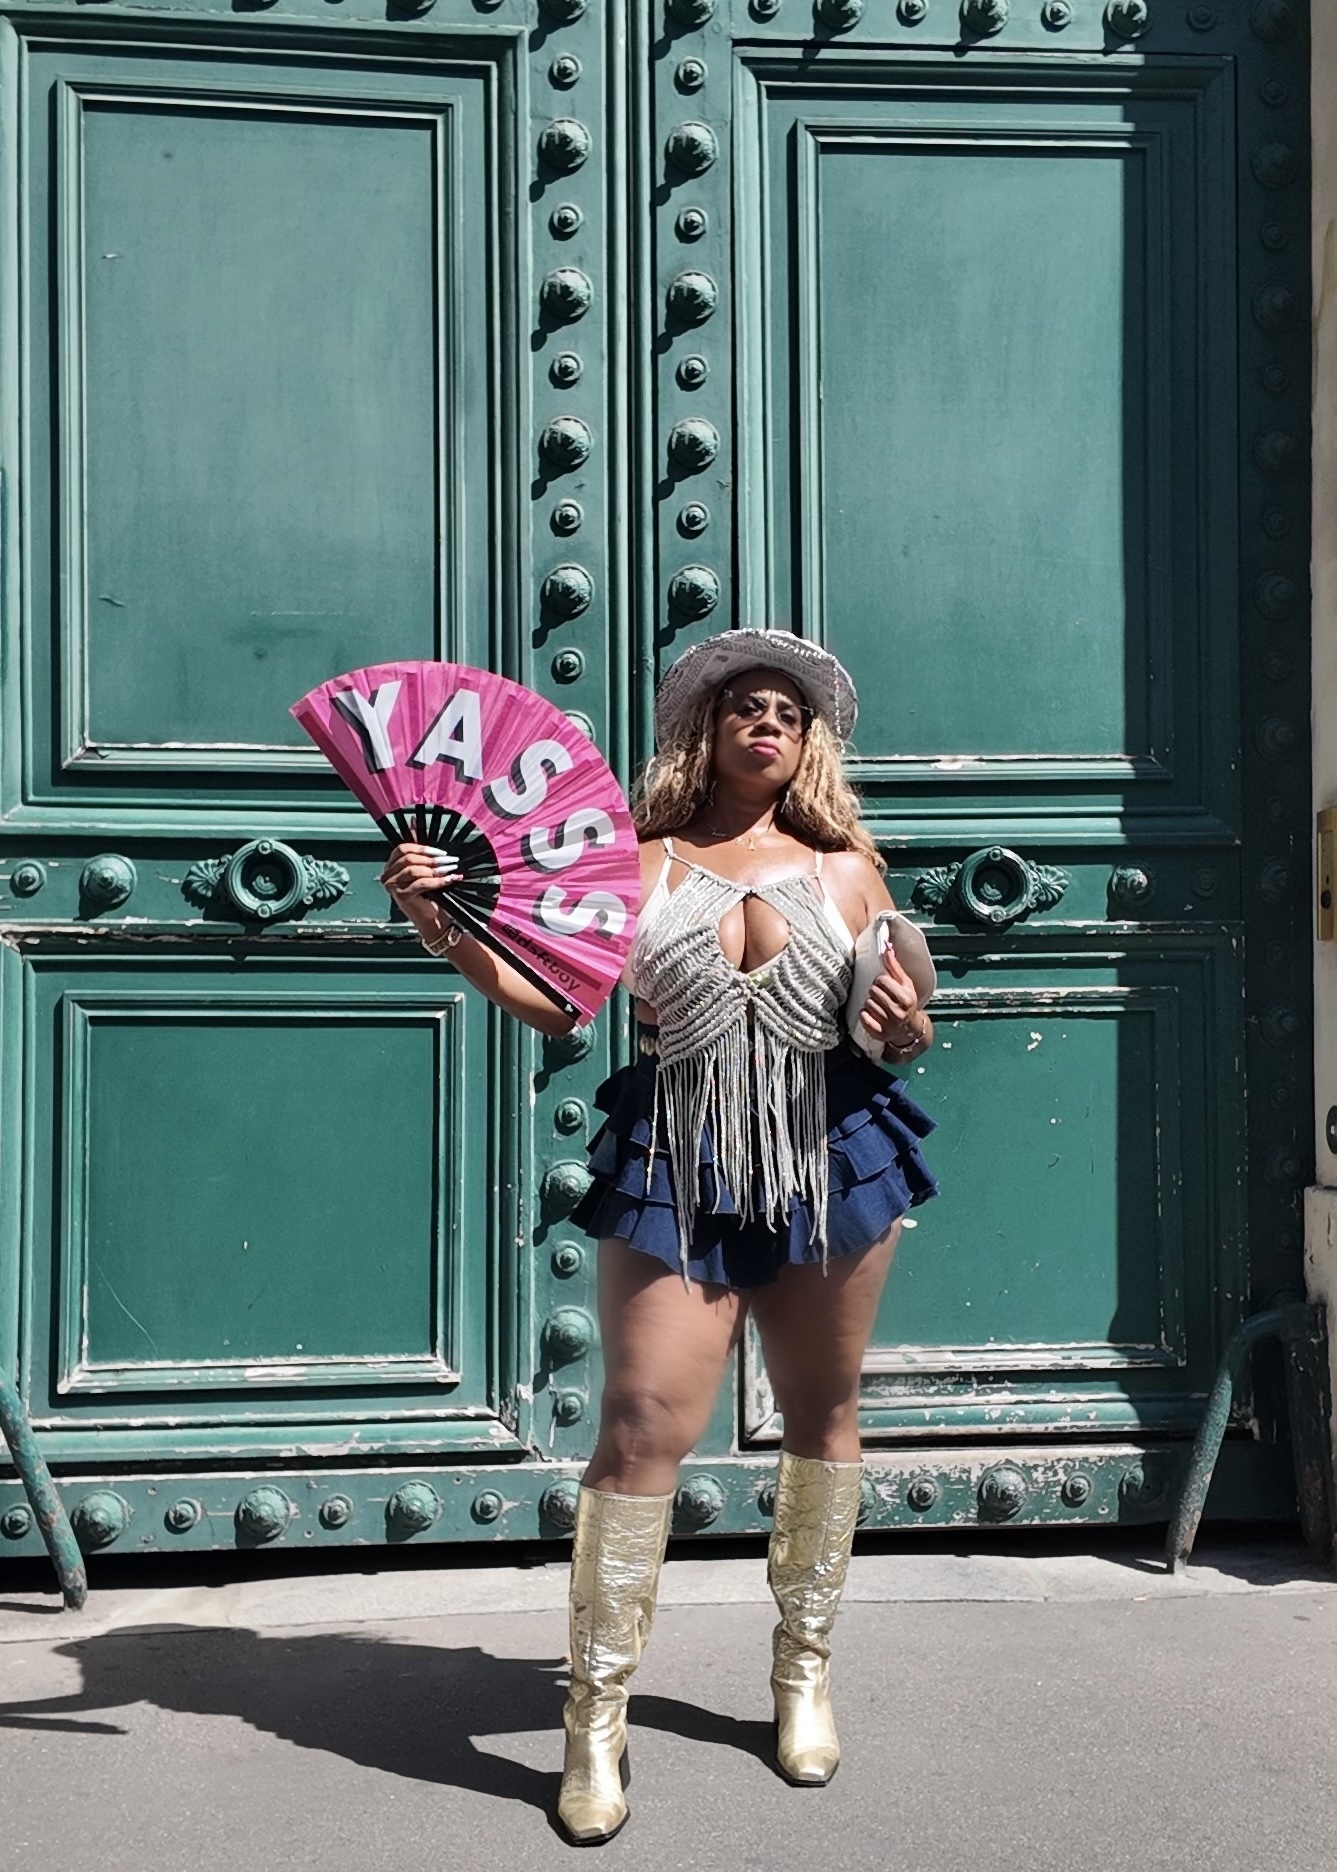
After making the decision and purchase to attend the Cowboy Carter tour this year, I knew I wanted a couture look for my concert ensemble. I wanted my outfit selection for this special affair to be unique, but I also wanted to repurpose some items I already owned if possible. Once I decided on what I was going to wear, I figured out how to use some already owned pieces to enhance my vision.
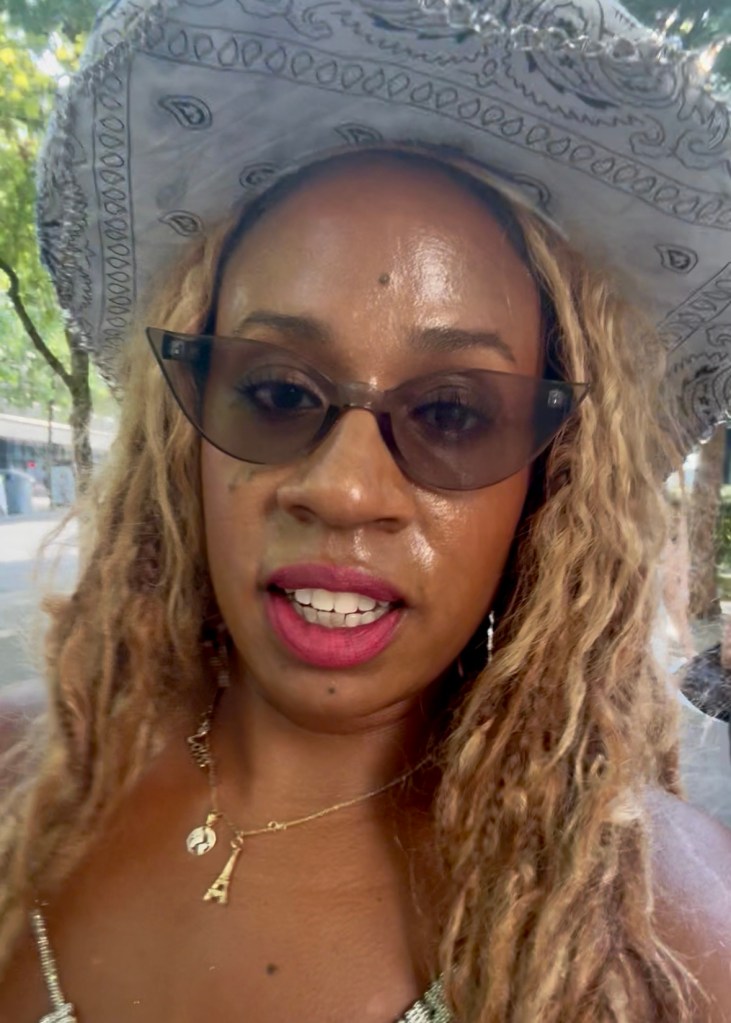
I picked out my colorful iridescent cowboy hat from Coachella’s past that had been collecting dust and not in any recent use. I got an idea to use some old denim scraps in my possession to change the look of my hat. With a little time and ingenuity, I was able to up-cycle my outdated cowboy hat into something more suitable for Cowboy Carter. I feel like Beyonce would be proud of my upgrade and fashion forward selection for her show.
The overall process was pretty simple to do. Since it appears that the cowboy aesthetic is here to stay, I thought I show you what I did, so you can possibly upcycle your cowboy hat as well.
See my step by step instructions and DIY video below.
Materials
Cowboy hat
Denim fabric scraps (approximately 1/2 yard)
1 can primer spray paint
1 can metallic spray paint (color of your choice)
1 can of gloss sealant (optional)
1 bandana
Scrap paper
Pen
Tape measure
Fabric shears (scissors)
Iron-on fusible interfacing (optional)
E6000 multi-purpose glue
Metal chain (optional)
Jewelry pliers (optional)
Directions
- Use piece of scrap paper and pen to trace size of hat brim and hole for head onto paper. Cut out to make pattern of hat.
- Remove any additional pieces/ accessories from hat. In a well ventilated area, spray clean cowboy hat with primer paint. Allow paint to completely dry.
- Once hat has dried from primer paint, spray paint hat metallic color using other spray paint. Use two coats of paint and allow to completely dry. Spray with gloss sealant and allow to completely dry (optional).
- While hat is drying, take your hand made hat pattern and trace out cutout on bandana fabric and denim fabric.
- On top of brim of hat, take glue to adhere denim fabric onto the brim.
- Once denim is secured on the top of the hat, use iron-on fusible interfacing or glue to adhere bandana fabric to the underside of the brim of the hat.
- Cut out strip of the remaining denim fabric and glue it around circumference of hat band/ crown of the hat.
- Take your metal chain and measure circumference length of cowboy hat. Use jewelry pliers to attach your metal chain to outside brim of your hat securely.
All done. You see how easy that upcycle was. You now have a brand new updated cowboy hat to wear whenever you choose!
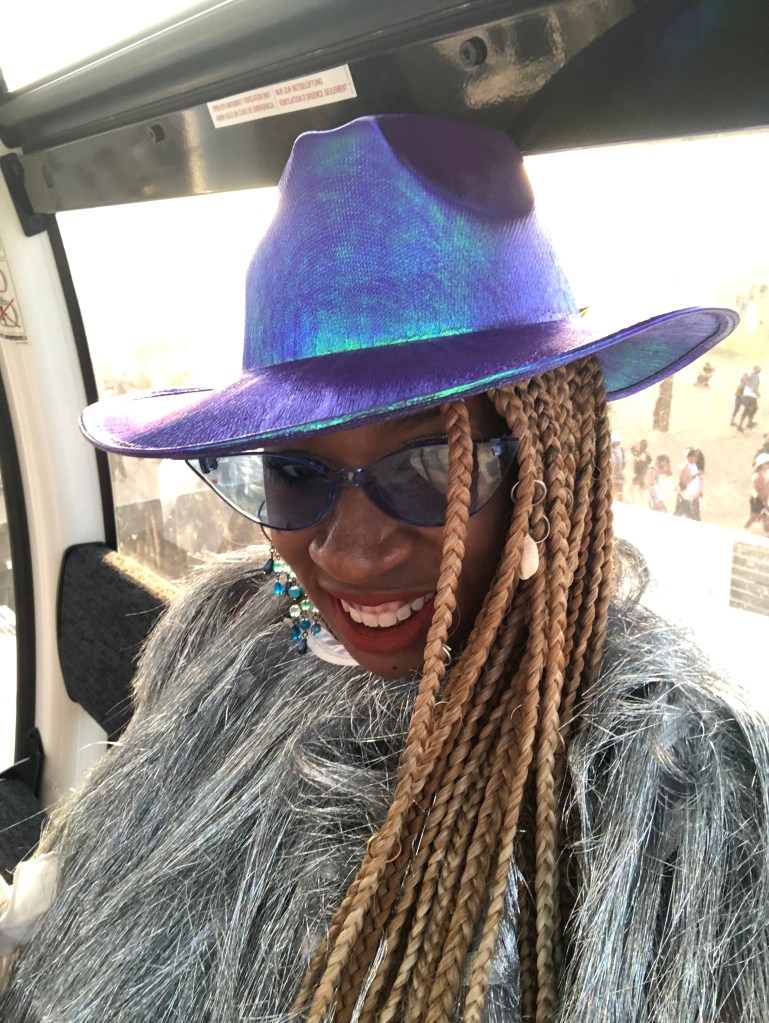
The original cowboy hat at Coachella 2022!